Postman Navigation
Now that we have installed Postman on our system, we will navigate through the UI of Postman in this Chapter. We will become familiar with the terminologies and features that Postman offers.
You may also go through the recording of the Postman Tutorial where our experts have explained the concepts in depth.
Postman navigation can be divided into four UI structures as shown below.
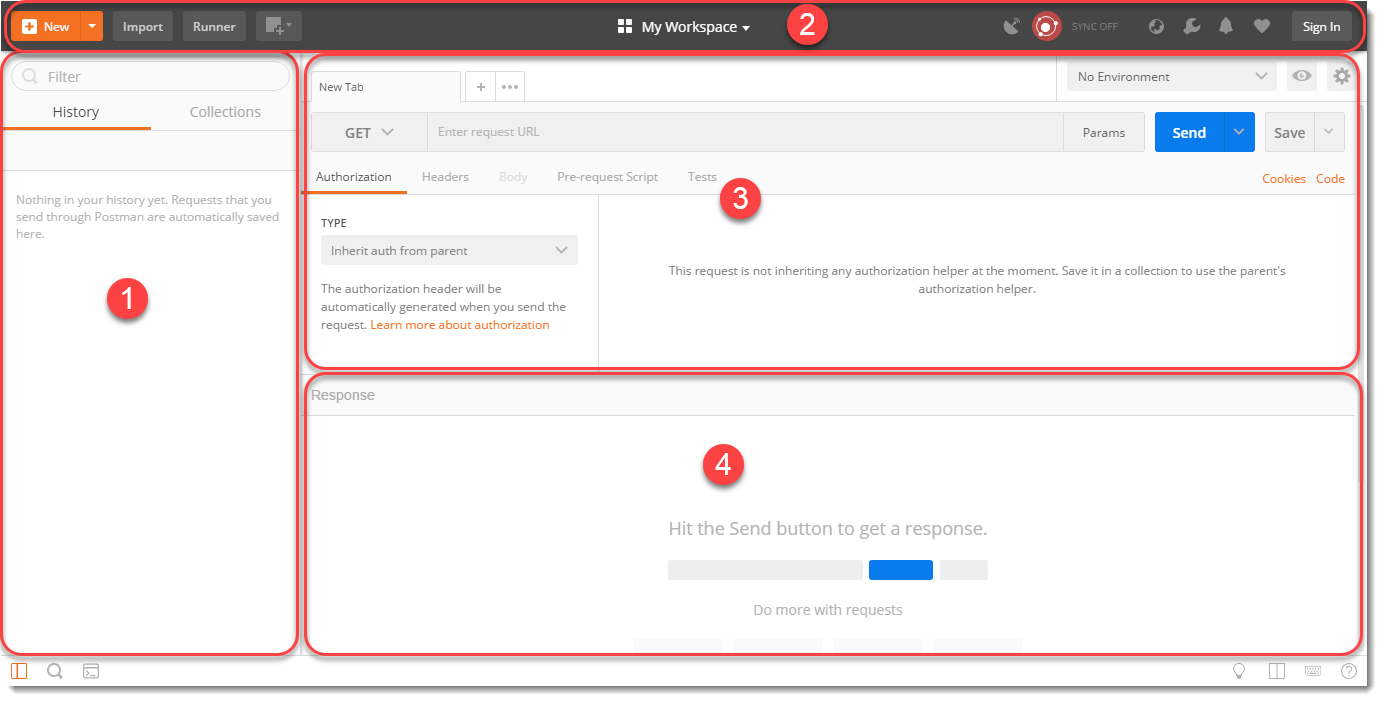
- Sidebar section
- History
- Collections
- Header section
- New
- Import
- Interceptor
- Sync
- Builder section: These items will help users to create a new Request. We will learn about these items in detail in the coming chapters
- Tabs
- HTTP Method type
- URL bar
- Header's list
- Response section: It is filled only when invoking a REST request. This section will be populated with the details of the received Response. We will learn more about it in the coming chapters. Now let us see individual sections in detail.
PostMan - Left Sidebar Section
The sidebar is a very important part of the Postman. The sidebar has two main parts or tabs which are History and Collections.
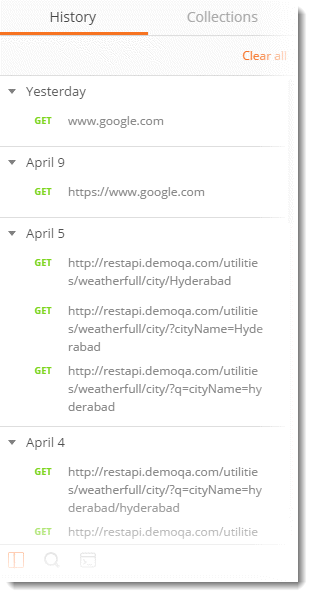
History Tab
Postman records a history of your API request just like any other web browser automatically. As soon as you invoke a REST request, it is saved in the history and can be seen below the History Tab. It comes in handy when you have to search for some particular request that you entered in the past without entering again.
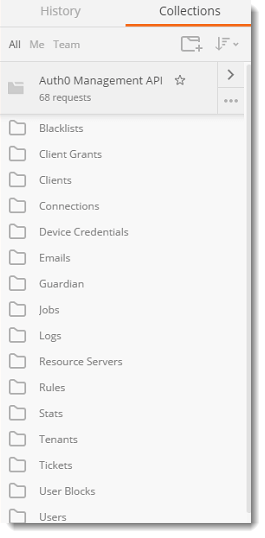
Collections
The concept of grouping requests is called Collections and each Collection is displayed under the Collection Tab. As shown in the image below. A collection in Postman can be imagined similar to a folder in your system. You create a folder, for example, movies, and keep movies in it so that you know where all your movies are. Similarly in Postman, we save the similar kind of requests under some collection name (that we define) and when we open any collection we get all the Requests under that heading, As shown in the below image
Postman - Header Section
The below image shows just the Header of the Postman application.

The header has the following items
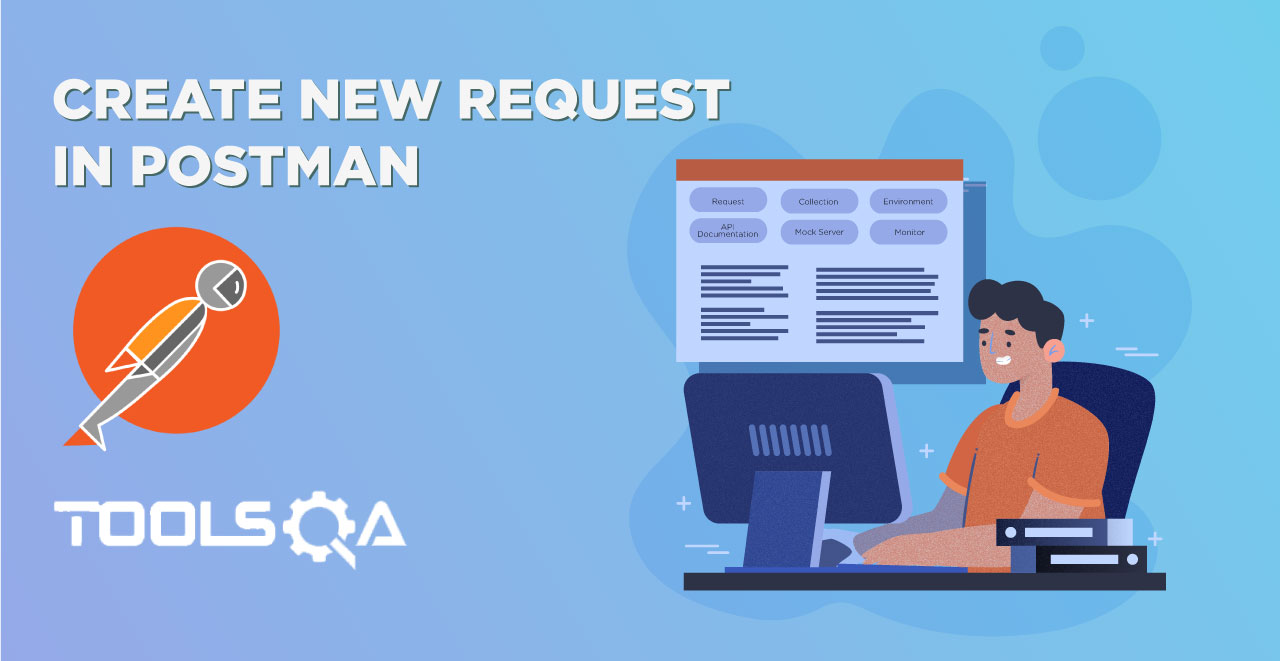
New
Choosing this option will let you choose what "new" you want to start. For example, a collection would open the panel where you can enter a new collection to start and its corresponding requests. Selecting "request" in New will open the request panel where you can enter and save the requests into the collection of your choice. A new option lets you create the following:
- Request
- Collection
- Environment
- Documentation
- Mock Server
- Monitor
Import
Import option lets you import files of different formats. Importing means choosing the files located in your system or through a link and running it through Postman. As can be seen from the image it allows you to import a Postman Collection, Environment, Curl command, etc. Importing a collection is the most common among all.

Interceptor
Recall we learned that if you are installing the application from chrome then a separate interceptor is required for the proxy server. This interceptor is inbuilt in the native app. You can set a proxy server here to capture all the API requests that you send through your browser. A proxy server can be used to capture all the requests that you send through your browser or from your phone or any other system.

Sync
Sync option is for synchronizing the API requests that you have sent on any machine to the Postman cloud. When you are working in Postman and making changes or sending requests, if you Sync is on, it will automatically be saved in your Postman's cloud storage. This way you can have them saved and whenever you sign in on a different machine to use Postman, they will automatically appear. This feature requires you to sign in (If you did not during the installation part).

Postman - Builder Section
A builder part of the Postman is basically what a CPU is to a computer. It is the main part that controls all the functionalities and methods to be incorporated inside the API.

A builder part has the following main parts:
- Request Type:
- Endpoint Address Bar:
- Params: This option let the user define different Query Parameters for the request.
Request Type
This is the request type method for the API. It indicates the type of HTTP Request that has been sent. There are different kinds of requests which we will discuss as we proceed further, but just to know, there are four main types of requests namely GET, POST. PUT and DELETE.
Endpoint Address Bar
This is the box, besides the request type option, to enter the EndPoint (API). It acts just like a browser with a similar interface for the New tab. We enter our required endpoint into the bar which is our main URL.
Params
Params are the parameter option that allows us to write the parameters of the URL. The parameters are embedded into a URL and are very important to get the desired result. They also help us in getting efficient usage of the memory and bandwidth. This will be discussed in a complete chapter later on.
Authorization
The authorization process verifies whether you have permission to access the data you want from the server. Not all data is available for everyone inside a company, so there lies the solution as Authorization. With the authorization, the server first checks whether the data you are asking for can be shown to you. If it can be, you get the desired response.
Header
A header in the HTTP request or response is the additional information that is needed to be conveyed between the client-server. HTTP headers are mainly intended for the communication between the server and client in both directions.
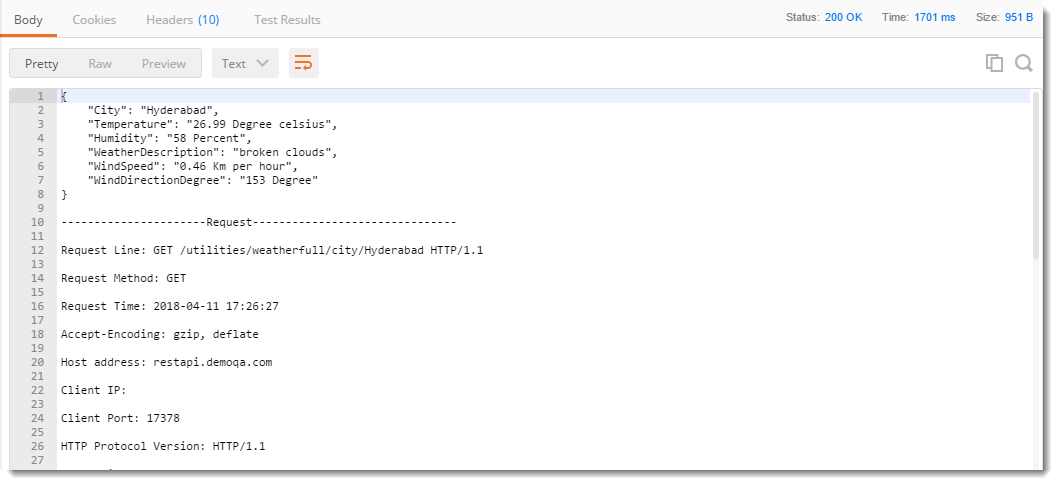
Postman - Response Section
A response box is a box that shows the response from the server that we receive after requesting through API. A response box has many options in it, which won't be feasible to explain here in this chapter. In the coming chapters you will learn about the response, although if you want you can visit the chapter here.
In the next chapter, we will start our first steps in Postman.