As in the previous tutorial of How to Run Collection on Jenkins we ran Postman Collections on Jenkins using Newman Commands. But it is a bit inconvenient to look at the Console Output logs and analyse the results. For this reason, Jenkins has lot of different reporting plugins available freely. With these plugins, test results are generated in the form of Graphical Reports. In the next section we will learn briefly on Generate Newman Reports on Jenkins and we will be covering the below topics:
- Generating CLI & JUNIT Newman report
- Specifying location to save Newman report
- Viewing Newman report
- Publishing report
- Producing Jenkins Build Test Trends
Reports in Jenkins
A report in Jenkins is a structured and graphical way where we can see the execution results or test output. Reports also work easier when we have to communicate the results with our team members or with other stake holders. As mentioned above there are many plugins available for the same. It is easy, convenient and recommended. Jenkins reports are just not graphical but can produce the detail written reports. This written report can be in different formats and these can be managed by specifying along with the build command. At the official documentation of Newman, few of the report generating commands are specified.
How to Generate Newman Reports on Jenkins?
It is very important to know that we need to specify the output path for the report, or else the report will be saved somewhere automatically. There are different kinds of reporters available in the Newman but we will be using CLI and JUNIT reporters in this tutorial.
PreRequisite
- Jenkins should be up and running. Refer tutorial How to Install & Start Jenkins?
- Jenkins Job configured to run Postman Collections. Refer tutorial How to Run Postman Collections on Jenkins?
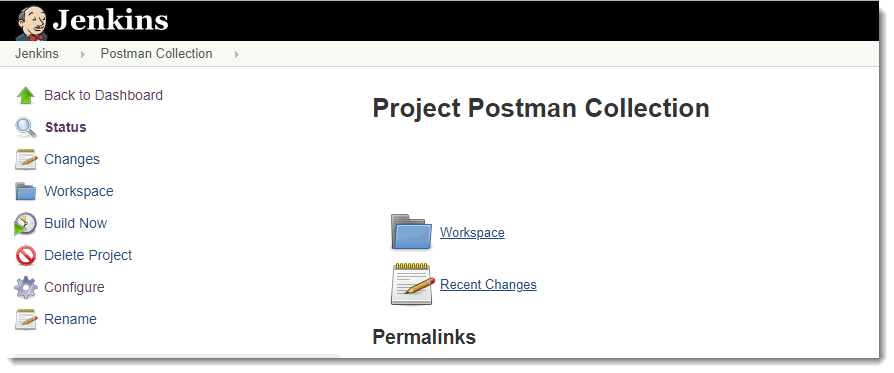
I hope you are inside the Jenkins Job/Project and the following screen is visible to you at your system.
How to Generate CLI & JUNIT Newman report on Jenkins?
Navigate to Configure --> Build section and write the below command in the continuation of the command to run collection using Newman.
- Command to Run Collection using Newman: newman run
<Collection share link> - Command to Generate CLI & JUNIT reports: --reporters cli,junit
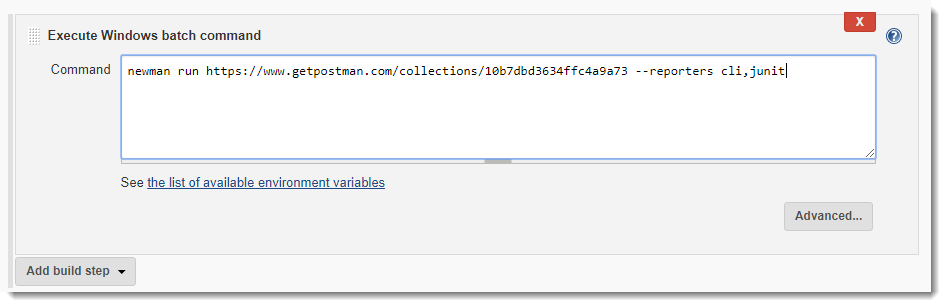
Note: It is very important to note that there is only one space which is after "--reporters". cli,junit should be written without any spaces. It is also noteworthy to see that when you press enter and write the next command, Jenkins does not read the third line and in some systems not even second line. So it is better that you write in continuation or if you want to write one line after another then always specify "\" after each end of the line as I will show you in the next step.
How to Specify the Path to save Newman report on Jenkins?
To mention the directory to save the report, type the following in the continuation of above command:
--reporter-junit-export "newman/myreport.xml"
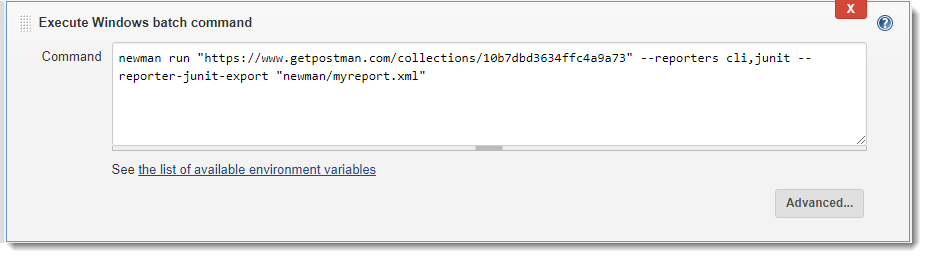
Note: If the folder specified is not available then it will be automatically created inside the Workspace at Jenkins directory. Will look at this below.
How to View the XML Results/Output generated by Jenkins?
- To generate the execution output, we need to build the project with the above configurations. On completion of the build, go to Workspace folder.
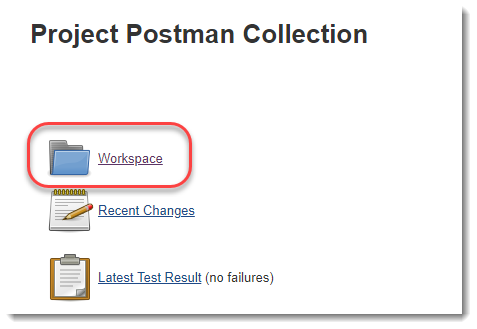
Note: Build is done from the left side navigation by clicking on Build Now, which is available at the root folder of the Jenkins Job/Project.
- In the Workspace you will see that a new folder has already been created by the name you specified.
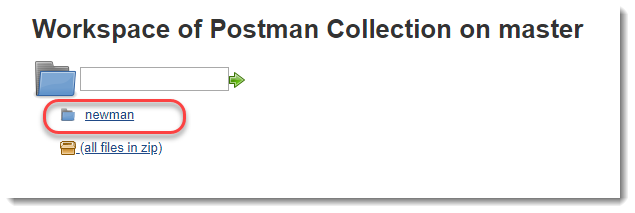
3.Click on the folder. You will see that the report has been created.
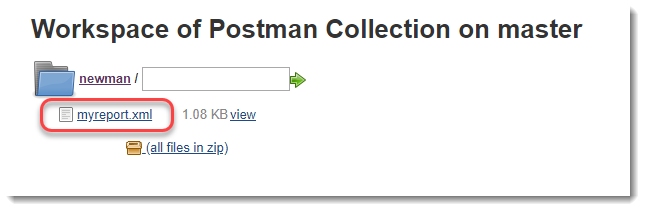
You can open the file and see the test results being written in XML format.
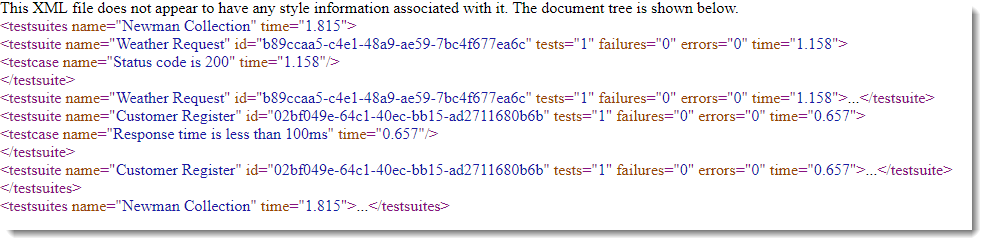
Now, this file contains the xml code of the report. This report is in XML format and is the raw code which will be used by Jenkins to draw graphical representation of the report. This is also called publishing the report.
Whenever we want to publish the report, we need to explicitly tell Jenkins about it. Since a report can only be published after the build, hence publishing report becomes a part of Post-Build Actions. By writing the commands in Post-Build Actions, we tell Jenkins about the work it has to do after the build part is completed. So in the next section we will try to achieve the same.
How to Publish Reports on Jenkins?
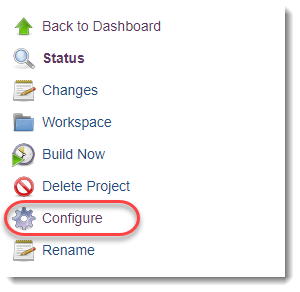
1.Go to the configure section.
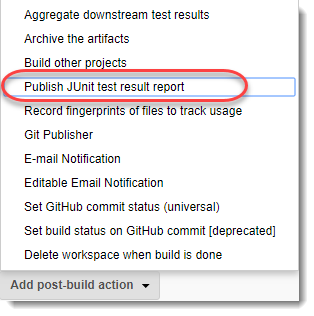
- Go to Post-Build Actions. So this is something that will be looked by Jenkins after the build has been completed.

- Select Publish JUnit Test Result Report.
- A new box will open up. Enter the path of the file in Test Report XMLs. Save the changes and click on Build Now to build the project again.

Note: As you can see above, this is going to publish the report using the same XML output, we created in the previous section.
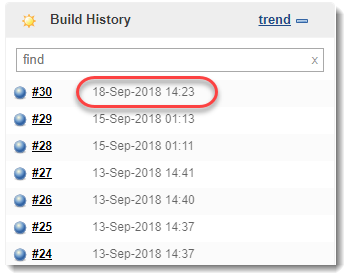
- Now, in the build history section click on the date and time to open up the build results or you can also click on the ball which is shown at the left most side to open.
- Click on Test Result.
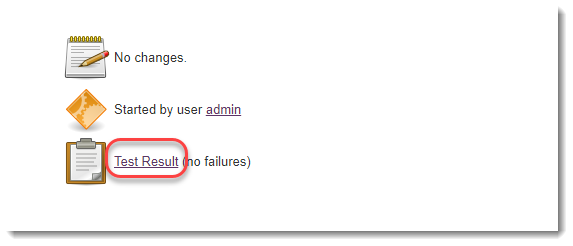
There you go. You can see the test results now which are simple, beautiful and easy to understand. As you can see below, this report is so much understandable than the XML code. You can see the number of tests and how many failed. If your test fails, it will be shown in red color.

If you want to look at the tests, then click on the root.

As soon as you click on the root, all the individual tests will appear. These tests are your API tests which we are saved in the collection, and we are running the same collection using Newman Commands on Jenkins. Duration is also mentioned in the report, which tells the execution time of an individual test.
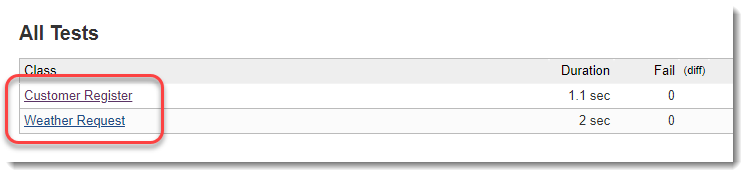
Click on any API to see the Test name and it's status along with duration.

So like this we can easily generate reports of our tests and look in to the details. Also, while trying to practice on Jenkins, always remember to use the tests that fails otherwise you don't see much on the dashboard. If you apply all the assertions that are true, you might not be able to know whether your assertions ran or not.
By the above method we get the reports for a single test. But, if we run tests again and again then Test Trend Graph is also generated by Jenkins. Test Trends shows the complete behavior of the project builds.
How to Create Test Trends on Jenkins?
-
Change you test results (if you were failing before, try to write assertions that passes now). In other words, change your test trend.
-
Build the project a couple of times to set a general trend as sometimes Jenkins does not show the report with one build.
-
Refresh the page.
-
You will see the generalized report on the dashboard as Test Result Trend.
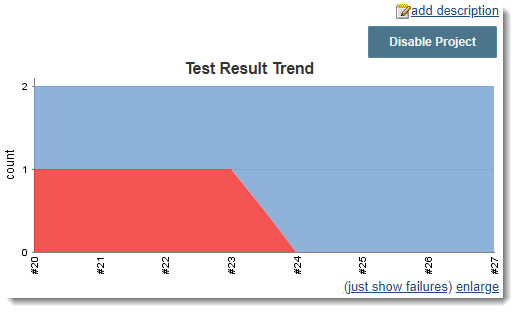
By this you have created a generalized trend and can analyse the past & present behavior of Project builds. This was all in this tutorial about generating the reports. In the next tutorial, I will tell you a little about plugins. These plugins will be used by you in adding the additional features to Jenkins. We will publish the reports in HTML by installing an additional plugin. Till then, keep practicing.