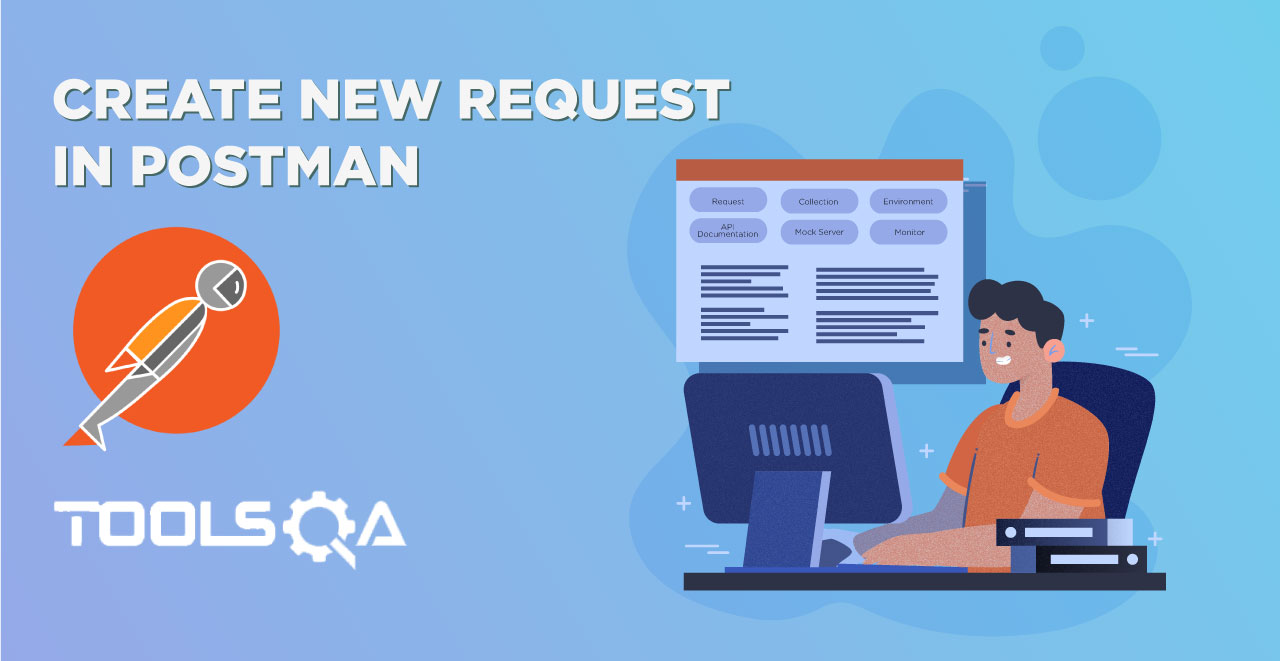
Since we have now walked through Postman and seen How to Create and Save a new Request in postman, it's time to get our hands on the first GET Request in Postman. When we request from a client machine (User) to a server machine, we follow an architecture and HTTP Protocol. I suggest you go through the below tutorials to establish a nice understanding of HTTP Protocol, Request & Response. These can be viewed here:
Assuming you are now familiar with the HTTP protocols and architecture, we will now talk about one specific type of request which is a GET request. A GET request is used to get the information from the server and does not have any side effects on the server. Side-effects mean there is no updation/deletion/addition of data on the server when you are making this type of request, you just request from the server and the server responds to the request.
A GET request has all its information inside the URL, and since URL is visible all the time, it is advisable not to use this type of request while you send some sensitive information such as passwords. For example, when you press search after writing anything in the search box of google.com, you actually go for a GET request because there is no sensitive information and you are just requesting the page with search results, you notice the same search string in URL.
You may also go through the recording of the Postman Tutorial where our experts have explained the concepts in depth.
In this image, as you can see, there is a drop-down button which has different types of request types according to the API need. As of now do not worry about all of these different HTTP Requests, as we will cover each of these in this Postman Tutorial series. But for now, just focus on the GET Request.
- Select GET from the list of request types.
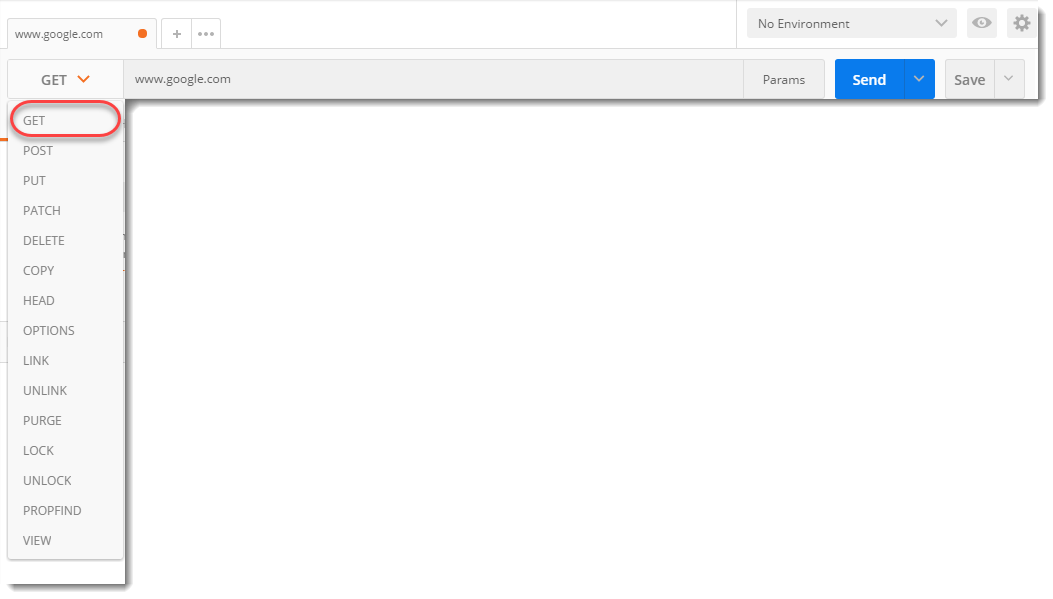
- Enter www.google.com in the address bar as written in the above image and Press Send. Now, look at the Status Code.
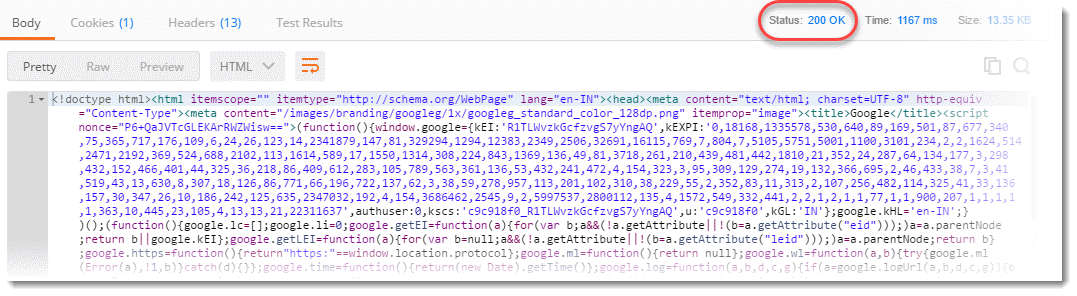
Different status codes have different meanings and it does not matter whether it is a GEt request or any other type of request. In this scenario, we have status code 200 OK which means that EndPoint is correct and it has returned the desired results. We will show some more status codes later.
The colorful text inside the box below is the Response from the server. If you observe closely inside the response box you will see the page code has been sent to us. The above tab says Body. Body means you have selected to view the response body which is been shown inside the box. In Body, you will see three options.
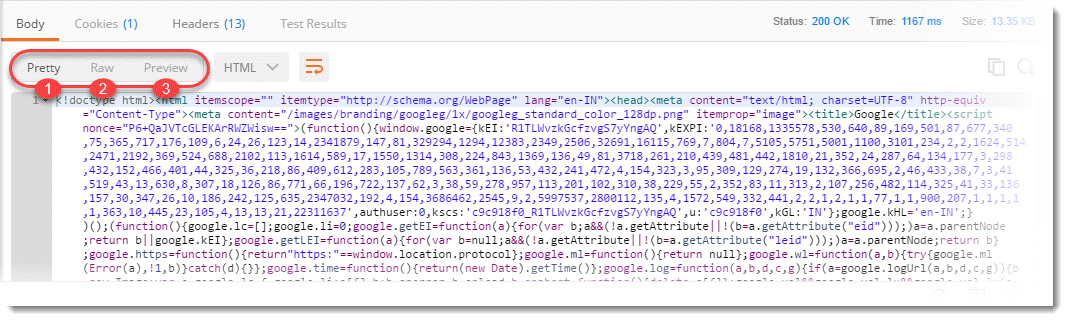
- Pretty: In this code will be shown in a colorful manner with different keywords colored differently and will be indented for some of the formats for good reading.
- Raw: Same as pretty part with no colors and in single lines.
- Preview: This shows the preview of the page that has been sent. Don't worry about the google doodle if it has not been loaded properly. Try any other website by yourself.
A response is a more detailed topic than it needs to be explained in this chapter. We will be explaining the response completely in the next chapter.