POST Request using Postman
In the previous tutorials, we have learned about how to send a GET Request and we also learned about the Request Parameters. From our Rest basics we already know what an HTTP Request and HTTP Response is.If you have not read these two tutorials yet, please do that before proceeding. In this chapter, we will focus on another type of request method which is POST Request in Postman.
What is a POST Request?
A POST is an HTTP Verb similar to a GET request, this specifies that a client is posting data on the given Endpoint. A POST request is a method that is used when we need to send some additional information inside the body of the request to the server. When we send a POST request we generally intend to have some modification at the server such as updation, deletion, or addition. One of the classic example of a POST request is the Login page. When you first Sign Up for anything, let's say Facebook, you send your personal information such as a password to the server. The server creates a new account with the same details and that account is added permanently on the Facebook server. You just created a new resource on to the server. POST requests are very popular and are mostly used whenever you are sending some sensitive information such as submitting a form or sending sensitive information to the server.
In this tutorial, we will explore different features of POST Requests and how we can create them in Postman. Before we will try to use an example to get a clear idea about a POST Request.
POST Request in Postman
Every REST endpoint has its own HTTP verb associated with it. If an endpoint specifies that it should be called using the POST HTTP verb, then clients are bound to call the Endpoint with POST HTTP verb only. Let's first check what happens when we request the GET method instead of the POST method for a POST Endpoint. Also to check what happens when we do POST Request without Body.
GET Request on POST Endpoint
- Use the API http://restapi.demoqa.com/customer/register (This API is used for registering a new customer) in the Postman endpoint bar and press Send. Make sure that GET is selected in the Method type dropdown.

- See the HTTP status code, it will be 405 Method not allowed. Which means that we are hitting the endpoint with incorrect method type. The below image shows the details.
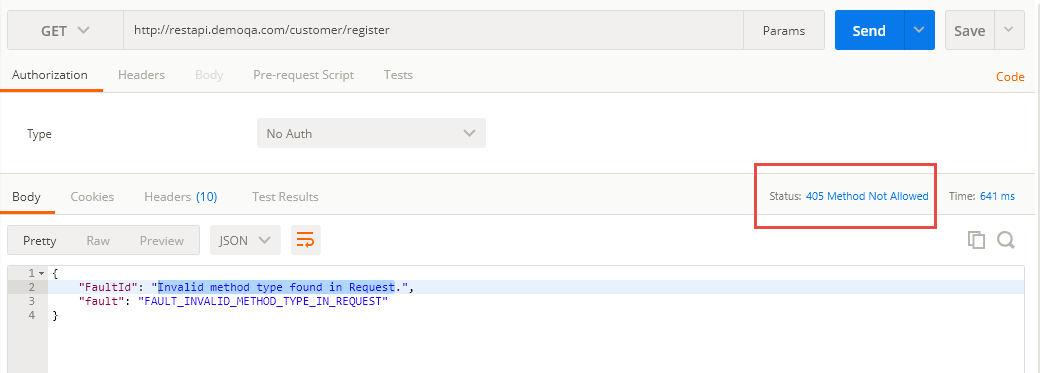
- See the response below under the Body tab and focus on fault error.
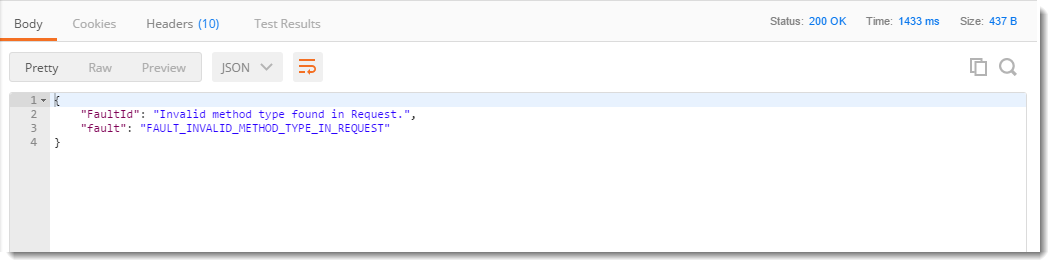
It means that the method type we used is not valid and another method type is expected. So we will try to change that and see if we get the correct response.
POST Request without Body
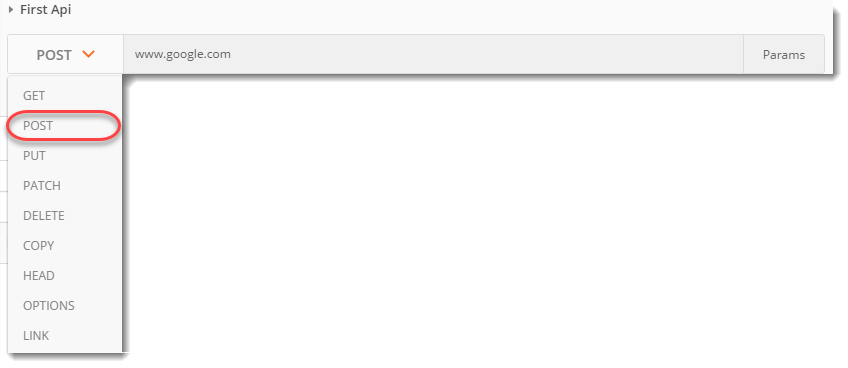
- Change the method type to POST and press SEND

- Now, look at the Response Body and Response Status code.
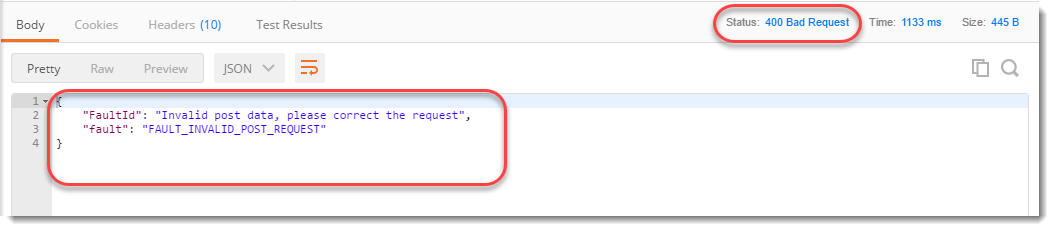
Fault Invalid Post Request means that the post data that we entered is not valid. Recall that we add the information inside the body of the request, so we need to enter something into the request body and see if that format matches the format expected. Also, you can see the status code which says 400 BAD Request. It means that the request parameters are not matching the server parameters to get a response.
Post Request in Postman
- Now let us add a Request Body to our POST request. Every Endpoint will be documented with what kind of Method type and the format of the body that it expects. Let us see what body this request expects and how to add it. For that click on the Body tab.

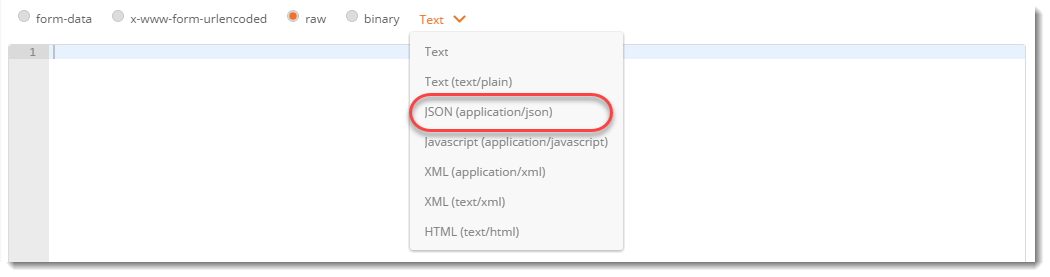
- Click on raw and select format type as JSON, since we have to send the incorrect format that the server expects.

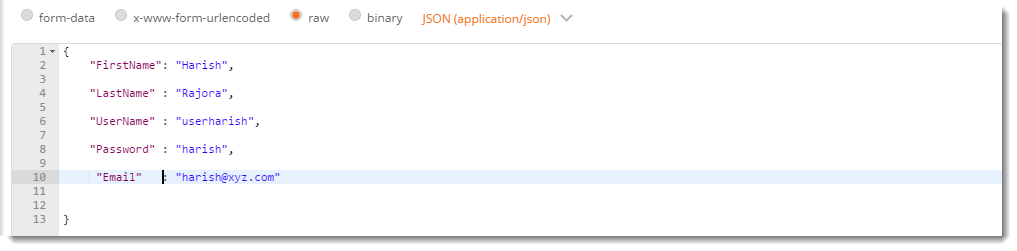
- This endpoint expects a Json body which contains the details of the new user. Below is a sample Json body. Copy and Paste the following in the body tab of Postman.
{
* “FirstName”: “value”*
* “LastName : “value”,*
“UserName : “value”,
“Password”: “value”,
“Email”: “Value”
}
Change the attribute value to any value you want (take reference from the below image).
- Press Send and see the Response Body and Response Status.
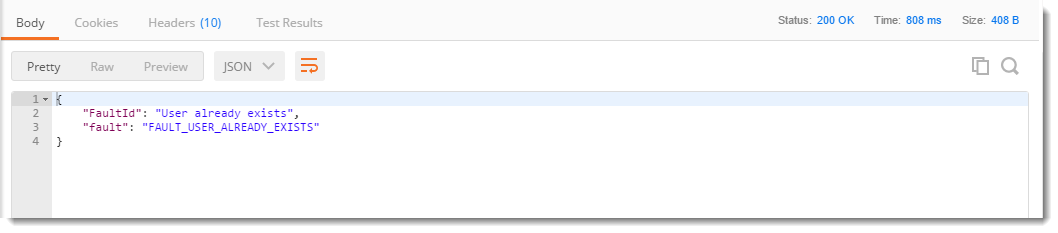
The error Fault User Already Exits means that in the database, a similar entry has already been created by you or anyone else earlier. Whereas if you see that the Response Status is 200 OK, which means that server accepted the request and sent back a successful response. We can also infer from this that the response body was correct and the server was able to interpret the response body. Now in this API Request, Email and Username should be unique. So you can change those values (anyone will also work).
If the values are unique, you will get this response
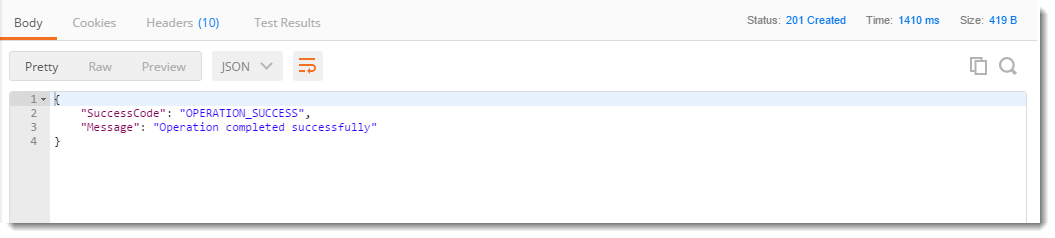
Operation completed successfully means that your entry has been created successfully in the database.
So, by this example, it is clear that whenever we need to send a POST request, it should be accompanied by the Body. The body should be in the correct format and with the correct keys to get a correct response from the server. Now, we will learn in detail about every feature of Post request in Postman.
Different ways to send the data in a POST Request in Postman
As we discussed earlier, sending a POST request means sending a request with the data wrapped inside the body of the request. There can be different types of data and similarly, there are different ways of sending data. As you will follow these steps, you will learn in detail about it.
- Select the method request type as POST in the builder as shown.
As soon as you select the POST request type in Postman you will see that the option Body is enabled which has different options to send the data inside the body. These options are:
- Form-data
- X-www-form-urlencoded
- Raw
- Binary

Form Data
Form data as the name suggests is used to send the data that you are wrapping inside the form like the details you enter when you fill out a form. These details are sent by writing them as KEY-VALUE pairs where the key is the "name" of the entry you are sending and value is its value. The following steps will make it clear.
1.Select form-data

- Add the following KEY-VALUE pair
- First name: Harish
- Last name: Rajora

Here, the first name in the field of some form (text field here) that is needed to be entered and Harish is its value i.e. the value the user has entered. Similarly goes for Last name id.
x-www-form-urlencoded
Form data and x-www-form-urlencoded are very similar. They both are used for almost the same purposes. But the difference between the form data and x-www-form-urlencoded is that the URL will be encoded when sent through x-www-form-urlencoded. Encoded means the data which is sent will be encoded to different characters so that it is unrecognizable even if it is under attack.

Raw
Raw is the most used part or option while sending the body in the POST method. It is important from the point of view of Postman. Raw means the body message is shown as a stream of bits representing the request body. These bits will be interpreted as a string server.
- Click on the dropdown besides binary and there can be seen all the options in which you can send the request

- Click on JSON(application/json)
- In the editor below copy and paste this
{
"first name": "Harish",
"last name": "Rajora"
}
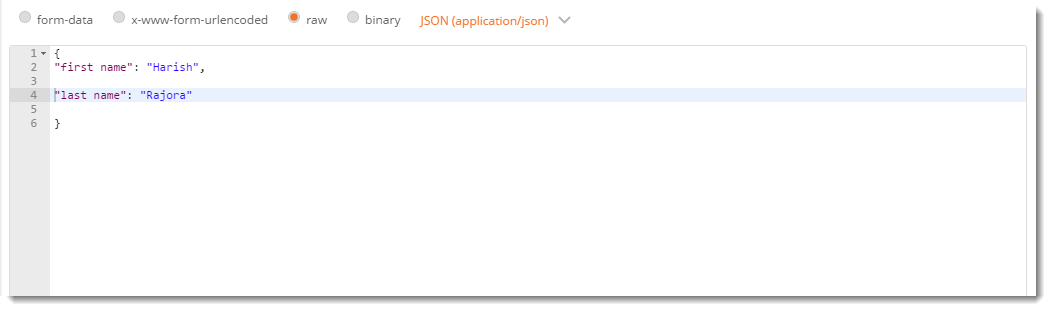
This is the same data that was sent previously with form-data but instead it is now sent with the JSON format.
Binary
Binary is designed to send the information in a format that cannot be entered manually. Since everything in a computer is converted to binary, we use these options which cannot be written manually such as an image, a file, etc. To use this option
- Click on binary, a CHOOSE FILES option will be available

- Choose any file, such as an image file.

Note: If you wish to send to the server some data along with the file then it can also be done in the form-data.
Click on the form-data

Enter file as a key

and you will see a hidden drop-down that says Text as default. You can choose any file format and then select the file from the system.
Always remember what your server is expecting. You cannot send another format than what your server expects, otherwise, there will be no response or incorrect response which can obviously be seen by the status code of the response. So now, we have learned about the POST method and how to use it in Postman. We will move on to the next tutorial now which is Collections.
There are other types of REST Requests, if you like to learn more about them please refer to the below videos:
PUT Request in Postman
DELETE Request in Postman