In this article, we will learn the usage of NUnit Framework and we will also see how to download and install NUnit & NUnit adapter. But before that let's just understand that why we need to use the NUnit Framework for Selenium test cases.
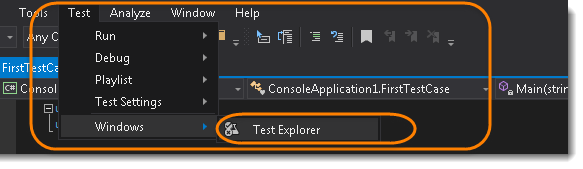
- Go to Test >> Windows >> Test Explorer.
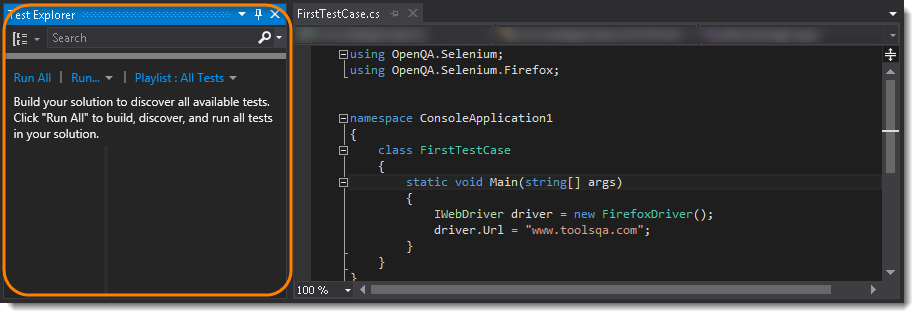
- On the left-hand side of the Visual Studio, a new window will appear if already not opened and this window is the Test Explorer Window.
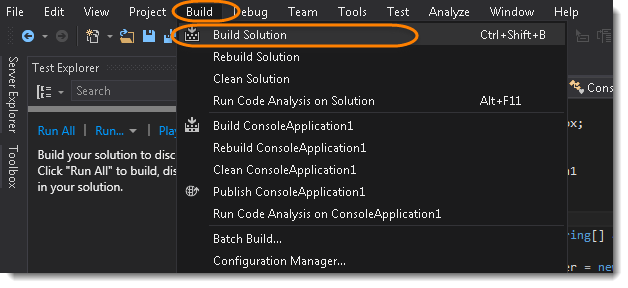
- Go to Build >> Build Solution.
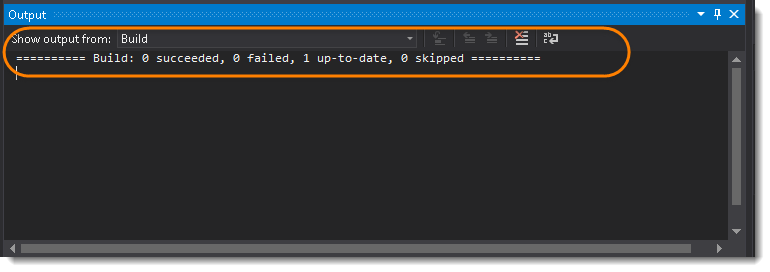
Notice that the Test Explorer window is still empty and Visual Studio is not able to find any test to run for the build. Even though if you are following the previous two tutorials, you will realize that we got one FirstTestCase in the project. Even in the Output window, it says 0 succeeded and 0 failed.
Now let's just install Nunit Framework and Nunit Adapter and see what happens after that.
What is NUnit Framework?
NUnit is a unit testing framework for performing unit testing based on the .NET platform. It is a widely used tool for unit testing and is preferred by many developers today. NUnit is free to use. NUnit does not create any test scripts by itself. You have to write test scripts by yourself, but NUnit allows you to use its tools and classes to make unit testing easier. The points to be remembered about NUnit are listed below:
- NUnit is not an automated GUI testing tool.
- It is not a scripting language, all tests are written in .NET supported languages, e.g., C#, VC, VB.NET, J#, etc.
What is NUnit Adapter?
The NUnit Test Adapter allows you to run NUnit tests inside Visual Studio.
Steps to Download and Install Nunit Framework using the NuGet Packages?
- Go to References >> Manage Nuget Packages... from the Solution Explorer window from the right side.
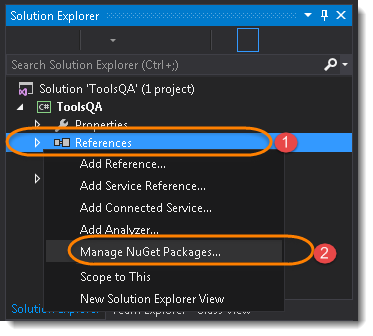
Note: Same can be done by going to Tools >>Nuget Package Manager.
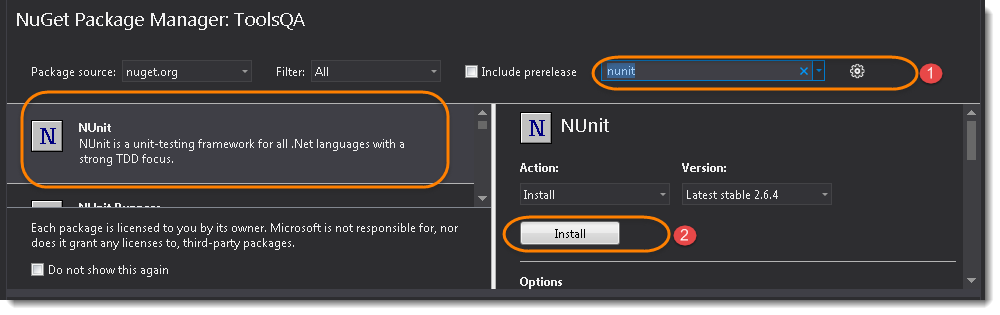
- Type Nunit in the Search box. This will take a few seconds to find the right tool. Locate (search for) NUnit in the center panel and highlight it by selecting it and click Install.
Steps to Download and Install NUnit Adapter using the Extension Manager?
- From within Visual Studio, select Tools >> Extensions and Updates..
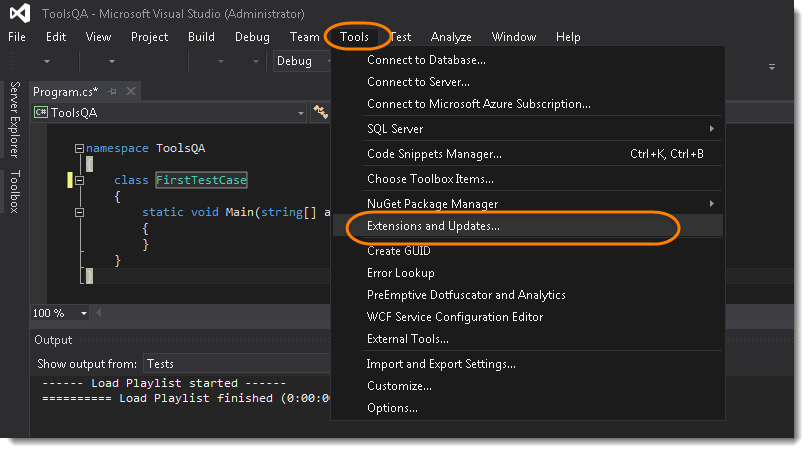
- Search for NUnit Test Adapter and once found click on Install button.
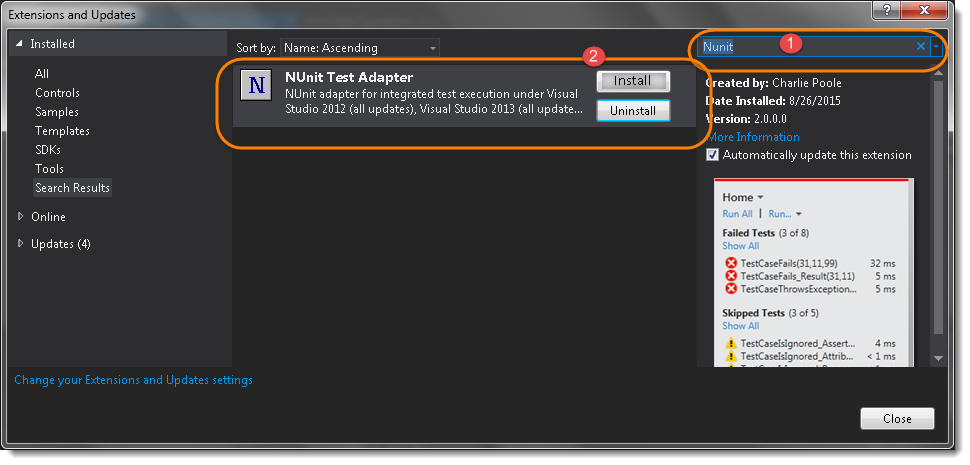
Note: Same can be downloaded from the Nuget package as well, below is the difference between Nuget and Extension.
How to choose between Extension and NuGet package
The Extension will apply to Visual Studio itself, and will work for all projects you use. All users of your solution need to install the Extension. The Package will apply to the solution, and will work for any other user too, as it follows the solution.
Steps to Create an NUnit Test
The first thing need to do is to create a new class and write test code in that.
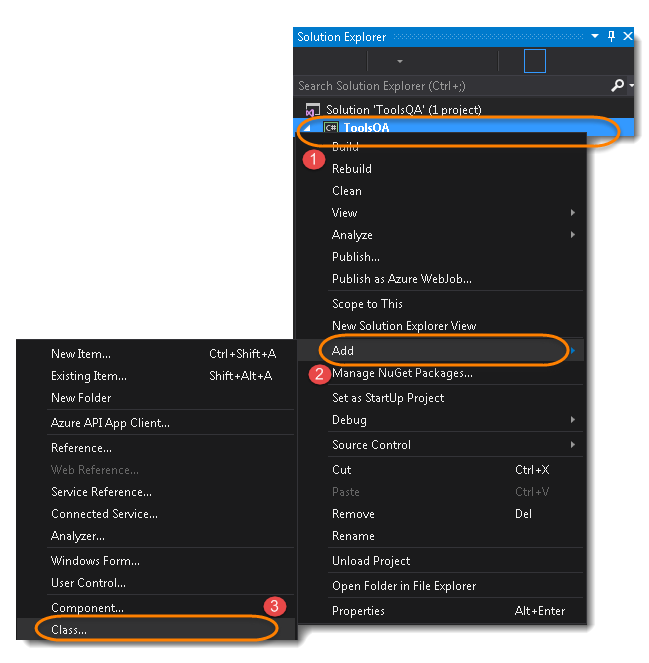
- Right Click on the Project on the Solution Explorer and select Add >> Class.
-
Give your Class name ‘NUnitTest‘ and click on Finish button. This will bring up totally a sweet class creation window.
-
Write the selenium code for the following steps:
- Start a FireFox Browser
- Open Website in the browser started by Selenium
- Close the Browser
Code:
using OpenQA.Selenium;
using OpenQA.Selenium.Firefox;
using NUnit.Framework;

namespace ToolsQA
{
    class NUnitTest
    {
        public void TestApp()
        {
            IWebDriver driver = new FirefoxDriver();
            driver.Url = "https://www.demoqa.com";
            driver.Close();
        }
    }
}
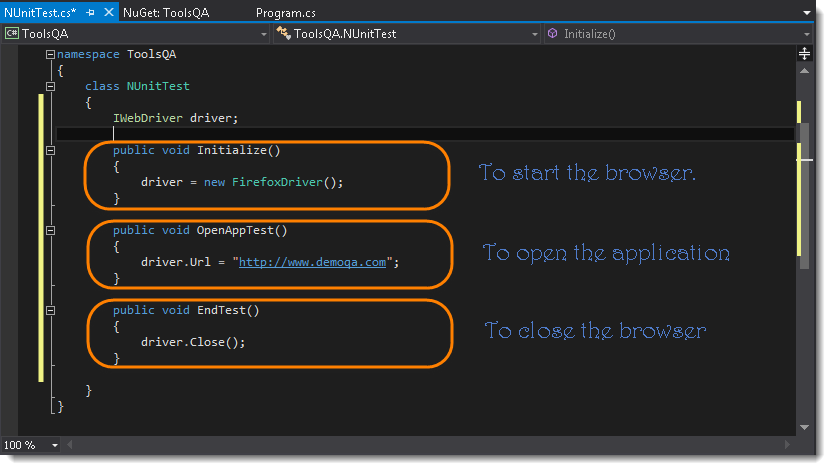
- Divide the code into three different parts:
-
Start a FireFox Browser : Initialize
-
Open Website in the browser started by Selenium : OpenTestApp
-
Close the Browser : EndTest
Code:
- Now Build the solution again by doing Build >> Build Solution.
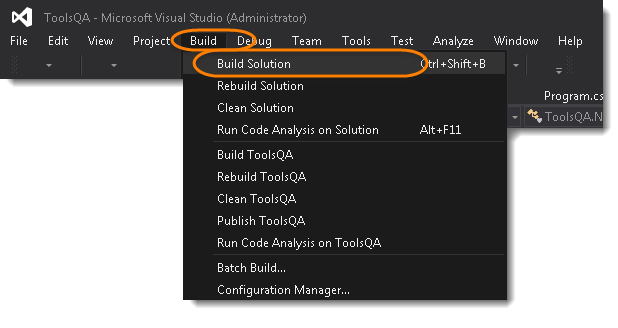
Take a look at the Test Explorer window, it is still Empty and not found any test to run for the build.
- Now use NUnit Annotations to define your test. Use [SetUp], [Test] & [TearDown] for the three methods created above for each action. And again run the Build
Code:
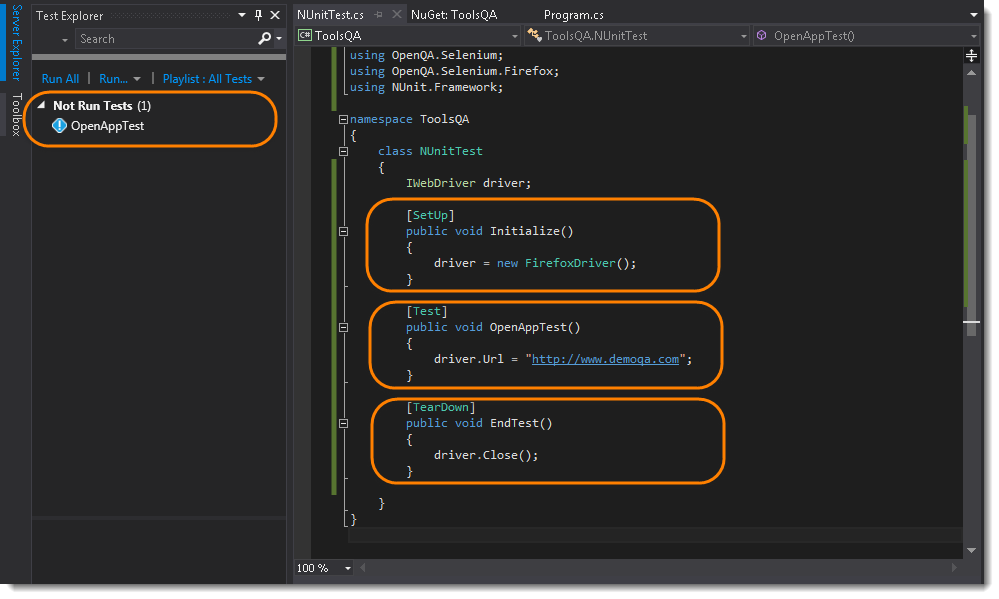
Note: Noticed that the Test has appeared in the Test Explorer window. So like this, you can define an unlimited number of Tests in the single class file but the SetUp method will run once before the every Test and TearDown method will also run once after every Test. Each test can be named differently like this.
- Its the time to run the NUnit test. To run the test, Right Click in the Code window and select Run Tests.
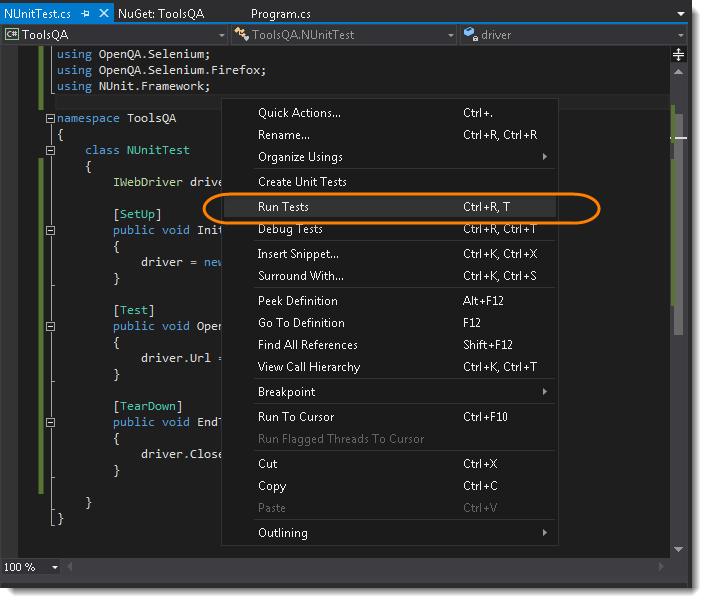
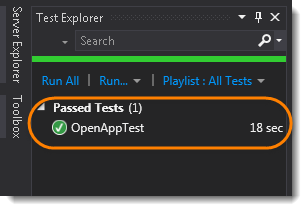
Selenium will start a Firefox browser, open the website and close it. Once the test run is finished, in the Test Explorer window the text above the OpenAppTest will change from Not Run Tests to Passed Tests.
Steps to Create a New Package
Now we are moving to learning Selenium, we will be doing lot of practice for Selenium Code and so it makes sense to create a different package for all the Selenium Test. To achieve that, we need to create a new folder in to the project solution.
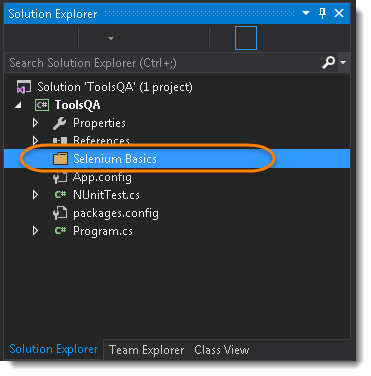
- Right Click on the Project and select Add >> New Folder and name it Selenium Basics.
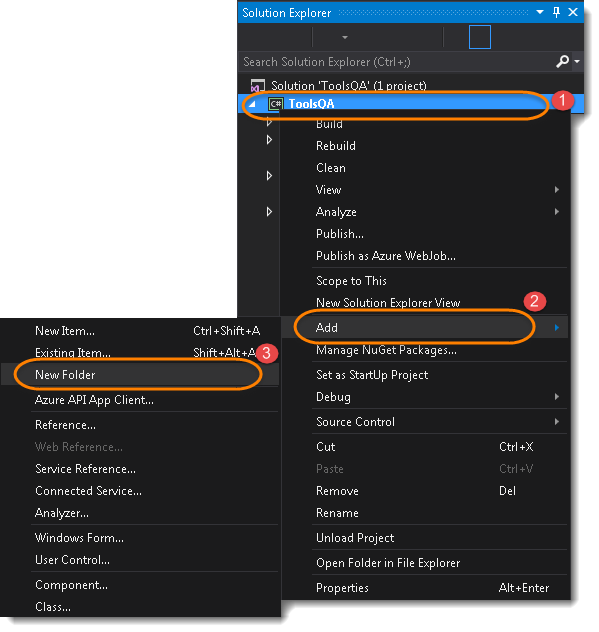
The Solution Explorer will look like this now.