Visual Studio Community is a free full-featured IDE for developers building apps across devices, desktops, and the cloud. The community edition includes all the capabilities needed for a student, open source contributor, or small team to create compelling applications – powerful productivity features, cross-platform mobile tools for Windows, iOS, and Android, as well as access to extensions.
Visual Studio Community supports Visual Basic, C#, and C++. This makes it suitable for a beginner as the software is free to download and install. Follow these simple steps below to install and setup Visual Studio Community.
In this tutorial, we will cover the following topics to set up Visual Studio for the Selenium Scripts:
- Download Visual Studio Community
- Install Visual Studio Community
- Create a New Project in Visual Studio
Steps to Download Visual Studio Community
- You can download the software from the https://www.visualstudio.com/en-us/downloads/download-visual-studio-vs.aspx.

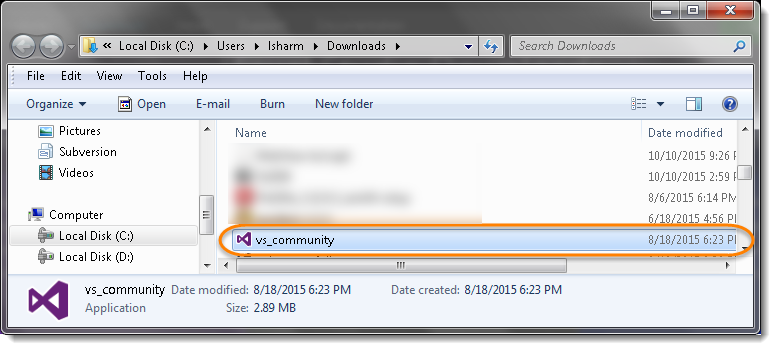
- Save the .exe file to your disk.

Steps to Install Visual Studio Community
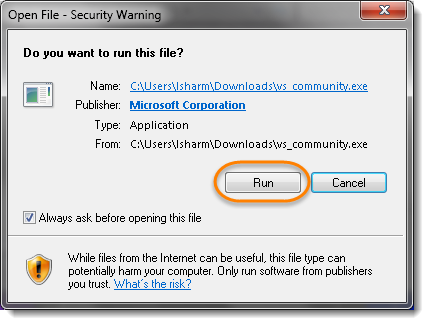
- Double click on the saved file to start the installation.
- Click on the Run button.
3) Click 'Install'. Be sure to read and agree to the License Terms and Privacy Policy.
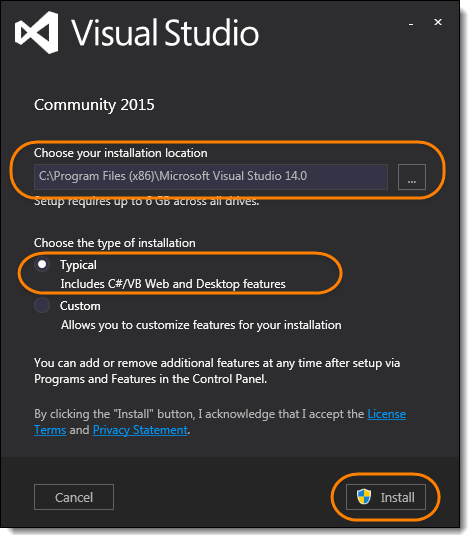
Note: Change the default location if you like to and let the 'Type of Installation' be default as Typical, unless you know what you are doing.
- Wait for the install to complete.
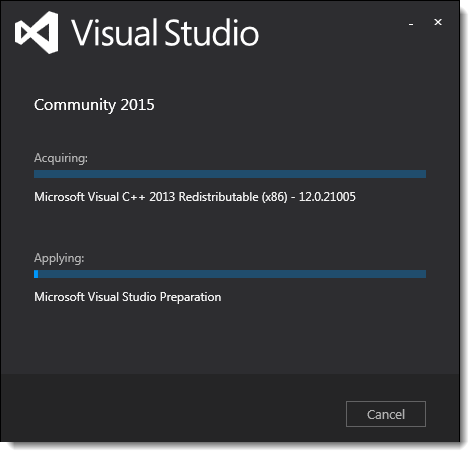
Note: Installation would take around 10 to 15 mins.
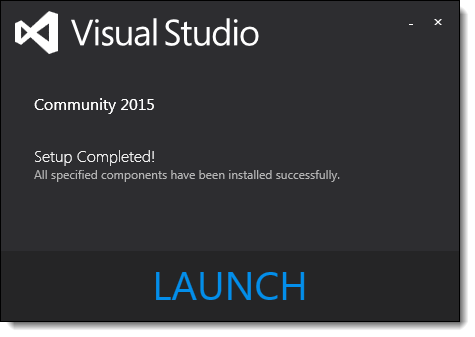
- Click on Launch button to start the Visual Studio.
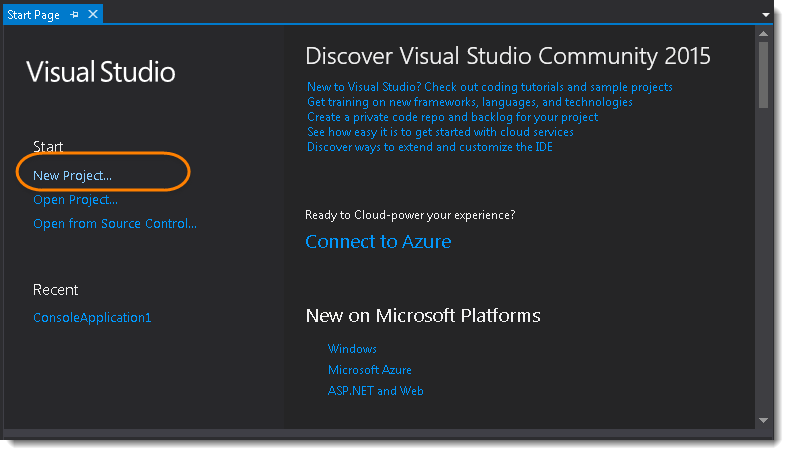
Steps to Create a New Project
- Click on New Project.
2) Select Visual C# from the left, then select Console Application from the middle. It will give the option to mention the Project name, location & solution name. Give the sensible name to the project, just for the sake of simplicity, enter ToolsQA and give the preferred location to the project. Click on OK button to proceed.

Note: Let the solution name be same as ToolsQA.
Now you will end up with the below screens on your machine.
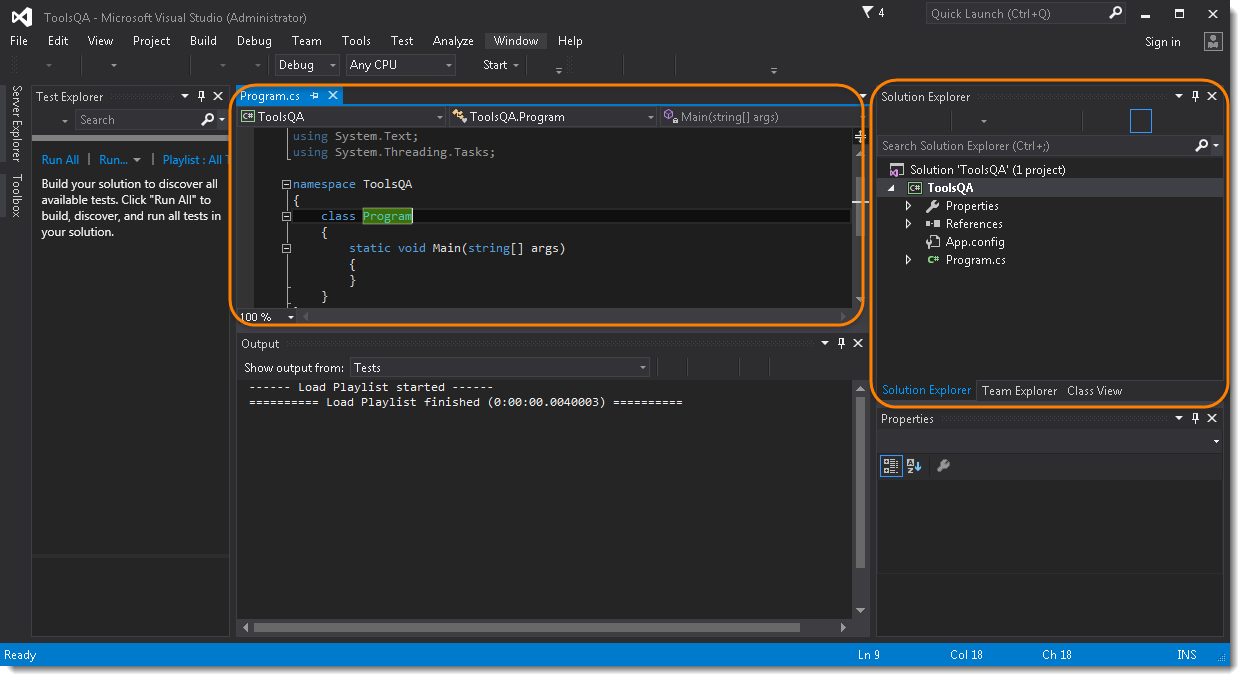
In the next chapter, we will execute Selenium first test case and learn how to download and install selenium Dlls into the project.