In this chapter we will learn to Set Up Selenium WebDriver with Visual Studio in C# which cover the following topics:
- How to Download Selenium WebDriver
- How to run first Selenium Test
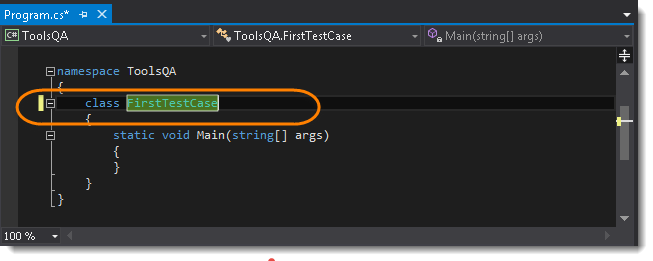
Before moving on, let's just first change the name of the test case, which got created by default by the Visual Studio at the time of the Project Creation. As of now, the name of the test case is Program, let's just change this to something more meaningful, like FirstTestCase.

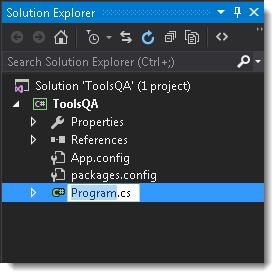
- In the Solution Explorer window, which is on the right side of the Visual Studio in the above image. Right Click on the Program.cs and Select Rename.
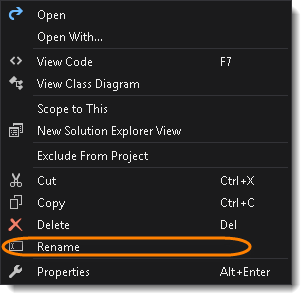
- Notice that the text Program.cs is selected by default, now just type the new test case name 'FirstTestCase'.
- The new name will start reflecting everywhere in the project or code window.
Steps to Download Selenium WebDriver
- Go to Tools >> Nuget Package Manager >> Manage Nuget Packages for Solution....
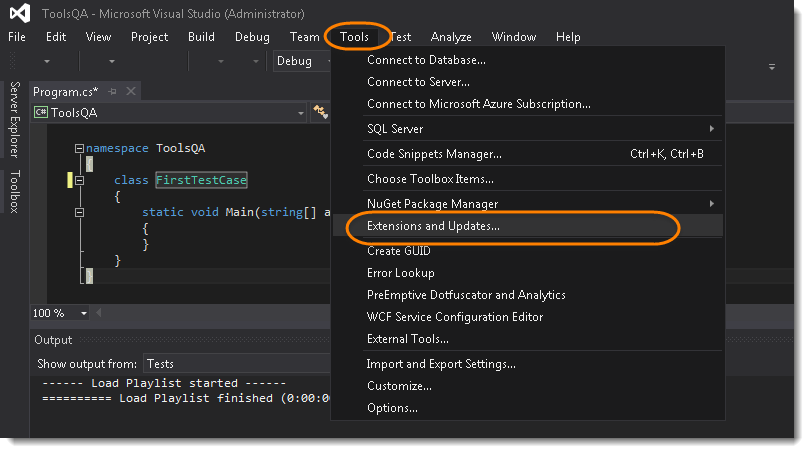
Note: The above screenshot is wrongly taken, please select Nuget Package Manager >> Manage Nuget Packages for Solution...
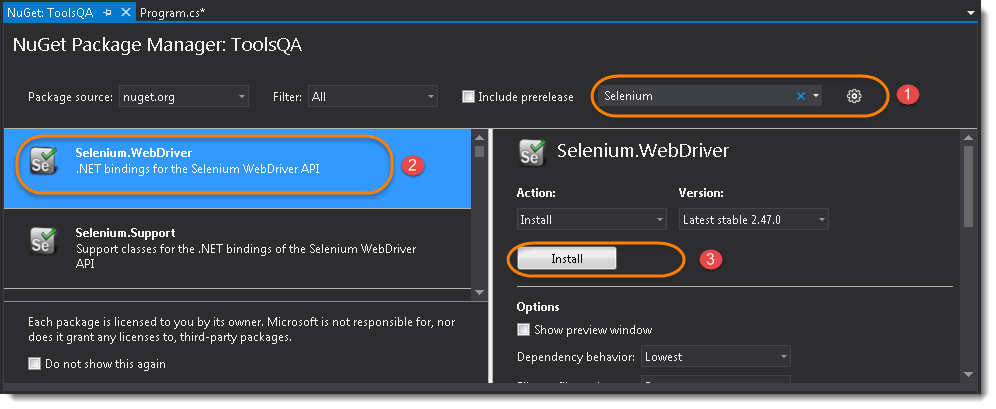
- In the Seach Box, search for Selenium.WebDriver or Selenium. This will take a few seconds to populate the Selenium. Once done, just select Selenium.WebDriver and click on Install to start the installation process.
- Once Visual Studio is finished with the successful installation of the Selenium WebDriver, it will generate the output logs.
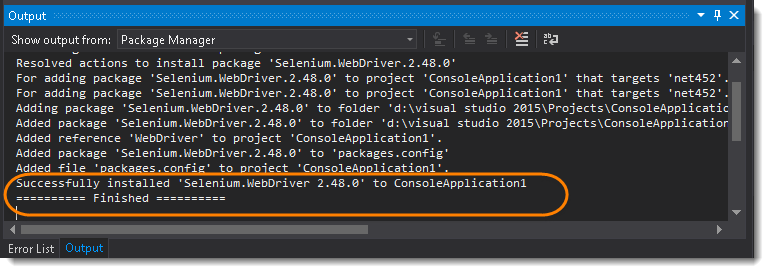
Now that we have the Selenium DLLs referenced in our project it time to test the configuration by running a quick test.
Steps to Write the First Selenium C Sharp Test
- At the top of your project code after the last ‘using’ namespace add the following Selenium namespaces:
using OpenQA.Selenium;
using OpenQA.Selenium.Firefox;
- Add the following code in your static void Main section:
 IWebDriver driver = new FirefoxDriver();
 driver.Url = "https://www.demoqa.com";
Now the Code window of the project should look like this:
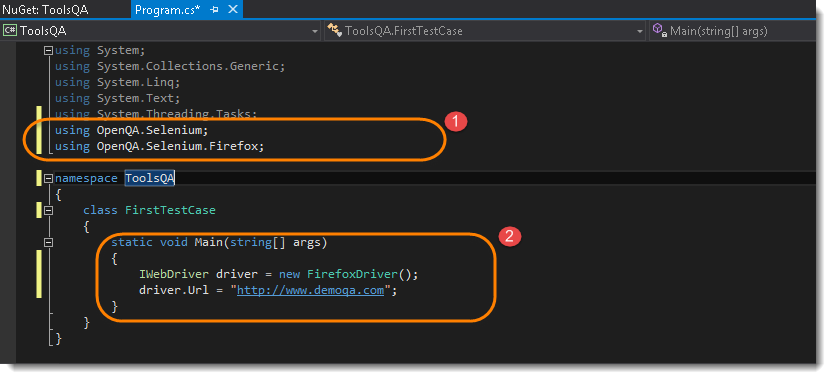
Note: We will come back to the understanding of the code later, once we start with Selenium Tutorial, but as of now just understand that the above code is creating an instance of Firefox driver and opening an URL in it.
- Run the test by clicking on the Start button given on the top bar.

Notice that the Visual Studio started a Console application and just followed that it initiated a Firefox driver and opened the website.