We discussed the perks and usage of SSH Authentication in the last tutorial and in this tutorial we will learn about Git SSH Authentication. The advantages of SSH indicated that SSH is more secure and convenient to use once the initial set up finalized and ready. But that was just the theory. To make use of SSH keys, we must generate them and add them to our GitHub account. In this tutorial, we will cover the following:
- How to Authenticate via SSH in Git?
- The procedure of Generating public and private keys in SSH.
- How to Add SSH keys to the GitHub Account?
- The method of Verifying the SSH keys through Git Bash.
How to establish Git SSH Authentication?
Authentication provides us with a method to let only authorized users access the confidential data or any data if I say. Authentication and authorization is a broad topic. If you are interested, you can learn more from authentication and authorization to brush up the concepts. In Git and GitHub, while we learned the authentication through HTTPS in the repository cloning tutorial, it time for authenticating using another option that GitHub provides.
You might wonder that just like we copied the URL by pressing clone in GitHub; Similarly, we will choose the SSH option and follow the steps. Well, let's try that and see what happens.
1.Navigate to the ToolsQA repository page

- You will find the Clone or download button. Click on the button to open the cloning options.
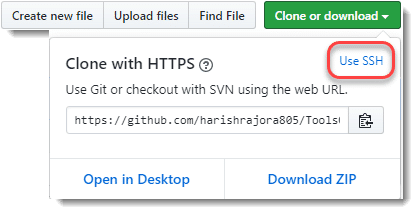
- Go to the Use SSH button to see if it takes us somewhere.
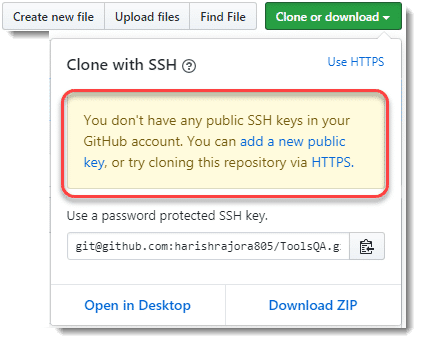
We get a note that we currently do not have any public SSH keys in our GitHub account and followed by the links to generate one. So, our learning in the SSH authentication post is quite right. We need the keys to communicate with the server via SSH. In the next section, we will generate the SSH keys, but before that, as a precaution, you should remember a note. It might so happen in some cases that the user already has the SSH keys pair in their repository. So, before generating the keys, it is a good practice first to check the existing SSH keys, if any.
Checking SSH Keys In Local Repository
Checking the SSH keys in the local repository is a few-step simple process.
-
Open Git Bash on your system.
-
Type the following command and press enter:
ls -l ~/.ssh
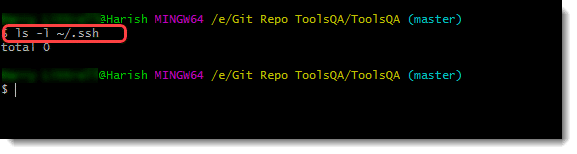
Once the command executes, you will see the result as a total 0 if you do not have the keys. Whereas, if you do have the keys, it will display as the following:

It shows that two keys are present. If you have the keys present, you can skip the next section, which details about generating public and private keys in GitHub. Type the following command to check whether you have the ssh keys present or not.
ls ~/.ssh
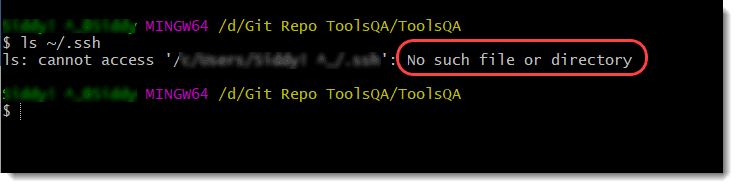
Since I do not have any such directory and the keys, of course, I get the appropriate message. In the next section, we will generate ssh keys.
Generating Public and Private Keys in GitHub
Now that I am sure I have no keys associated with my remote account let's go ahead and use SSH for authentication. For this, we generate two types of keys.
- Private Keys
- Public Keys
Private Keys in Cryptography
As mentioned above, the user generates two types of keys while communicating with other people over the internet. Out of those two keys, the user keeps one with themselves and does not share it with anybody. This key is the private key of the SSH protocol. For security purposes and to increase the permutations of guesses that a hacker can make, this key is generally very lengthy. It can be as long as 1024 or 2048 bits. Therefore, we use a private key for decrypting the data. If one loses the private key, the data will remain decrypted forever.
Public Keys in Cryptography
The other key that the user generates is the public key. The public key gets shared with everyone, and through public key only, a user will encrypt the data they are trying to send. On the other end, the receiver will decrypt the data with the private key. User can decrypt the data if and only if the public key is of the same person to which you sent the data. Once decrypted, the user gets assurance that the correct person has sent the data, and the sender gets the guarantee that the right person has decrypted the data.
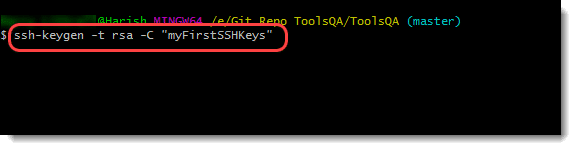
To generate the pair of ssh keys through Git, type the following command:
ssh-keygen -t rsa -C "myFirstSSHKeys"
If we break this command into elements that make it, we get the following entities:
-
ssh-keygen: ssh-keygen is a standard cryptographic key generation tool. It depicts that we are requesting the ssh key generation from Git. It comes pre-installed with Unix systems and Windows 10 onwards. Before Windows 10, PuTTY achieved the same goal.
-
-t: This option defines that we are about to describe the type of key we want to generate. The keys can be of DSA or RSA type.
-
rsa: This asks Git to generate RSA keys only.
-
-C: This option depicts that we are about to mention a comment next to this option.
-
myFirstSSHKeys: This is the comment. It is essential when we have multiple keys associated with our account.
Press enter to execute the command.
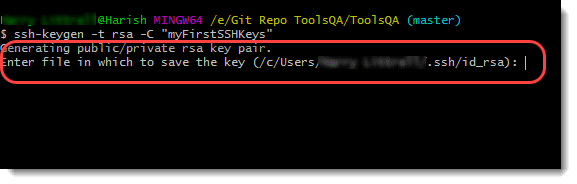
You will see the message as Generating a public/private rsa key pair, which shows that ssh-keygen is generating the keys. Once generated, it will ask the file in which you want to save the keys. Ssh-Keygen will show you the default location. For now, we will be going ahead with the default location, so just press enter.
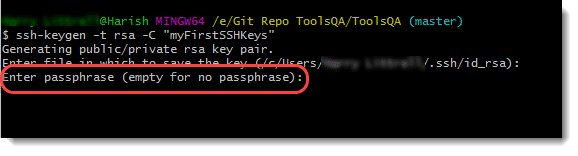
Next, you will be prompted to enter the passphrase. For now, we will go ahead with the empty passphrase. Press enter and enter the same passphrase (nothing) again to generate the keys.
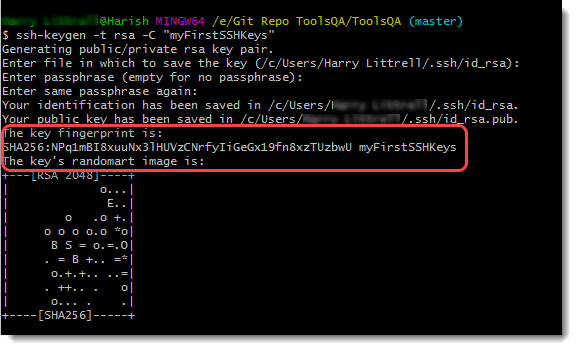
Congratulations, if you are getting the same screen! The generation of your keys is successful. The highlighted line, however, shows the shorter version or the fingerprint of the public key.
Let's see the keys in the directory now by again typing the following command:
ls -l ~/.ssh
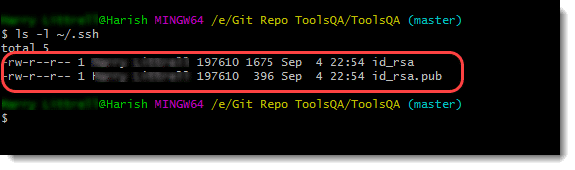
This note confirms that we have successfully generated the keys. Now, we need to add the public key to our GitHub account so that we can communicate from Git on the local machine to a remote GitHub server via SSH.
Adding SSH keys to GitHub
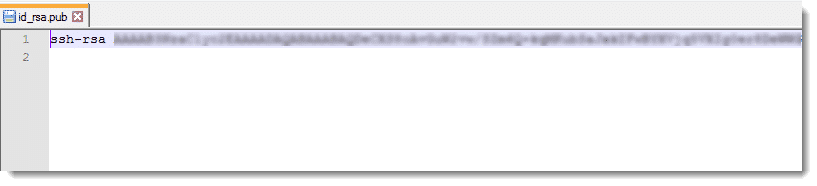
- To add the SSH key to our GitHub account, first, we need to copy the key. To copy the key, open the public key that we generated in the above section in your favorite text editor:

*Note: We are using Notepad++ as a text editor, while you can use any one of your choices. For more information, you can refer to text editors in Git.
- The key will open in Notepad++. Copy this key.
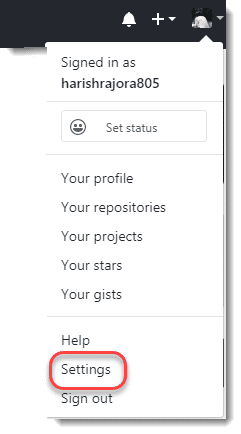
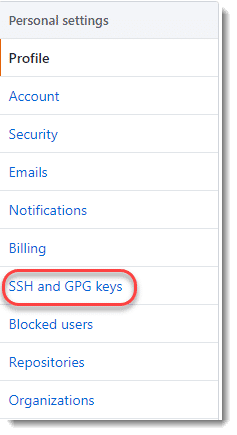
- Open your GitHub account and go to settings by pressing your profile picture on the top-right corner of the page.
-
Navigate to SSH and GPG keys option from the side panel.
-
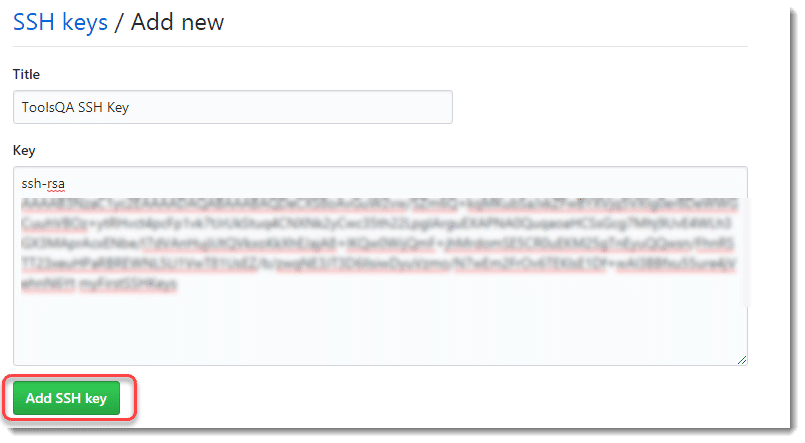
Press the New SSH key to enter a new key in GitHub.

- Enter the title, and the key in the text field given and press Add SSH Key.
Once done, you will see that the key has been added successfully, which is recognized by the title given in point 6.
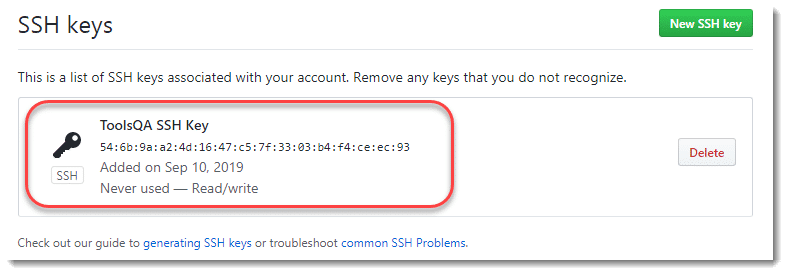
If this is the screen you are getting, you have successfully added the SSH key to your GitHub account. Now, we need to verify that the key has been linked correctly or not.
Verifying Added SSH Key in GitHub Account
Now that the SSH key has generated and added in our GitHub account, it is time we check the key with our GitHub account with the help of ssh and GitBash.
Go to the Git Bash and type the following command:
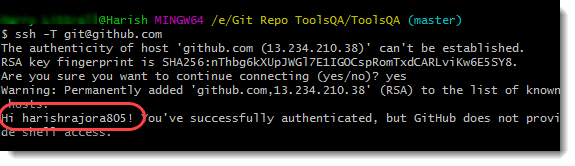
ssh -T [email protected]
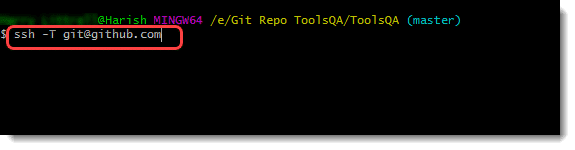
Press enter to see the following message on the screen. It will prompt you to confirm if you want to authenticate or not. Press Yes.

Press enter, and if you see a message with your name, you have verified successfully the key that you have generated.
Successful verification of our keys brings us to the end of this tutorial of Git SSH Authentication. It was a lot to generate, add, and verify keys to the account, which we have done happily. Before ending, I must say that the use of HTTPS or SSH depends entirely on the user and their convenience. If you feel more comfortable using HTTPS, you should go through it (after giving a read to its advantages and disadvantages). For now, we will move on to our next post.