Throughout this whole course, we have had a detailed discussion of connecting the local repository with the remote repository and cloning a repository to the local machine. The content of this post is quite apparent. It is the next milestone in the series and information on the process of reflecting the changes that the user has done on the local system onto the GitHub account/remote repositories. Yes, we are going to learn about Git Push.
In this article, we are going to cover:-
- What is Git Push Command?
- How to Push Changes from Local Repository to Remote Repository in Git?
- Options Available in Git Push command in Git
- Prune Option in Git Push
- Dry Ryn in Git Push
- Atomic in Git Push
- All in Git Push
Before starting the tutorial, we will request the user to learn the things given below.
Pre-Requisites for Pushing Changes in Git:
- How to connect Git Local Repository with the remote repository (Refer Link).
- How to fork a repository to the GitHub account (Refer Link).
- Procedure to clone a repository to the local machine (Refer Link).
What is Git Push Command?
A git push command, when executed, pushes the changes that the user has made on the local machine to the remote repository. Once the users have cloned the remote repository and have made the necessary changes in their local device, these changes need to be pushed to the remote repository. The reason being, so that they are shared and used by other users. Git push command does it. These changes represent commitments performed on the repository and not the uncommitted changes (if any).
In addition to this, the changes that the user makes to the local system are of no worth to the contributors and viewers if the GitHub cloud does not reflect it. Imagine a user working on modifying some software (third-party repository), and merging the changes done is not easy. For instance, if you are working in a team on a single project, all the team members can push their code changes to the Github remote repository. Additionally, other members can fork and pull the changes from that remote repository. Therefore, it becomes effortless for multiple users to share their code change with all the team members.
To be able to push to your remote repository, you must ascertain that all your changes to the local repository are committed.
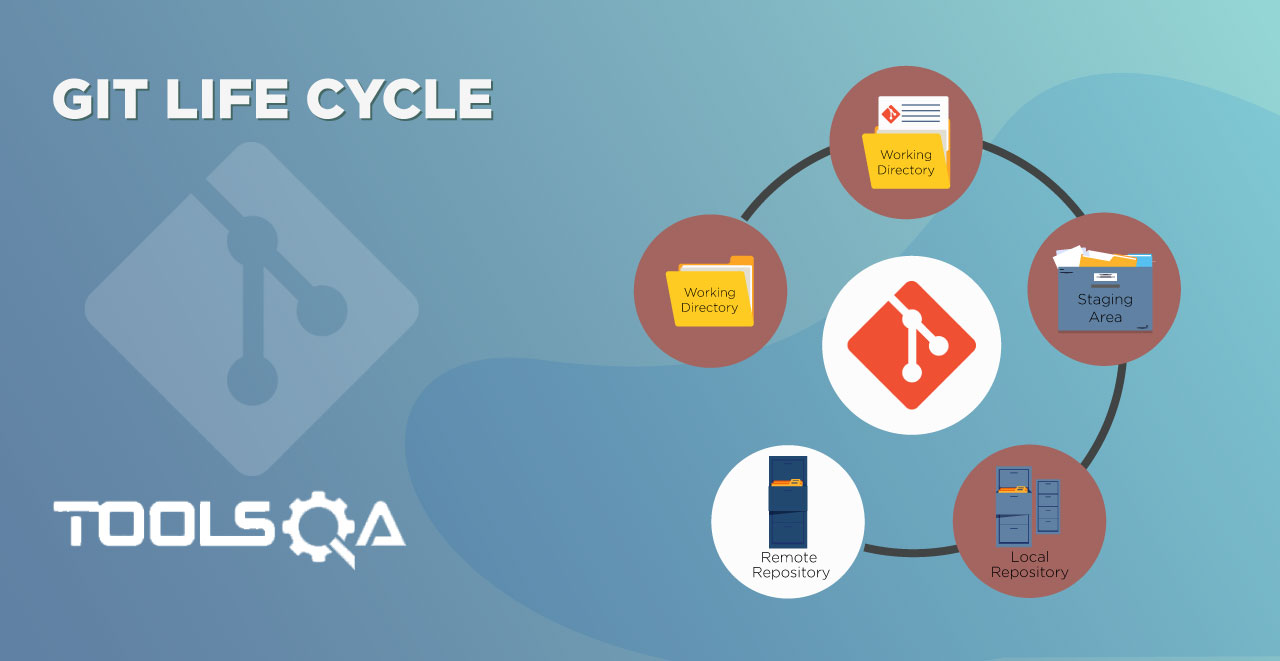
Consider Git push as a part of the synchronization process in Git. The synchronization happens between the local and remote repository where the source and the receiver may vary. There are a lot of other parts to sync and git push is one of the parts because it uploads the changes done on the local repository to keep the remote repository up to date. There is nothing complicated about it, and the concept is simple, just like its syntax.
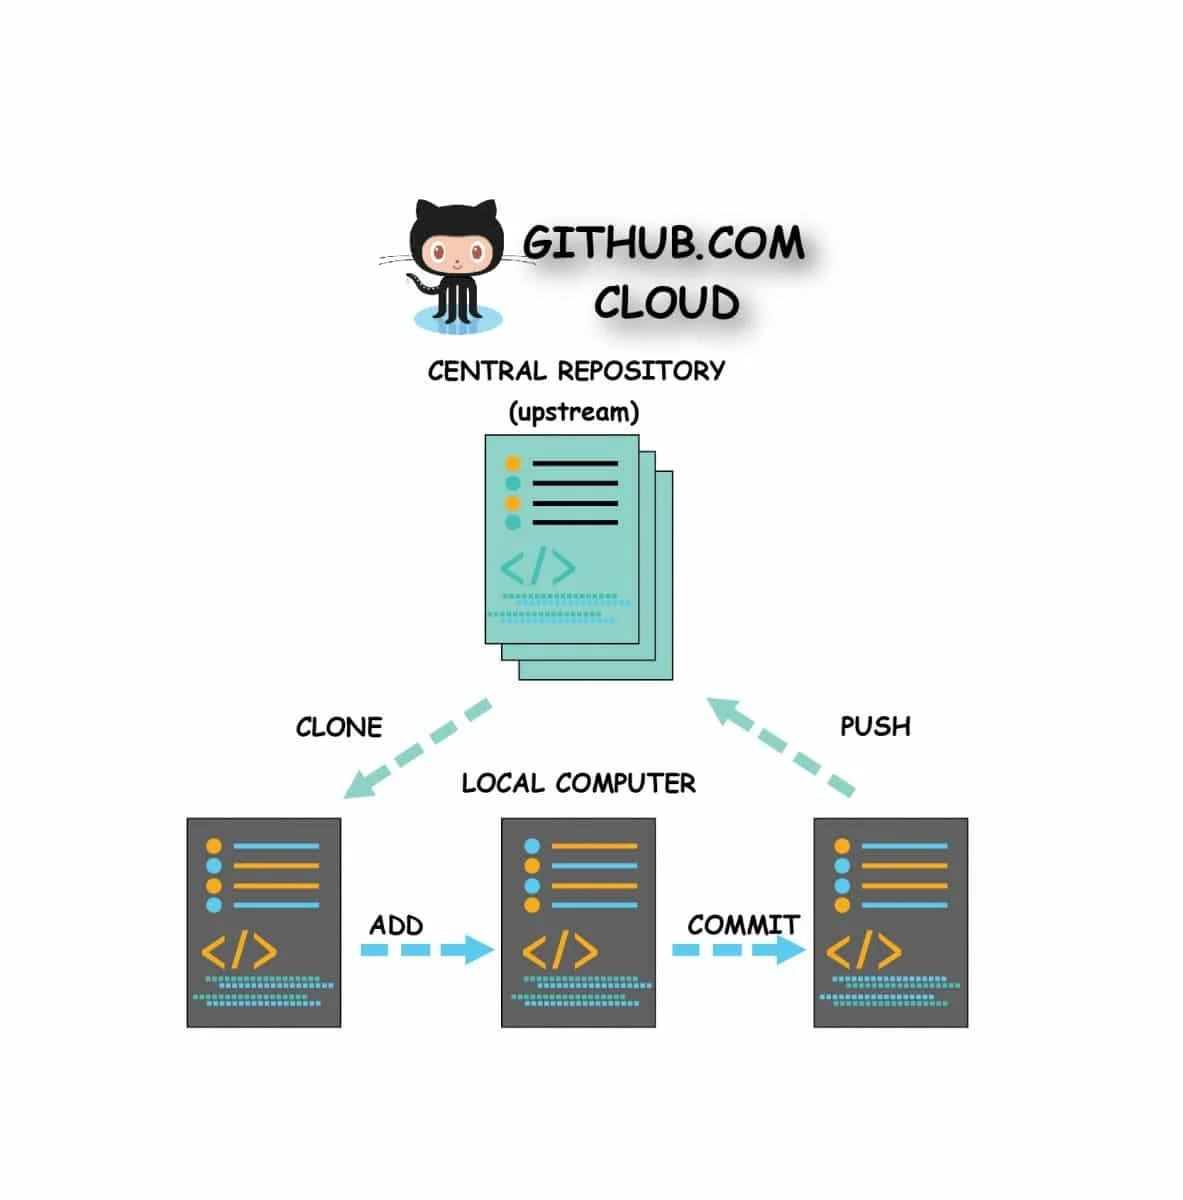
The above image suffices the concept in a nutshell.
- The user clones a repository as a first step to make some changes in the repository.
- Thereafter, they proceed to make the changes to the local system and add these changes to the staging area.
- Upon finalizing all the changes, the user then commits all the changes to the local repository.
- After their satisfaction, they push these changes to the remote server. Finally, it synchronizes the local and remote repository.
Syntax of Git Push command in Git:
Execution of Git push command happens by typing the following command:
git push <remote_repo> <branch_name>
- remote_repo: This is the name (or alias) of the remote repository to which we are pushing the changes.
- branch_name: This is the branch the user is pushing to the remote repository.
We will talk about branches in the Branches in the GitHub tutorial. But till then imagine that a branch in Git is similar to the branches in a tree. Every branch represents a new feature or modification under development. Additionally, the main branch is the stable code like the trunk of the tree, also called a master branch. Which, in turn, helps the unstable code of branches to stay away from the stable main code.
In the next section, we will see how to push the changes to the remote cloud repository.
How to Push Changes from Local Repository to Remote Repository in Git
To push some changes to the remote repository, the repository must, first of all, contain some commits on the local system. Therefore, in this section, we will first create some changes to the repository. Secondly, we will commit those changes, and finally, we will reflect them in the remote repository.
Before creating the changes onto the repository, ensure that you have performed the following operations:
- You have forked a repository to the GitHub account.
- You have cloned the same repository to the local machine.
Note: In this tutorial, we will use the ToolsQA repository that has already been forked and cloned in the previous tutorials. The user is free to use any public repository. However, the recommendation is to use the same repository for this tutorial is recommended.
As a good practice first, check that you have a clean repository through git status command (no pending changes to commit).
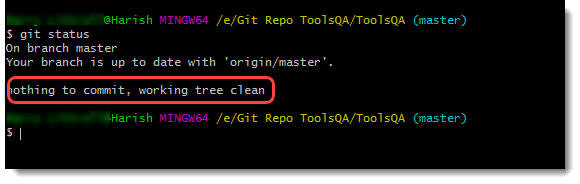
The following lines appear after executing the git status command:
On branch master: Denotes that we are currently on the master branch. Since there are no other branches yet, we are on the master branch by default.
Your branch is up to date with origin/master: Origin is the name of the remote repository that we gave while connecting the local repository with the remote repository. Please refer to this link to know more.
- List all the files with the ls command in the repository.

Since there is only one file (README.md is just instructions), let's make some changes to its content.
-
Open the file using your favorite editor and make any changes to the file.
-
We have changed the file to the following code.
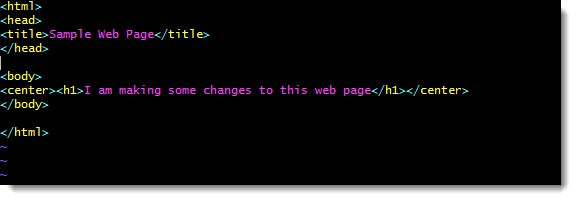
Note: This is a screenshot of the vi editor. You can use any editor of your choice.
- Add the changes made to the staging area and commit these changes.
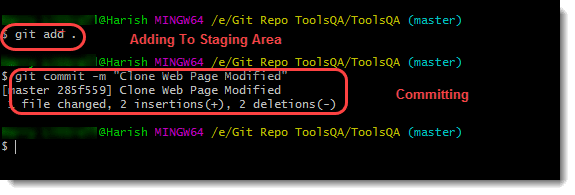
Note: GitHub and Git will recognize any change through commits only. If the user has not committed the changes and tries to push the changes to GitHub, it will display "Everything is up-to-date" message.
- Type the following command to push these changes into your GitHub repository and press enter.
git push origin master
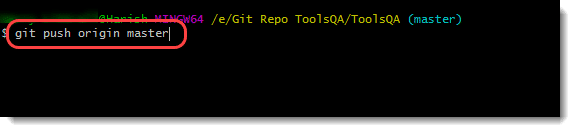
Note: Please refer to the syntax section above to know about the syntax of this command.
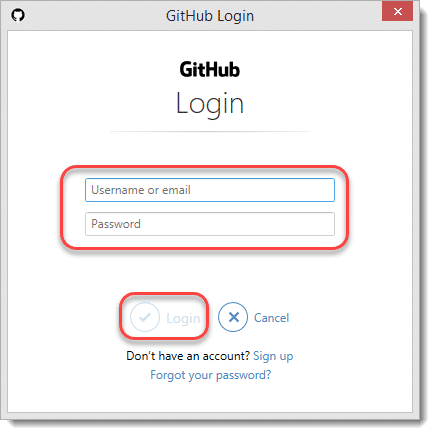
- The user gets a prompt to provide the credentials by GitHub as a part of security. Provide your credentials and tap on the Login button.
- Once the user gets the approval and the changes merge, the user will get the following message in Git Bash.
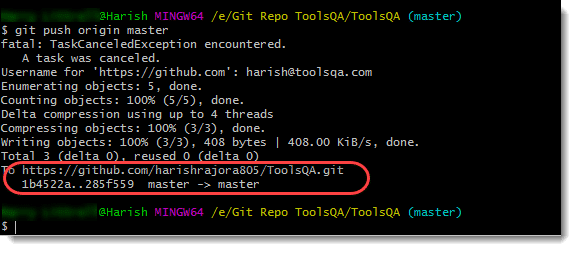
Note: The last two lines are as follows:
https://github.com/harishrajora805/ToolsQA.git: The repository URL which reflects the changes.
1b4522a..285f559: This depicts the hash value of both branches. So, the hash value of the final commit reflected on GitHub is 285f559.
master -> master: The line master-> master shows the source branch from which merging happens to the destination branch. In the above scenario, both are master branches.
The line above the highlighted line written as Writing Objects: 100% is essential. In Git, one can tell, whether the push command has executed successfully or not, only by looking at this line. If it shows 100%, then all the changes have been successfully pushed onto the cloud.
Along with the simple, straightforward command we discussed above, like any other command in Git, we can use options while executing the command to achieve a specific task. For example, if you want to push all the branches, you would use all option and so on. Let's see some of the options in Git.
Options Available in Git Push command in Git
As mentioned in the last section, there are many options available in the Git push command that helps us achieve certain specific tasks with just one execution. In this section, we will take you through the essential and most used options in the git push command.
Prune Option in Git Push
--prune option in git push command will delete branch XYZ from the remote repository if there does not exist any branch with the same name in the local repository.
Usage: git push --prune remote XYZ
Dry Run Option in Git Push
This option will perform and show the execution of the git push command but will not send any updated to the remote repository.
Usage: git push --dry-run <remote> <local_branch>
Atomic Option in Git Push
Atomic option in Git Push provides an atomic operation on the remote repository, i.e., either every reference update or nothing at all.
git push --atomic <remote_repo> <working_branch>
All Option in Git Push
All options will push all the branches and their committed changes to the remote repository.
Usage: git push --all <remote>
By this, a Successful push operation completes. Don't relax just now; the job does not finish here. It is not just enough to push the changes to GitHub. The verification of these changes onto the account should happen. In addition to this, an analysis happens which tells how these changes get reflected. Let's analyze the difference and see if they update or not, in the next tutorial.