In this tutorial, we will learn How to Create Git Repository. However, before you proceed with this tutorial it is very important that you have gone through the previous set of tutorials on GIT here:
What is a Git Repository?
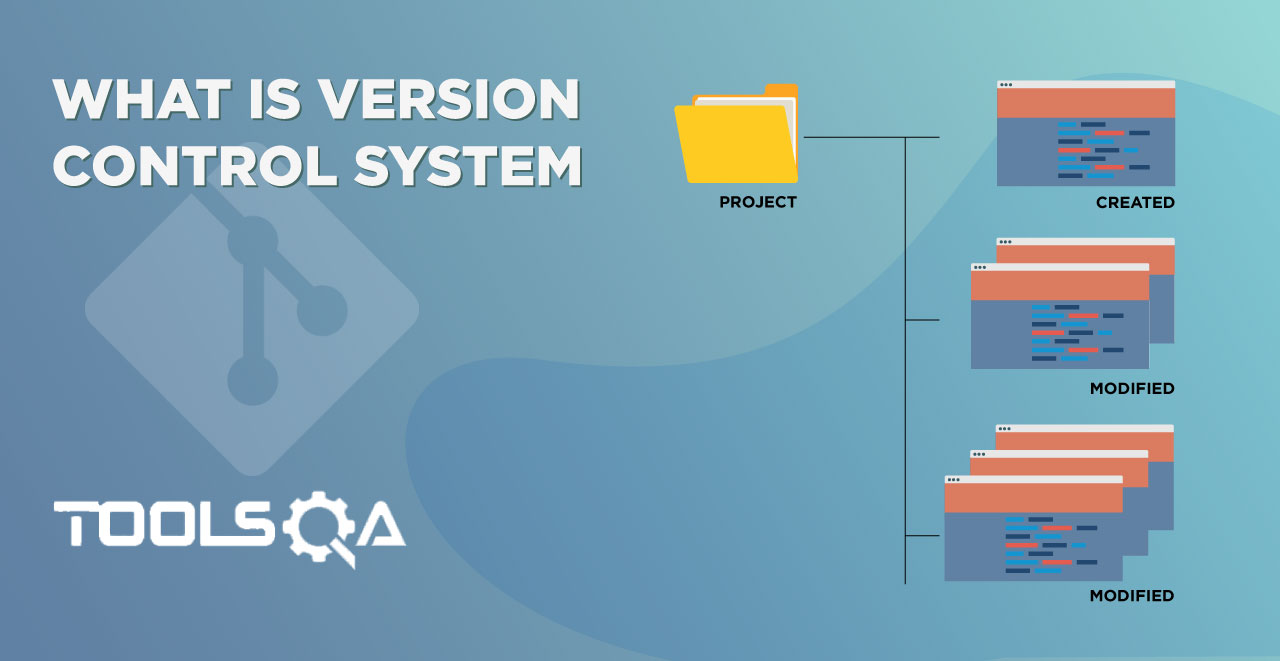
The purpose of Git is to manage a project, or a set of files, as they change over time. Git stores this information in a data structure called a repository. In short Git Repository is a collection of all project files along with their history. It is a virtual storage of your project where you keep all the resources/files of the project along with a special folder called .git. The .git folder in a git repository is used by GIT programs to store information about the repository like Logs, Position of Head, and more. It allows you to save versions of your code, which can be accessed, tracked, and managed.
At this article, we don't know much about these terms and hence we will keep our discussion to a minimum about the .git folder. For the time being, just remember that every GIT repository will have a hidden .git folder to enable GIT programs to track changes in the repository.
Different ways to Create Git Repository
We can Create Git Repository using one of the three approaches enlisted below:
- Create a bare repository
- Initialize repository in an existing project directory
- Clone a remote repository from Github
We'll be using Git command line tool to create repositories and also for learning all the Git operations in this series of tutorials. Use of Git command line tool will help you get familiar with the GIT Commands. Using Git command line tool gives you more flexibility than Git Clients or Git GUIs because they provide only a subset of GIT Features. So, to harness the complete power of Git like a pro, Git command line tools are the recommended way to use GIT.
So, let's get started and see how we can create a Git repository in the three ways mentioned above. The very first thing is to find the Git command line tool on the system. I hope you have already gone through the Git installation process described in the tutorial here:
Create a Bare Git Repository
Creating a Bare Git Repository for a new project is three-step process:
- Create a New Project/Folder
- Browse to New Project
- Initialize Git Repository for the Project
Once you have Git installed, simply search of git cmd in your system search bar. You will get the Command line tool listed as shown in the below image.
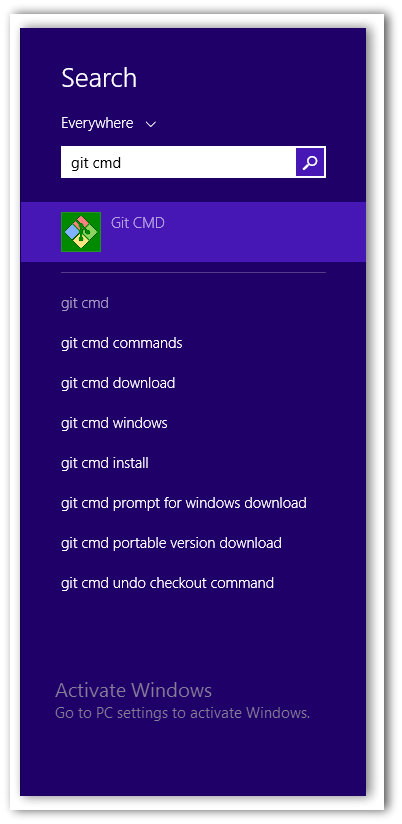
Note: that this is Windows 8 System search bar, you will have a different one based on the OS you have.
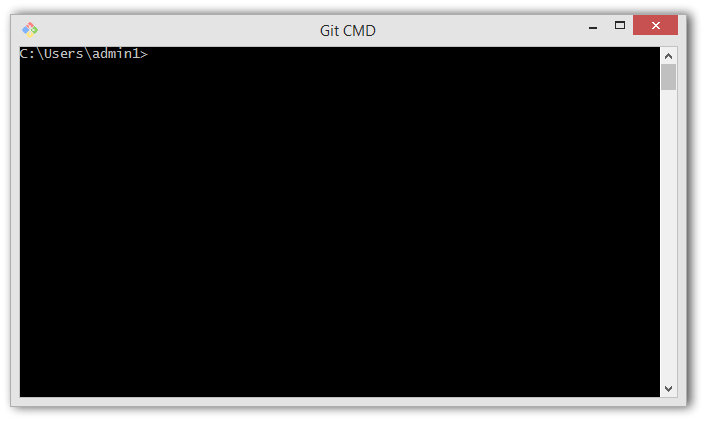
Open the Git command line tool, you will see a command line window open up as shown in the image below.
Step 1: Create a New Project/Folder - Now that we have our command line tool open, let us create a project folder. Creating a project folder with a good name is very important. If you have a Good and Relevant name of your project it will become easier for you to identify and relate to the project when you come back to it in the future.
Note: Usually people create a Root Project folder with the company name like toolsqa, amazon, flipkart, etc, and within this root folder they keep all the different projects of the same company.
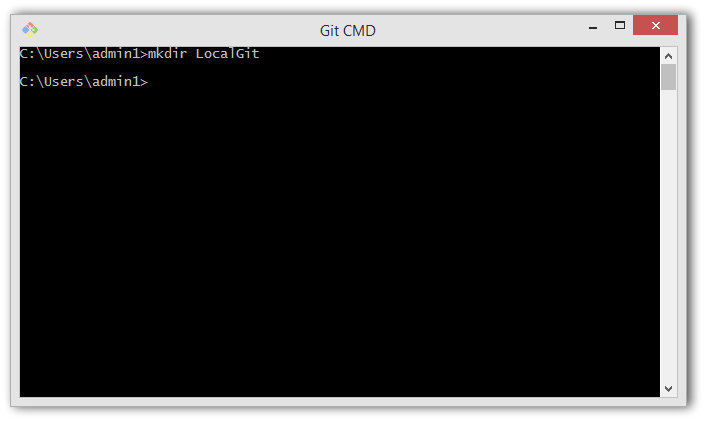
Command to create a folder on a Windows and Mac system is mkdir <folderName>. Where folder name is the project name. Let us name our first project LocalGit. With this name, the command becomes: mkdir LocalGit
Navigate to this folder by using the command cd LocalGit, both on Windows and Mac systems.
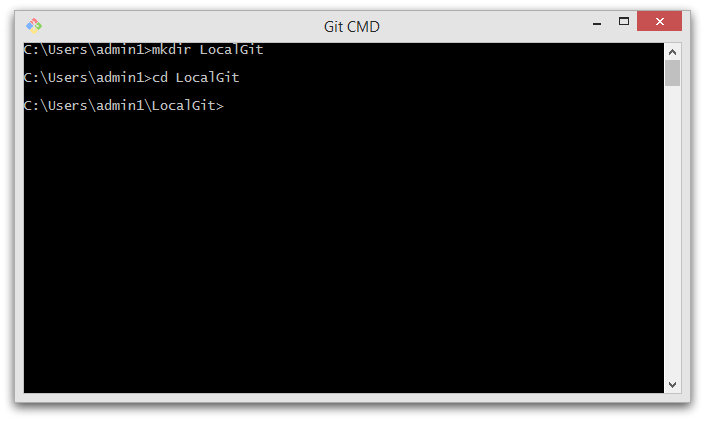
Now you are inside the repository folder where we'll create our Git repositories using the three approaches mentioned above.
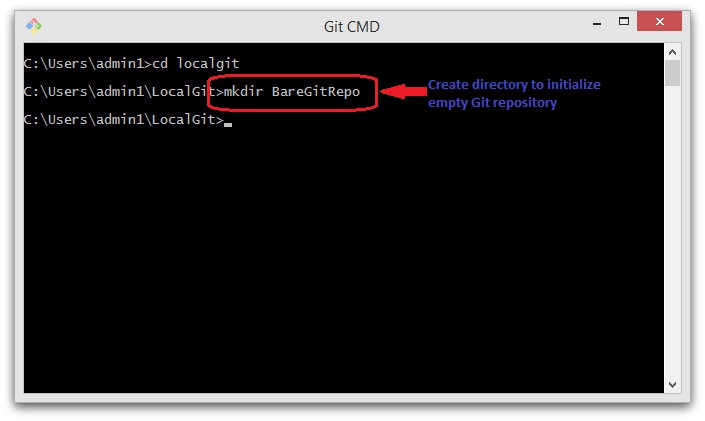
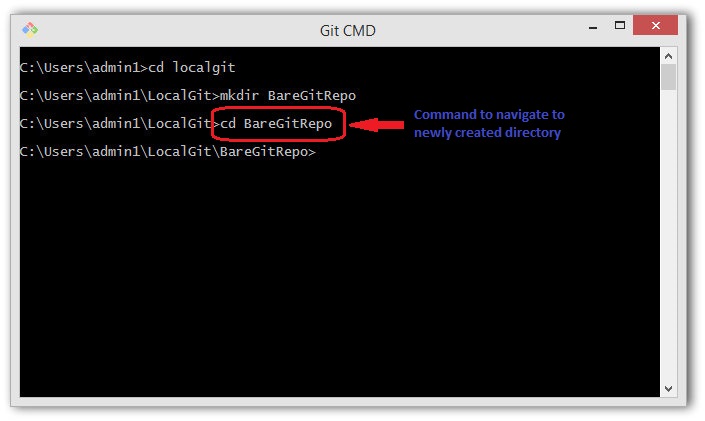
Bare Git repository means an empty directory with just a hidden .git folder. Let us name the project as BareGitRepo. Ensure that you're in the LocalGit folder before proceeding with following steps. Enter command mkdir BareGitRepo.
Note: So now you have your Root Folder (LocalGit) ready and within that the Project (BareGitRepository)
Step 2: Browse to New Project - Navigate to the project created in the previous step using the command cd BareGitRepo.
Step 3: Initialize Bare Git Repository for the Project - Enter the command git init this command is used to Create Git Repository. Consequently, the execution of this command creates a hidden .git folder therein. Or in other words, an empty Git Repository is initialized. You'll notice a message stating that an empty Git repository is created.
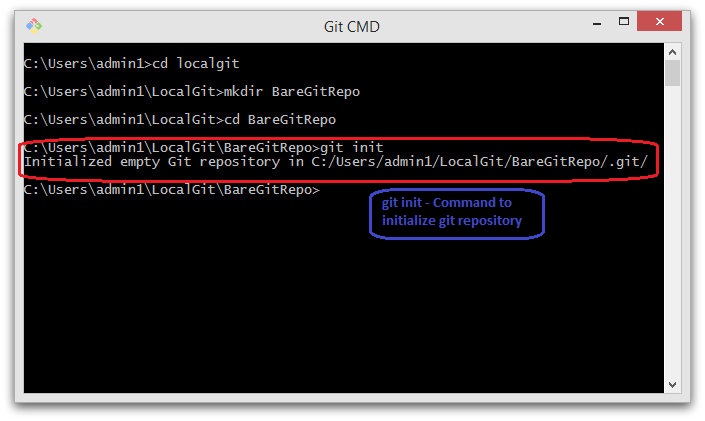
Note: git init is a standard GIT command and it initializes the directory with a .git folder used for tracking versions of project artifacts.
Let us view the contents of the newly initialized Git repository by executing the command dir /ah.
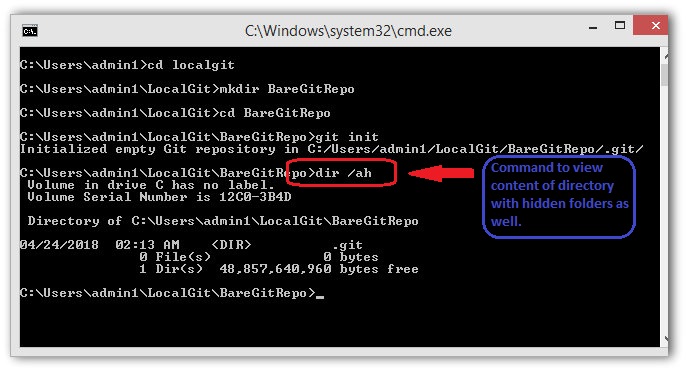
After the execution of dir, you will see empty project folder as expected from a Bare Git repository. You can now add project files to this repository and they'll be tracked by GIT.
However, if you want to see the .git folder being reported in command line use the command dir /a:hd. This will show hidden folders in the directory and you will notice .git folder there.
Create Git Repository for an Existing Project
We'd also like to track an existing project by using Git. In this case, we'll initialize a Git repository in an existing project directory. There is no rocket science in creating git Repository for an existing project, it is as same as creating a git repository for a new project with the only difference of step 1 is not required:
Create a New Project/Folder- Browse to Existing Project
- Initialize Git Repository for the Project
Step 2: Browse to Existing Project - Navigate to the directory containing your project artifacts. In this case, let us consider that the name of the project is SampleProject at the location C:\Users\admin1\LocalGit\SampleProject, move to a similar location on your system. One can view the content of the directory by using the command dir.
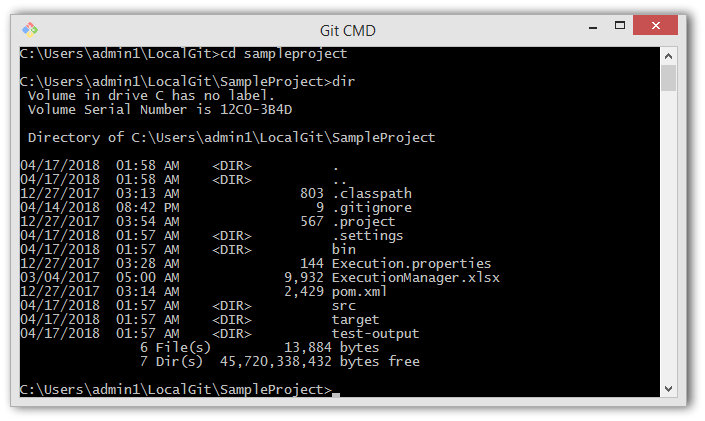
Note: I already have few files in the SampleProject for a demo purpose, so it is not an empty folder.
Step 3: Initialize Git Repository for the Project - Initialize the git repository in this project by using the same command used while creating a bare repository i.e. git init.
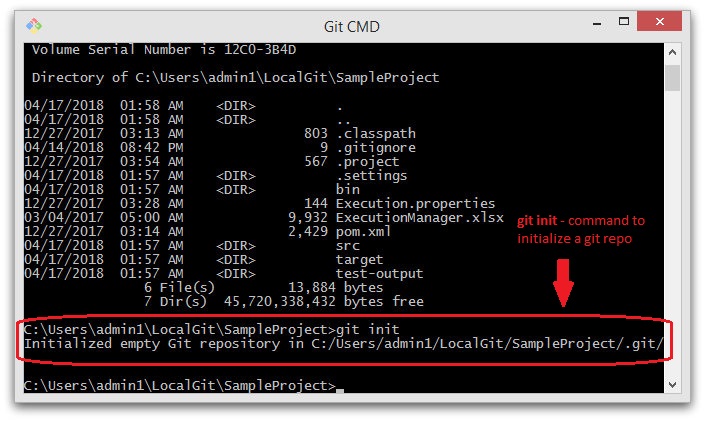
View the content of the directory and note that a .git folder has been created therein.
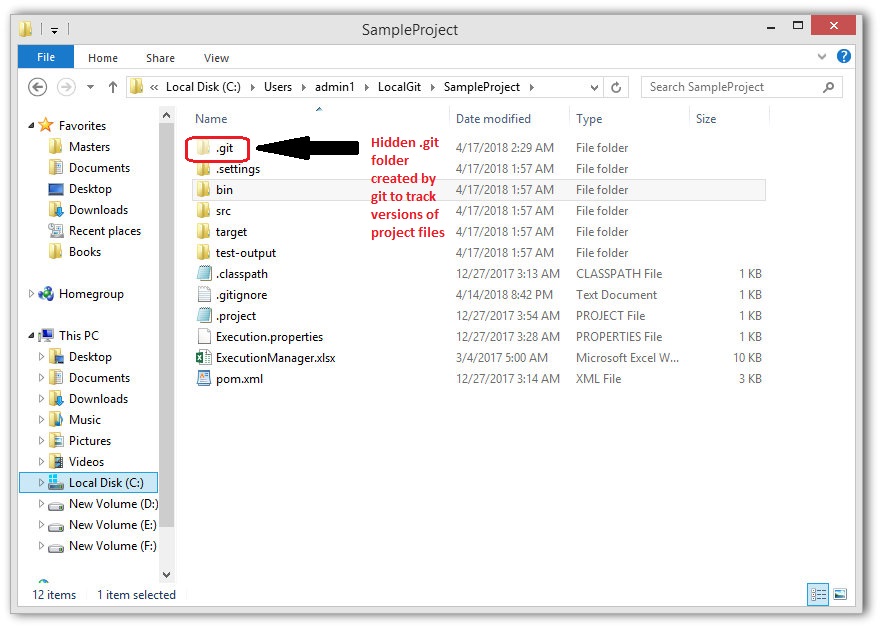
After Git initializing, the project is tracked by GIT.
Cloning a Remote Repository from GitHub
When you want to contribute to an existing project hosted on GitHub or a similar online Git service provider, you've to Clone their repository from the remote server like Github, GitLab, etc. For example, the remote repository of Apache POI (Java library to read from and write to Excel files) is hosted at https://github.com/apache/poi
Definition of word Clone in the context of Git is to create a local copy of the Remote repository. In this case, remote Repository is hosted at https://github.com/apache/poi and we will Clone it on our local system.
Here are the steps to clone (download and track the changes) this repository.
Step 1: Fetch and copy the URL, as mentioned in the image below, of the Apache POI repository at GitHub. That is, https://github.com/apache/poi.git

Step 2: In Git CMD, navigate to the folder for storing all the Git repositories locally. That is C:\Users\admin1\LocalGit in this example.
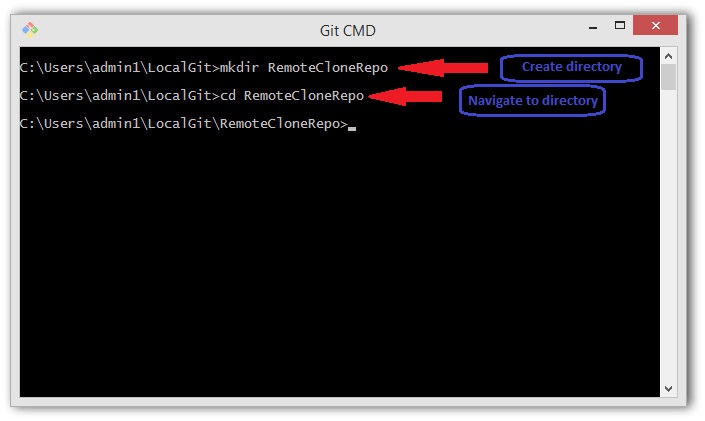
Step 3: Create a directory called RemoteCloneRepo to store the source code of Apache POI repository locally by using the command mkdir RemoteCloneRepo
Navigate inside this newly created directory by using the command cd RemoteCloneRepo
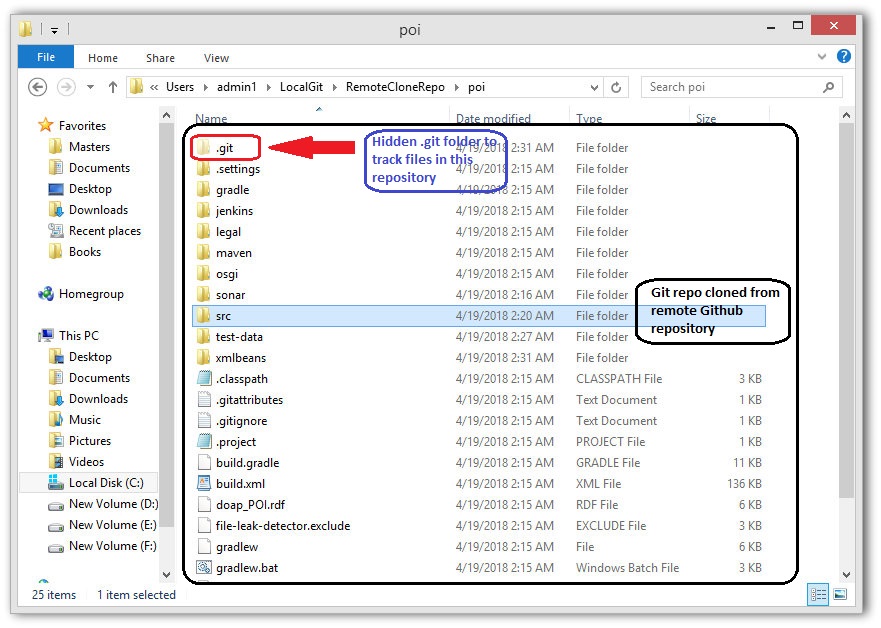
Step 4: To clone the repository, enter the command git clone https://github.com/apache/poi.git
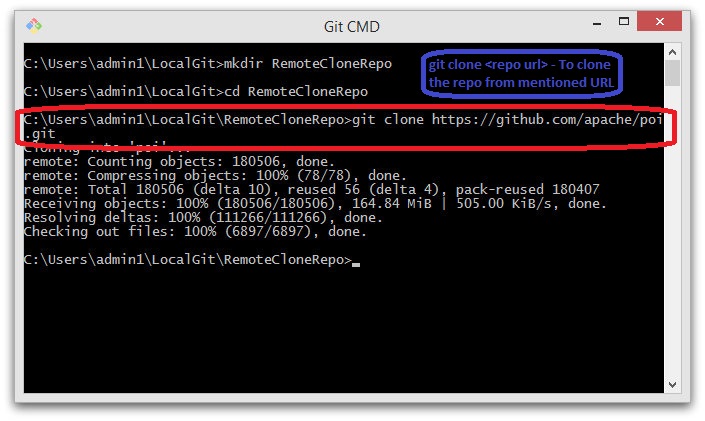
Note: git clone <repoURL> is a standard GIT command to clone an existing remote repository.
Step 5: Cloning a repository depends on the size of the repository. Usually, it takes a while for a big repository. You'll have to wait until all the files are checked out.
Now you can make changes to the repository. Git will track all the changes.
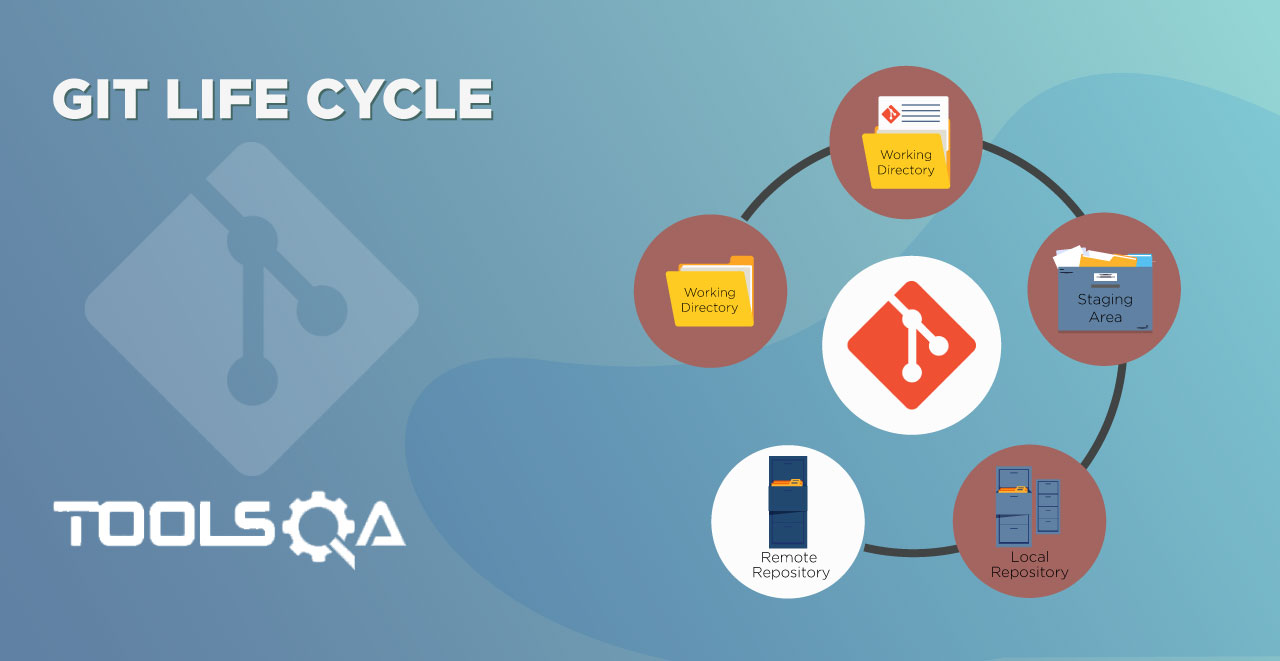
In this tutorial, we looked at the three ways to create a Git repository. In the next tutorial, we'll learn about the typical Life-Cycle of files in a Git repository. We will also learn about different Git commands that will help us move our Git repositories into different stages of a typical Git life-cycle.