We are all set with Python installation, now let's move further***!!*** Like any other programming language, we have several options for writing the Python code. As this is our first article on writing python code, we will give you a flavor of some of the critical options. Moreover, the choice of the Editor is totally on you. We will be using Pycharm (a Python IDE) in this course, but the code will work on any editor that you chose. We will discuss the below editors in this article. Therefore, let's get started!
- Integrated Development Environment (IDE)
- Python IDE
- PyCharm
- IDLE
- Interactive Mode
- Script Mode
- Online Editor for Python
Just a word of caution - Don't get overwhelmed with all these options! These are to give you a flavor of different options available. Additionally, if you think it's getting too much for you - stick to PyCharm or even the online Editor. Once you feel more comfortable with coding, you can come back and revisit other options!
Therefore, let's get started! We have Python set up with us. What to do with it? We can use the interactive mode of Python to run statements directly. In addition to this, we also have the script mode to run the multiple statements [program] at a time. Let's see one by one.
What is IDE?
IDE [Integrated Development Environment] is a software application that generally has a source code editor, builds automation tools, and a debugger. In other words, it makes the life of programmers easy.
Python IDE
There are several Python IDE in the market. Some of the important ones are as below:
- PyCharm
- IDLE
- Sublime Text 3
- Visual Studio Code
- Atom
- Spyder
Using IDE saves a lot of time for the developers. Let's see some benefits of using an IDE.
- Firstly, they do Faster coding compared to other normal text-editors. IDEs autocompletes the syntax for us.
- Secondly, they help in managing the projects. We bundle everything necessary for the project.
- Thirdly, they provide debugging tools for correcting the code.
- Finally, IDE(e.g., PyCharm) prompts us to follow the PEP8 - Pytho's style guide.
Once you have spent a good few months in Python, you will start appreciating the differences and features that each of these IDE brings. In addition to this, it will also help you chose what works best for your project. For now, any editor will do! We will give you a quick flavor of PyCharm and IDLE in this article. Additionally, PyCharm will be the basis of future articles.
PyCharm - Best Python Editor
We have installed the PyCharm in the previous tutorial. Now, let's see how to work with PyCharm.
1. First, open the PyCharm. A screen will appear like the following image.
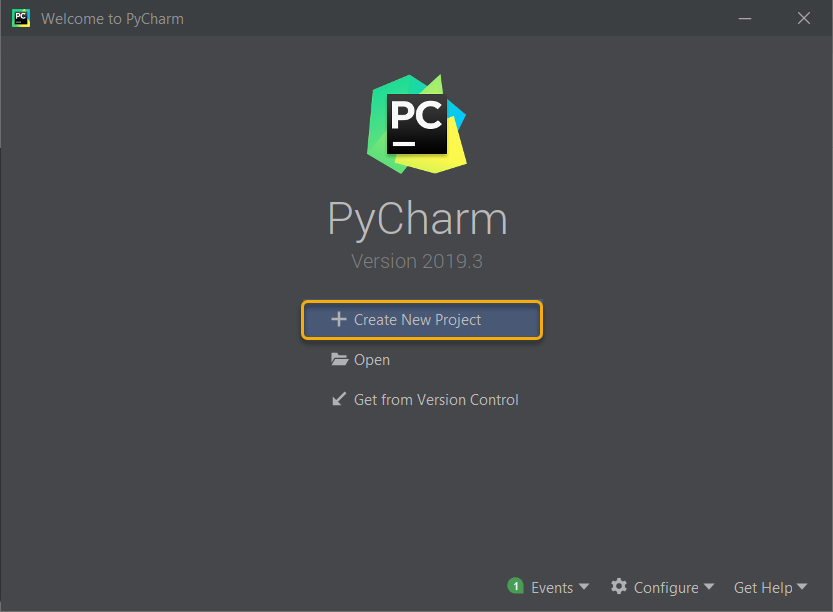
2. Second, click on the Create New Project button.
3. Third, choose the directory for your project and name (E.g., toolsqa). Leave the below part as it is.
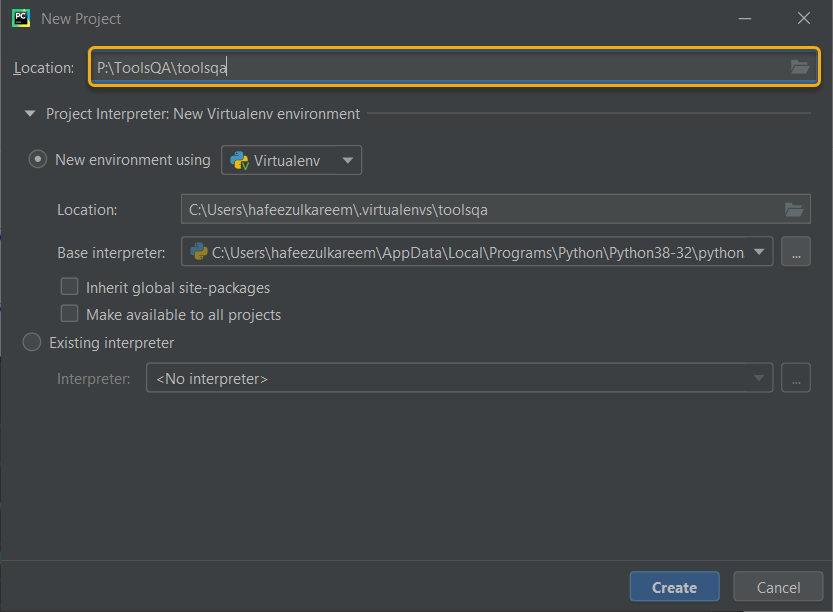
4. Fourth, click the Create button.
5. Finally, you will get the welcome screen as it is the first time. Select the option Show tips on startup to get one helpful advice whenever you open the PyCharm.
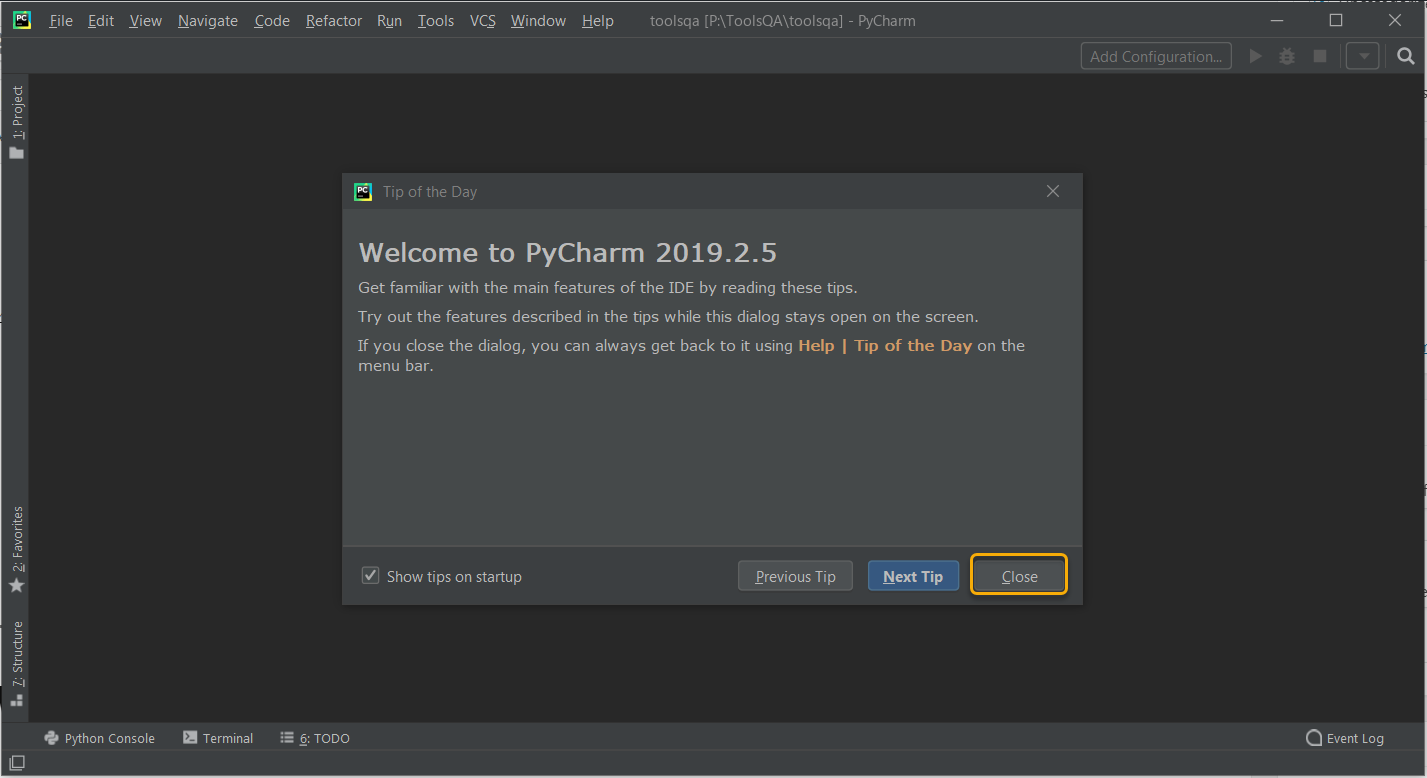
Note: It is always good to read the tips. It gives you an opportunity to unexplored explorer shortcuts and helpful features, which really can make your life easy.
-
After that, click the Close button to close the Tip of the Day window.
-
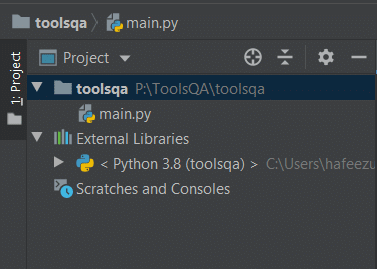
Your project screen will look like the below image.
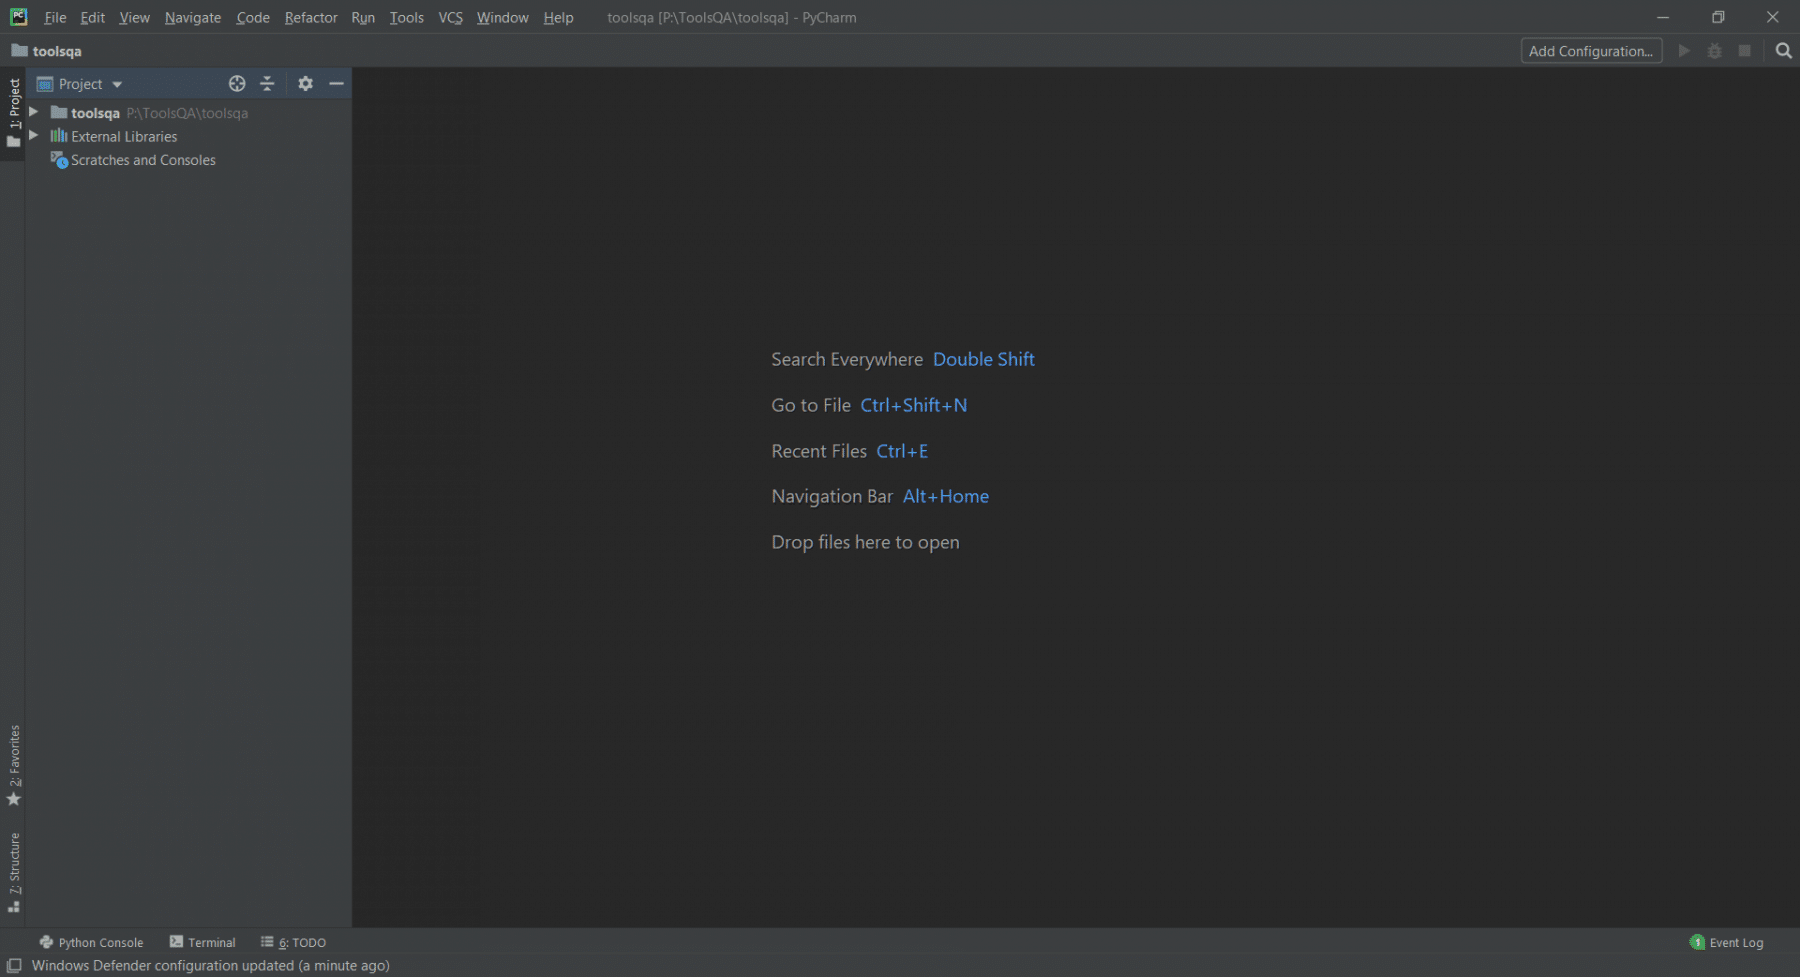
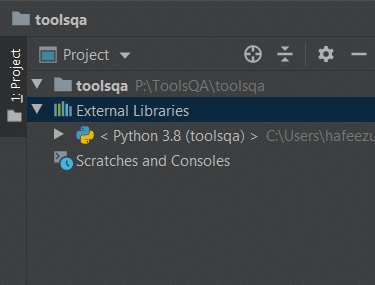
8. Your project folder (toolsqa) doesn't have anything now. The External Libraries folder will contain Python3.8 (based on the version you are on)
9. Right-click on the project folder (toolsqa) and go to New to create a Python file.

10. A window will appear which asks to name the Python File.
- After this, type the name and hit Enter to create the Python File in the project folder (toolsqa). Now, your project folder will contain a Python File
12. Double click on the Python File to open it in PyCharm editor.
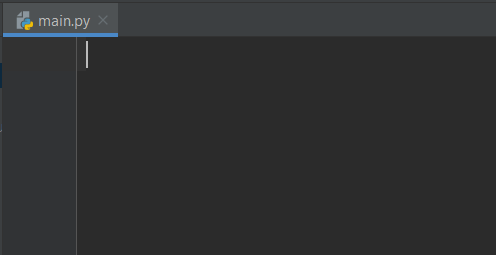
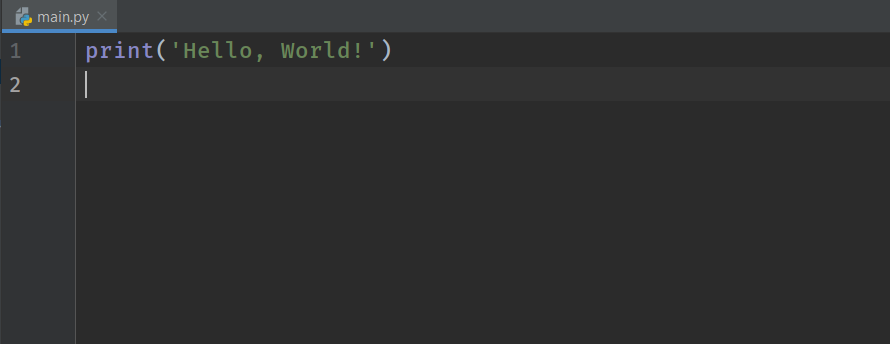
13. Write the following code into the file and press Ctrl + S to save it. Don't worry about print(). For now, remember that it takes a value and prints it. We are going to talk about this in future lectures.
print('Hello, World!')
Note: You can use the double-quotes in place of single-quotes in the above code. Both notations are fine in Python.
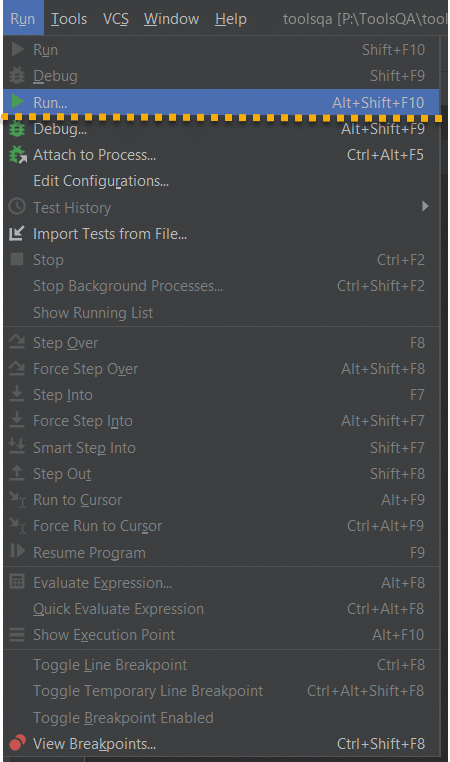
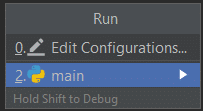
14. After this, to run the file for the first time, go to the Run menu and click the Run button. Additionally, you can also use shortcut Alt+Shift+F10 to run the file.
15. You will get a window and hit Enter.
16. You will see the output at the bottom of the PyCharm.

17. Next time onwards, click the Run the button at the top right corner to run the current file. You can also use shortcut Shift + F10 to run the program.

IDLE - Python IDE (Editor)
IDLE is default IDE for Python, and it has both interactive and script modes to work with Python. Let's see the interactive mode first.
1. Firstly, launch the IDLE using the command idle.
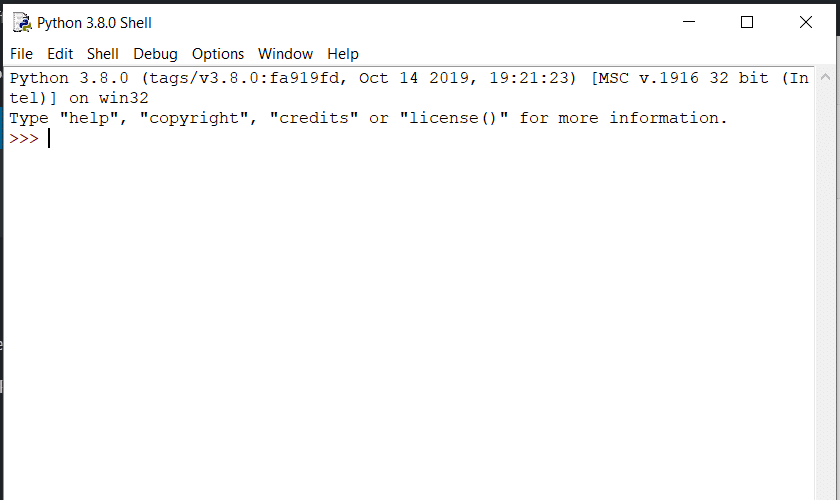
2. Moreover, the window which you are seeing is an interactive shell or python shell. We use the same shell as an interactive mode. To identify it as an interactive mode, see the arrows [>>>].
Writing the Code in the Shell
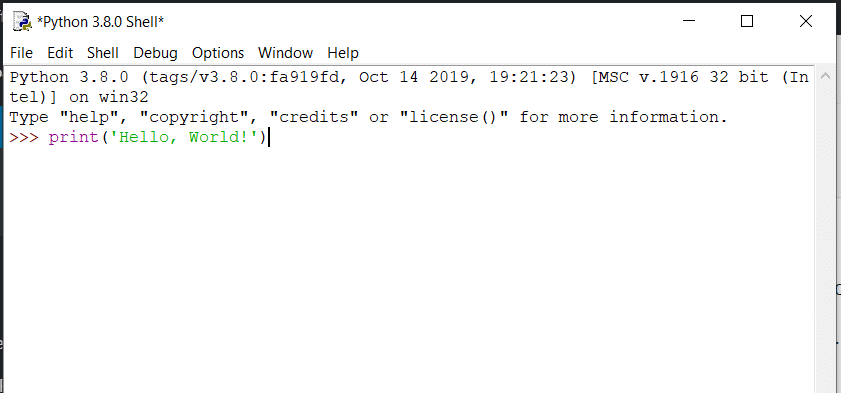
1. Firstly, write the following simple print statement in the shell.
print('Hello, World!')
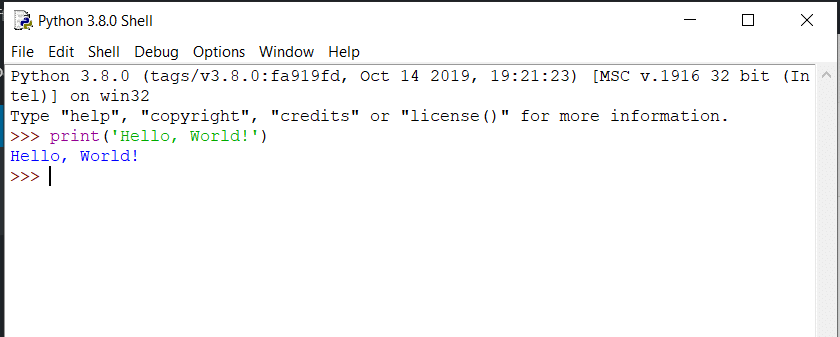
2. Secondly, hit the enter button to see the result immediately.
3. Thirdly, you can also save the file for future purposes. Press the Ctrl + S to save the file.

4. Lastly, select the path, enter the filename, and click the save button. You can open the file and work with code whenever you want.
What happens when you type code wrong?
We will get an error. Let's see how it looks in the interactive shell.
1. Type the following code in the interactive shell and hit Enter.
printf('Hello, World!')
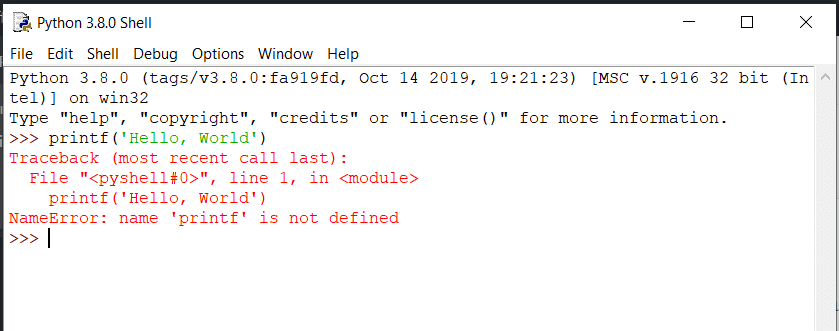
2. We got an error called NameError with the description.
There are different types of errors in programming. Don't worry about that. We will be covering them in the tutorials subsequently.
To conclude, we have seen how to use the interactive shell. Now we will see the script mode in the IDLE.
Script Mode in IDLE Editor
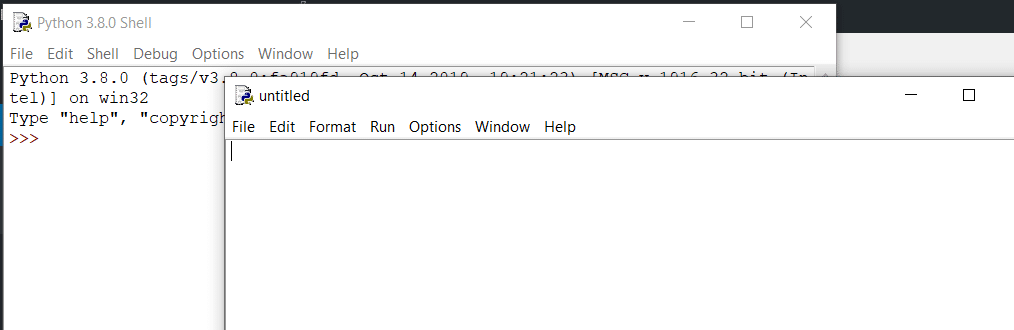
1. Open the IDLE press Ctrl + N to open a new file.
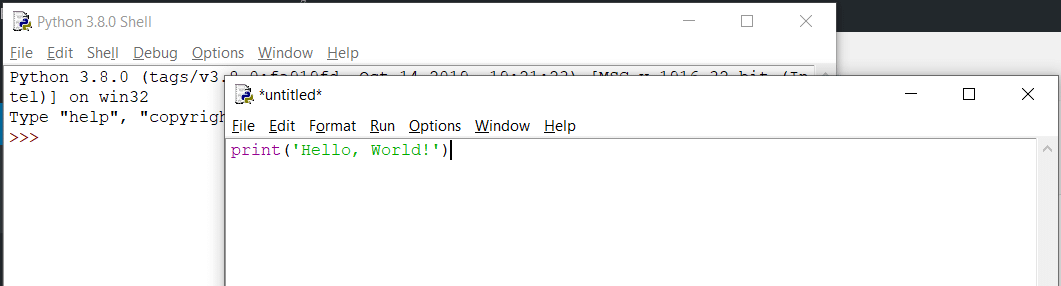
2. Write the following code in the file.
print('Hello, World!')
3. Press the Ctrl + S to save the file.
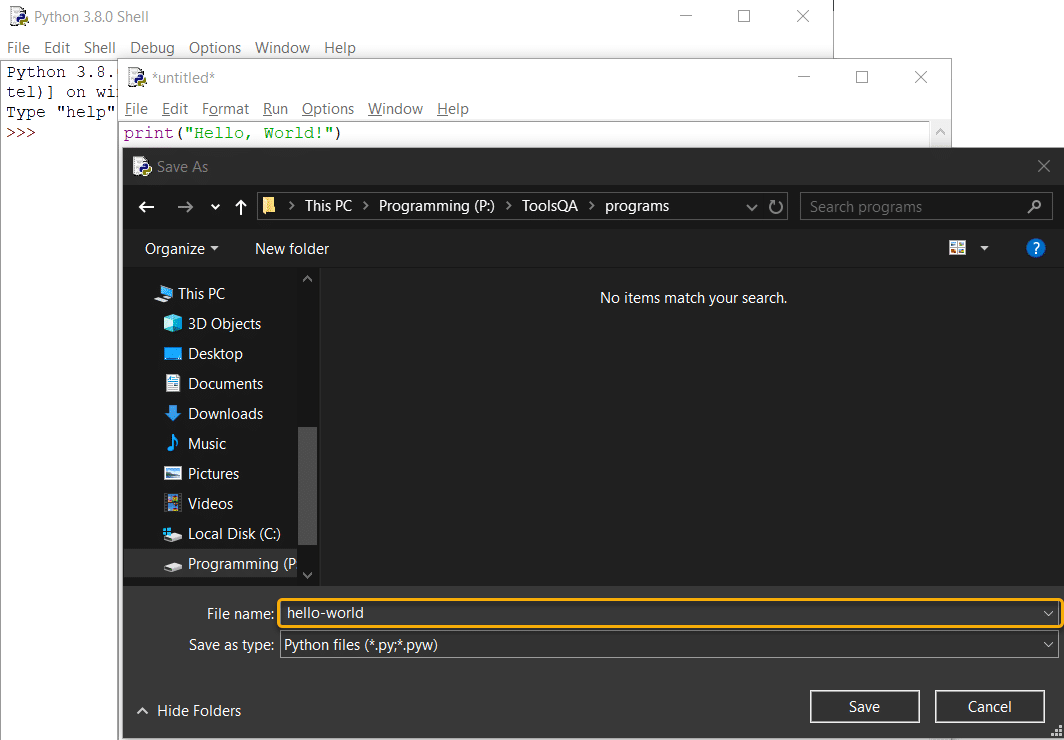
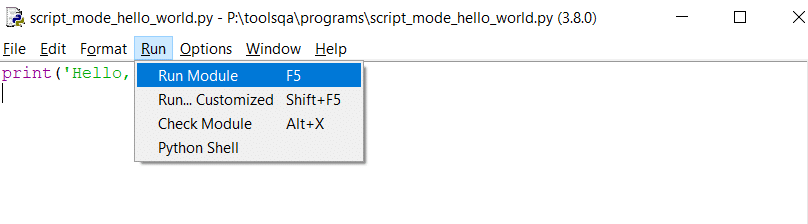
4. Choose the path, enter the "filename," and click the save button. After saving, you can execute it by pressing the F5 key. If you try to run it before saving, then it asks to save the program.

5. Pressing the Run Module from the Run menu will also execute the program.
6. Re-run the code by placing the following code.
printf('Hello, World!')
Interactive Mode in Python
An interactive mode allows us to execute one statement at a time. Let's say we have to calculate the product of two numbers. We can directly enter the expression in the interactive shell. Let's see how we do it.
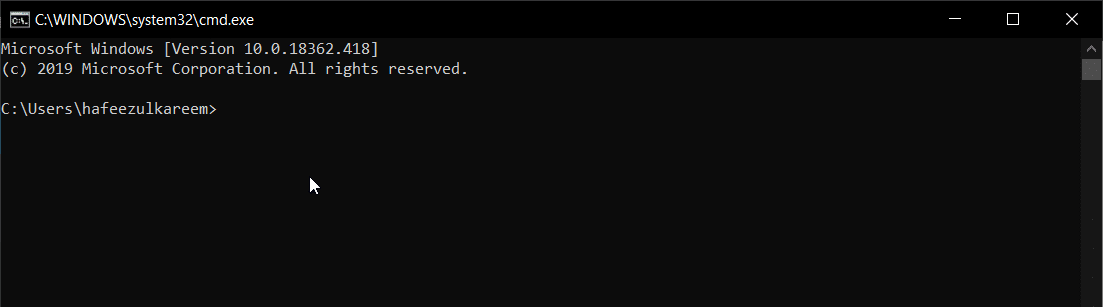
1. Open the terminal or command line.
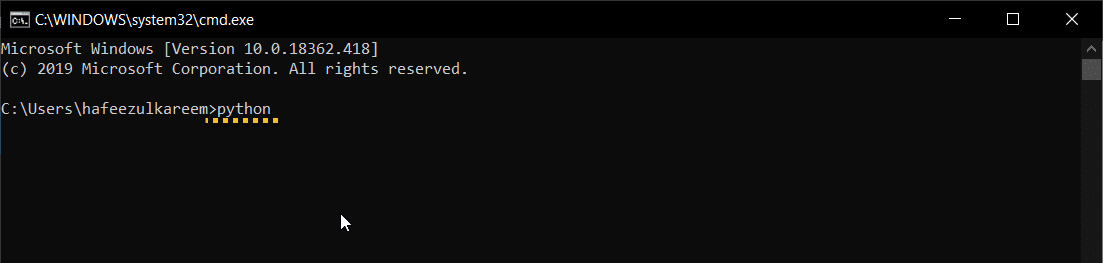
2. Type Python in it and hit Enter.
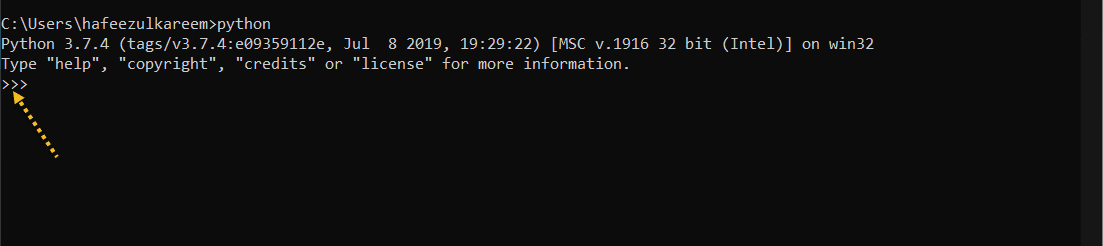
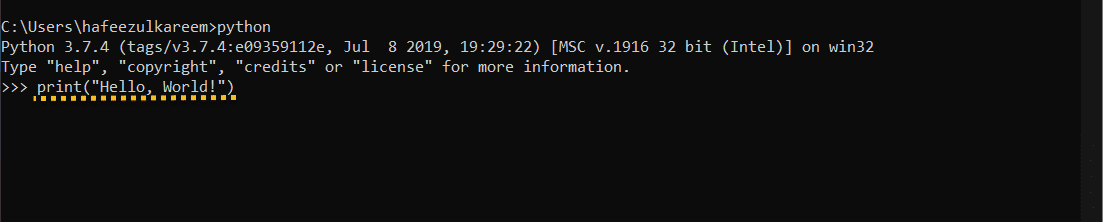
3. You will see three greater than symbols indicating interactive mode is active as follows.
4. Now, type the following statement after the sign >>>.
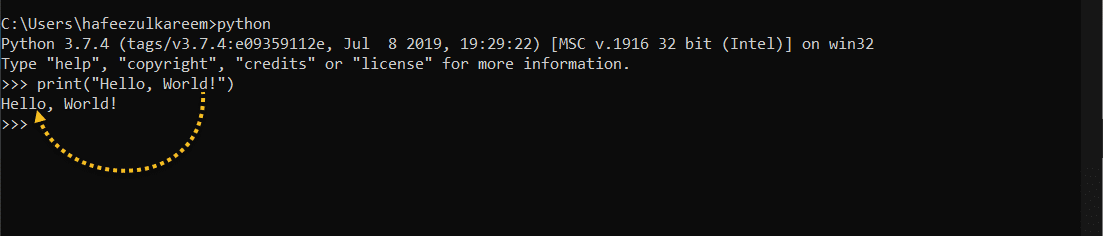
print("Hello, World!")
5. It will immediately display the message which we have passed to the print function. Don't worry about any syntax or code now.
Script Mode in Python
In script mode, we will write all the statements at once and run the program. Follow the below steps:
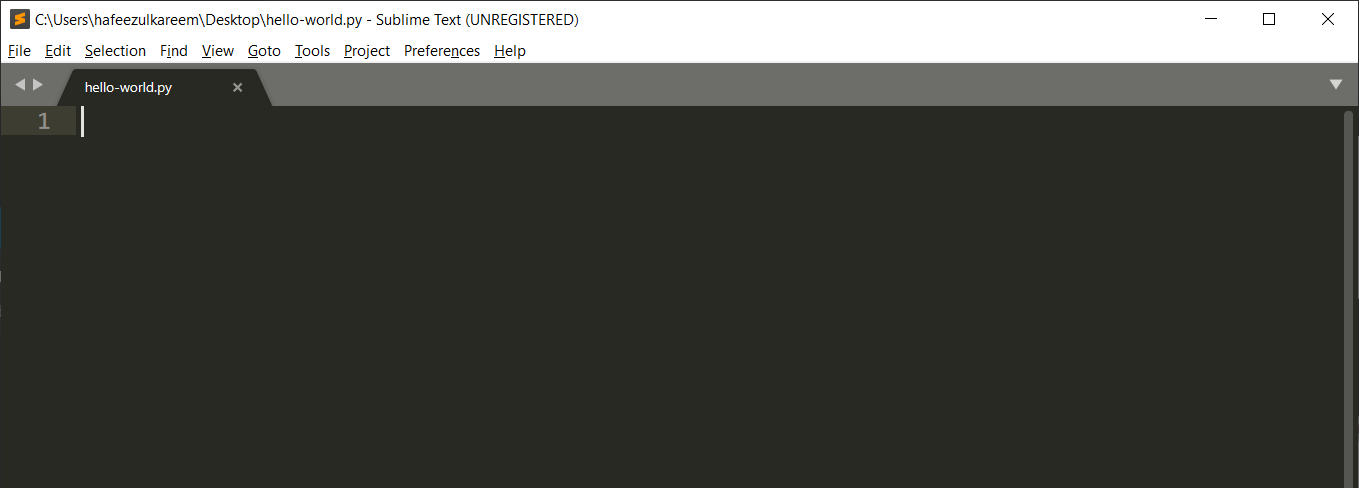
1. First, open any text editor.
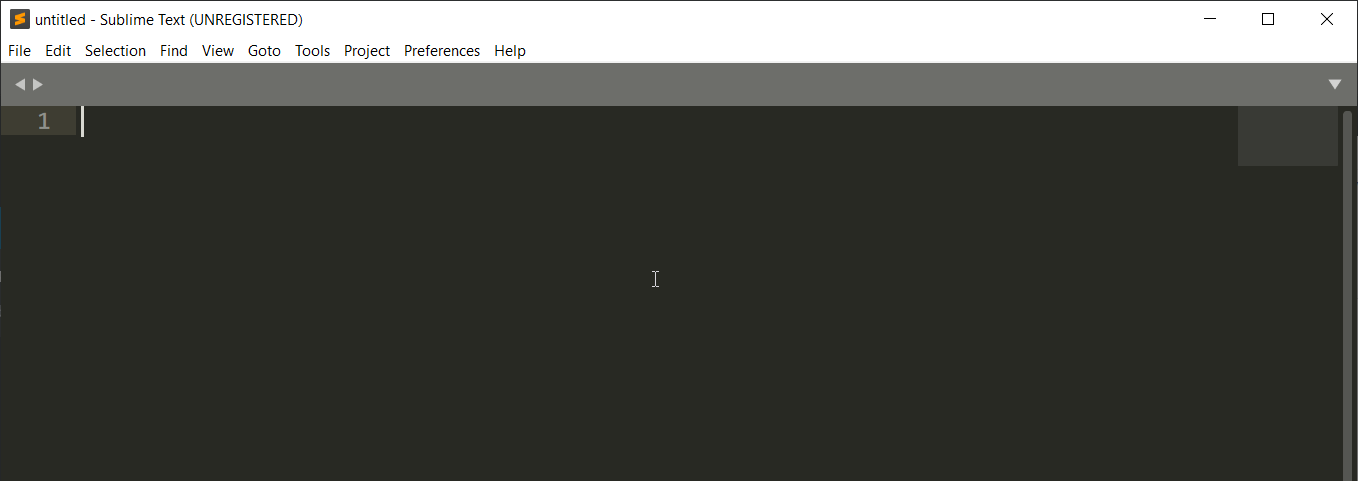
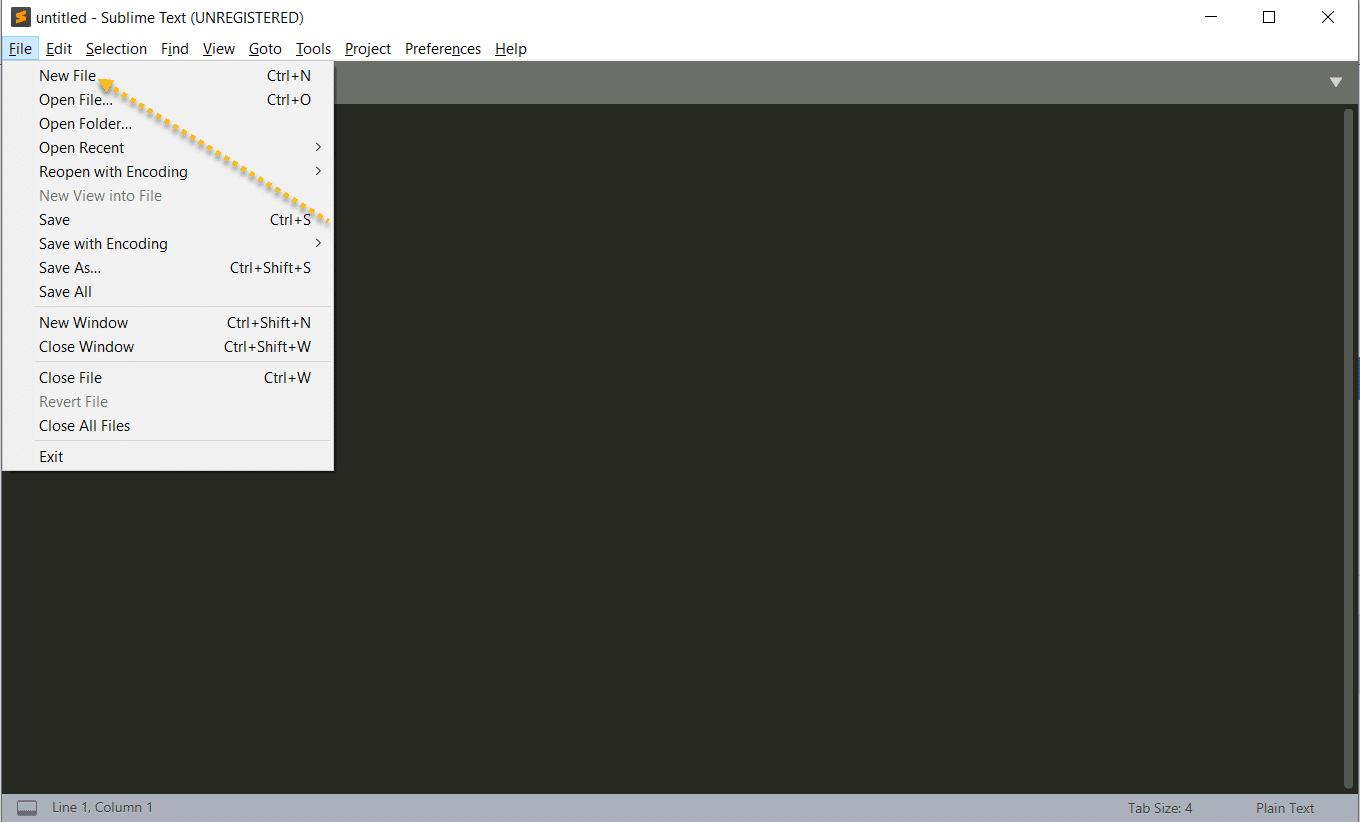
2. Second, create a new file using the Ctrl + N shortcut. Alternatively, you can also select the option New File from the File menu.
3. Third, save it with an extension .py and any name as you wish.
4. Fourth, write the following code into the file.
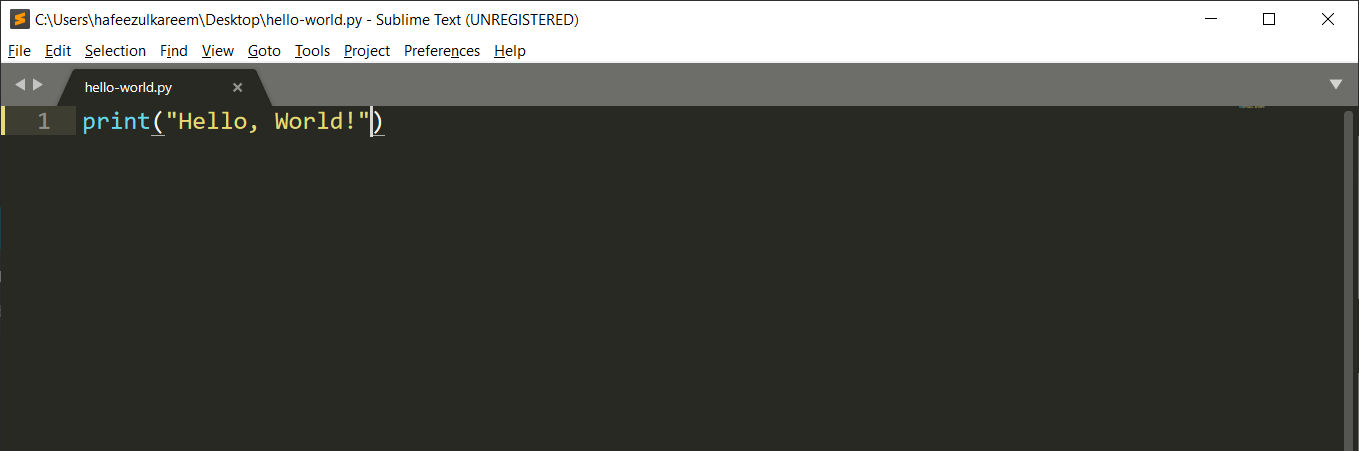
print("Hello, World!")
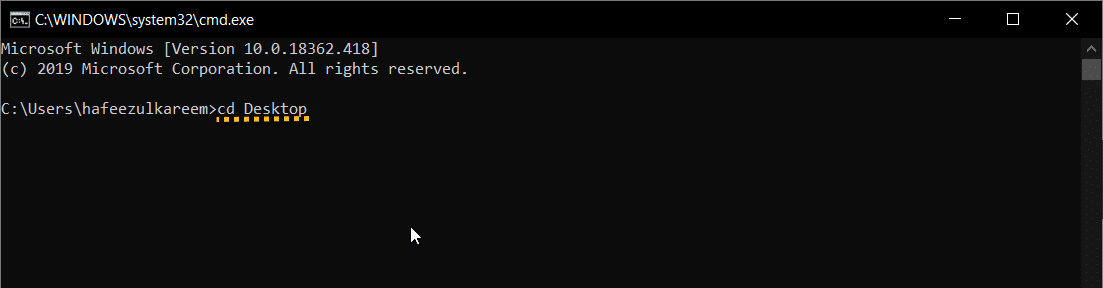
5. Fifthly, open the terminal or command line.
6. After this, change the directory to the location of the file using the cd command. I have saved my python_file on a desktop so, my command will be cd Desktop.
7. Now, type the command python filename.py and hit Enter. My filename is hello-world.py. Yours will be different.
8. Finally, you will see the Hello, World! As output in the next line.

Online Editor for Python
We have seen different options to work with Python. Those are all offline working environments. What if you want to run Python code online? Online Editors are quick ways to run your python code.
Moreover, they come without the hassles of installation or creating projects, etc. as we do in a Python IDE. Additionally, it also allows you to share your code, which others can run quickly. In other words, we have plenty of options. We are going with the repl.it for its' features.
A repl at Repl.it is an interactive programming environment. You can create a workspace in any number of languages, where you get a container on a virtual machine where your code can run. In any given repl, there are two main parts - the Editor and the console.
1. First, head over to the Python section of the repl.it site.
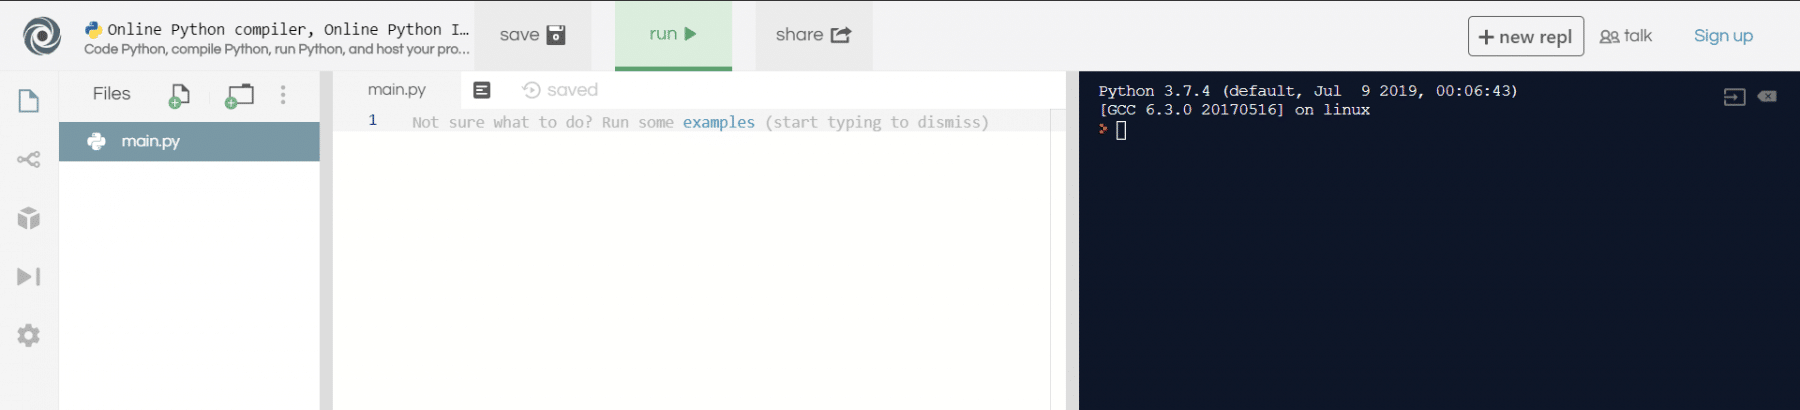
2. Second, on the left side, you will find an editor that you can use to write the code. Write the following code in the Editor.
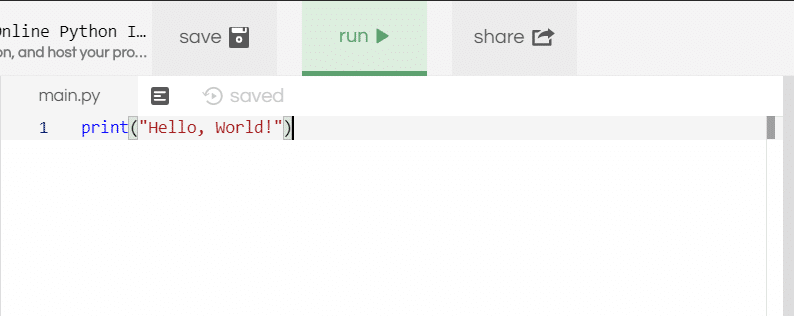
print("Hello, World!")
3. Third, click the run button to execute the program. We will get the output on the console that is present on the right side.
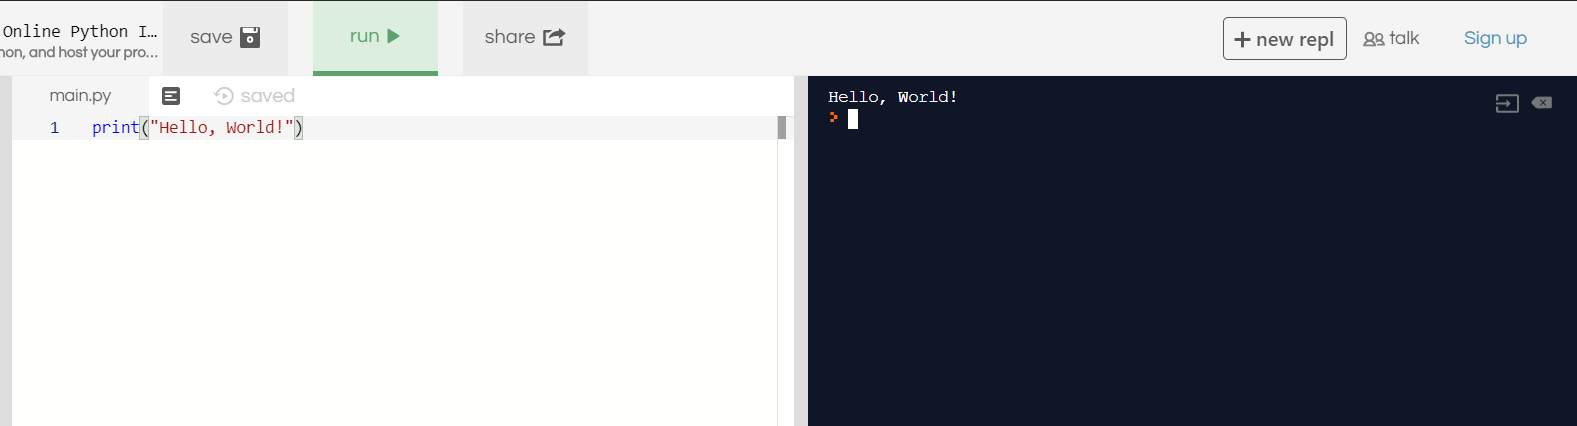
4. Lastly, on the left-hand side, you will find options to create folders and files. It helps you to organize your code and share individual data with other developers.
The code that we are writing can execute in any of the methods mentioned in this tutorial. Additionally, you can use your convenient way to run the programs. But, you will see PyCharm code snaps in this course.
What Next?
To conclude, we have learned a lot in this tutorial. In addition to that, we also ensured that you get familiarised with the PyCharm. We are going to use PyCharm throughout this course.
Therefore, congratulations on completing your first Python Recipe. You have installed the Python and successfully executed the program in both interactive and script modes, respectively, along with the IDE's. This tutorial is just a beginning. We will see a lot in the coming tutorials of this course. Try to practice how to execute the Python program in both modes.
Moreover, if this seems overwhelming at the start, don't worry, it's normal !! We are going to hand-hold you. Which, in turn, will make sure that when you finish this course, you have a solid understanding of Python!
Conclusively, you have completed the first module of the course. We are going dive into the Python from the next module.
Happy Coding :)