As discussed in the Protractor Introduction, protractor is node js based framework which supports typescript. Typescript gives powerful IntelliSense features that provide better coding experience with Visual Studio Code.
Protractor Typescript with Visual Studio Code
In this tutorial, we will be doing a lot of set up for Protractor Typescript using Visual Studio Code.
PreRequisite
Since we are going to do the development on Visual Studio Code, we need to have VS Code installed on the system. Please follow the steps to Install VS Code. In case you directly jump to this tutorial, I suggest you go back to TypeScript Introduction, so that you understand why we need Typescript for Protractor.
Since we are moving towards building the Protractor Automation Project, there are a couple of modules/packages that need to be installed in the project. A few of these modules are necessary and a few make our life easy. Below is the list of Modules:
- Protractor Node Module
- TypeScript Module
- Jasmine
- Type Definition for Jasmine
- Type Definition for Node
- TS-Node
- Spec Reporter
- HTML Reporter
As we are bringing a lot of functionality from third-party libraries, the compiler needs to understand the path of certain files. For the same purpose, correct configurations need to be set up for the project. These configurations are mentioned in the tsconfig.json file. The same way project dependencies are mentioned in the package.json file. To set up a complete project, these are the steps we are going to perform in this tutorial:
- Create a folder structure for a Protractor Project
- Set up project configurations in tsconfig.json file
- Manage project dependencies in package.json file
- Install above mentioned Modules/Packages
- Set up additional configurations in protractor.conf.js file
Overall in this article, we take you through the required setup up including packages that are needed for building protractor typescript tests. This is one time set up, and your future test execution will be depending on this setup so do it carefully and calmly.
Let's discuss step by step
Step - 1: Create a folder structure for a Protractor Project
In order to build a good automation framework and manage the complexity, it would be good to start with the better folder structure at the beginning itself.
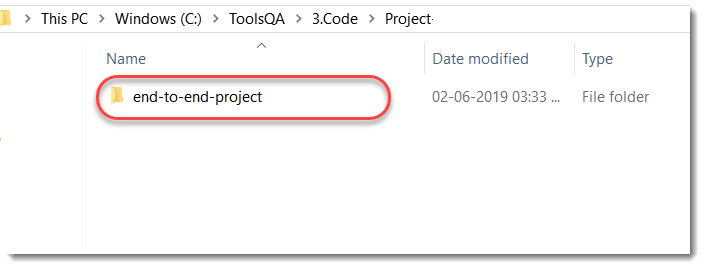
- Navigate to the desired location create an empty folder using windows explorer. This is the project folder where we place all-out automation specs, config files and anything related to our automation script (ex end-to-end-project)
- Launch Visual studio Code, Open the Project Folder. Navigate to File Menu and click on Open Folder. Alternative keyboard shortcut Ctrl+K Ctrl+O.
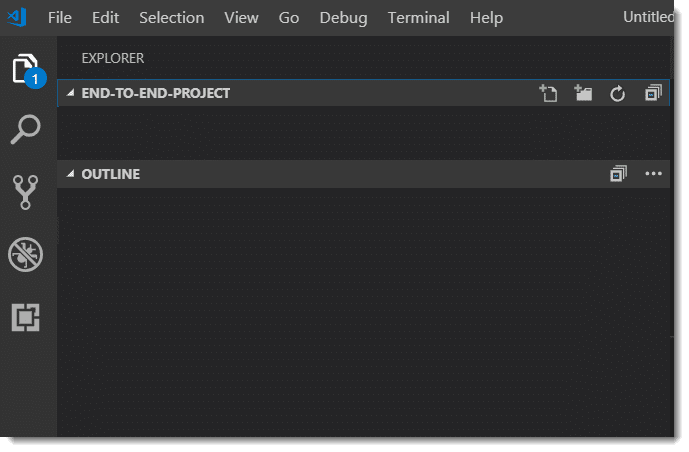
Note: The folder is empty since as of now we do not have any file in the project.
- A folder structure is required to manage the files effectively in the project. We will be creating many folders and files in the project, but for now, just create the below folder structure.
|--end-to-end-project
   |--src
      |--page-object
         home.page.ts
       home-spec.ts
Below this, I have mentioned the steps for creating a new folder and file in Visual Studio Code.
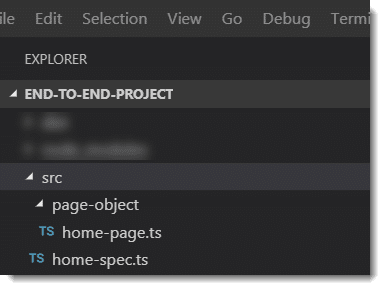
- src folder to place all the spec files and page object files
- page-object folder which is placed inside src folder is to hold the page object file
- home-page.ts file which is placed in the page-object folder, which will have all the locators related to the spec
- home-spec.ts file which is placed inside the src folder, which will have protractor specs
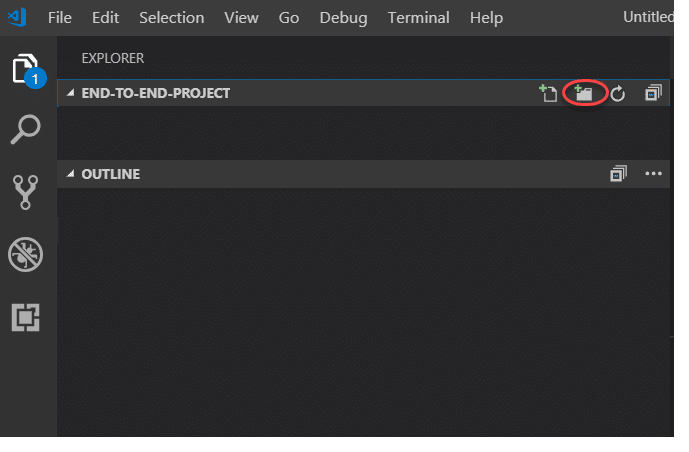
In order to create a folder just click on the New Folder icon marked in the below image.
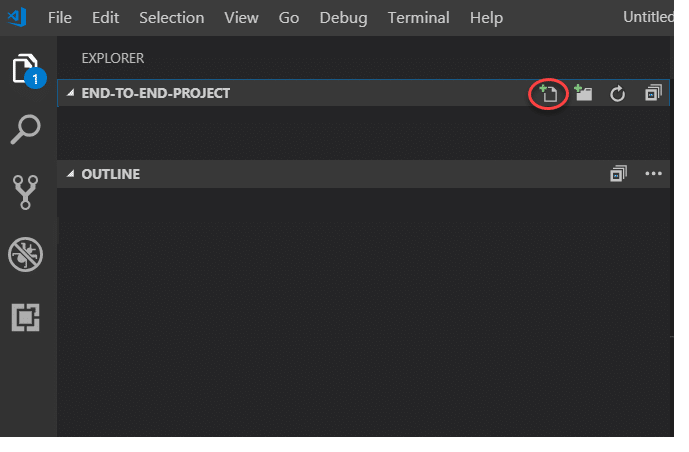
Also to create a file in the folder, first click on the folder and click on the New File icon shown in the below image.
Once done, the project in the Visual Studio Code will look like below.
Step - 2: Set up configurations in tsconfig.json for Protractor Project
What is tsconfig.json file?
To create a javascript file, each time mentioning files one by one (tsc <file-name.ts>) is a time-consuming and tedious job. So we can create tsconfig.json at the root level and mention some of the properties inside that file. Once tsc command is invoked all the files inside the root and the subfolders automatically converted to javascript.
-
Open the Terminal. This can be opened from the top main menu. Choose Terminal ==> New Terminal.
-
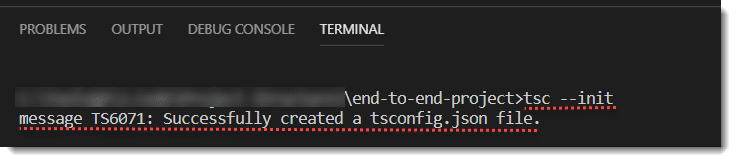
Type the command in terminal tsc ––init (please note that it is tsc
<space>double hyphen init)
Note: Please make sure that you have installed typescript already, If not install referring the previous article.
- The above command generates default tsconfig.json file, with some default text, those are not helping much. Configure it specifically to the end-to-end project, copy and paste the below content. Just double click on the tsconfig.json and copy, paste the below content.
{
  "compileOnSave": true,
  "compilerOptions": {
    "baseUrl": "./",
    "outDir": "./dist/out-tsc",
    "mapRoot": "./dist/out-tsc/",
    "sourceMap": true,
    "declaration": false,
    "moduleResolution": "node",
    "emitDecoratorMetadata": true,
    "experimentalDecorators": true,
    "allowSyntheticDefaultImports": true,
    "target": "es5",
    "typeRoots": [
      "node_modules/@types",
    ],
    "lib": [
      "es2017",
      "dom"
    ]
  }
}
The tsconfig.json helps to covert all the typescript files automatically to javascript let's look at important properties:
- Compiler options: All the properties inside will be used for compiling typescript code
- baseurl: Setting baseUrl informs the compiler where to find modules. All module imports with non-relative names are assumed to be relative to the baseUrl
- outDir: Redirects output structure to the directory, i.e your typescript equivalent javascript will be placed in this directory
- mapRoot: Specifies the location where debugger should locate map files instead of generated locations. Use this flag if the .map files will be located at run-time in a different location than the .js files. The location specified will be embedded in the sourceMap to direct the debugger where the map files will be located.
- sourceMap: If the option is set to true generates corresponding .map file.
- moduleResolution: Determine how modules get resolved. Either "Node" for Node.js/io.js style resolution, or "Classic"
- emitDecoratorMetadata: Emit design-type metadata for decorated declarations in source
- experimentalDecorators: Enables experimental support for ES decorators.
- allowSyntheticDefaultImports: Allow default imports from modules with no default export. This does not affect code emit, just type checking
- target: Specify ECMAScript target version: "ES3" (default), "ES5", "ES6"/"ES2015", "ES2016", "ES2017"
- typeRoots: List of folders to include type definitions
- lib: List of library files to be included in the compilation
Note: Keep the tsconfig.json file at the root directory level
|--end-to-end-project
   |--src
      |--page-object
         home.page.ts
       home-spec.ts
   tsconfig.json
Step - 3: Manage protractor project dependencies in pacakge.json
What is package.json file?
Package.json is the main file in any node.js framework, It holds two kinds of information
- Project Identification properties: This section consists of the properties to identify the module/project such as the name of the project, current version of the module, license, author of the project, description about the project, etc.
- Functional properties: This section consists of the functional values or properties of the project or module such as the entry/starting point of the module, project dependencies, project scripts, repository links of node project, etc.
- Invoke command line package.json generator tool by typing the following command in the terminal:
npm init
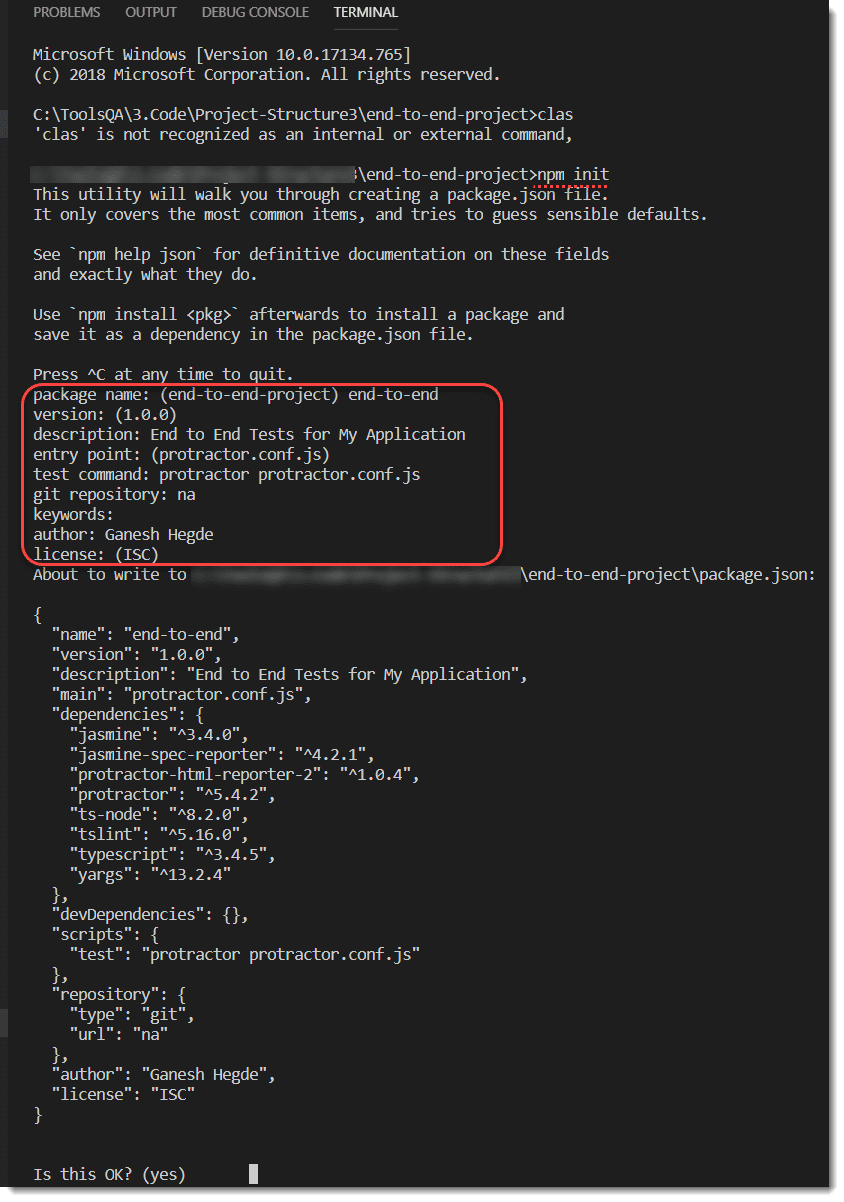
- Provide the required details on the window. The generator tool asks some questions which are required to generate package.json, Answer as given below
- package name: end-to-end
- version: Just press [Enter]
- description: Type anything (ex: End to End Tests for My Application)
- entry point: protractor.conf.js
- test command: Press [Enter] to skip it, you can set it later.
- git repository: Press [Enter] to skip it, you can set it later.
- keywords: Optional Hit Enter Key to leave empty
- author: Mention your name (ex: Ganesh Hegde)
- License : (ISC) Hit Enter Key
Once you enter all the details, it will show you a JSON text to confirm like below screenshot. Type Yes, when screen appears to review all the details package.json file now created with the below content.
Step - 4: Add required Node modules for Protractor Typescript Project
Add all the required modules at the root level in our example where our end-to-end-project folder is located.
1. Add protractor node module
Protractor Node Modules help to build the automation framework using the protractor API. Open the terminal window again and type the command:
npm install ––save protractor
Note: Though protractor is installed globally some times Visual Studio Code doesn't pick from the global package. so it's always better to install locally, Use ––save option used to install the package locally i.e specific to project.
2. Install Typescript module
Typescript Node Module helps to write automation test case in typescript language and compile to javascript in order to execute the test case. To install this package open terminal and type command:
npm install ––save typescript
3. Install Jasmine
Protractor framework uses Jasmine Assertion libraries in spec files. To install this package open terminal and type command:
npm install ––save jasmine
4. Install Type definition for Jasmine
Installing Type Definitions for Jasmine helps in autocomplete suggestions. These pre-defined type definition files contain information like what are the functions available, what parameters it takes. VS Code uses all this information for auto-suggestion. To install this package open terminal and type command:
npm install ––save @types/jasmine
5. Install Type definitions for Node
This package contains Type Definitions for NodeJS, This provides the auto-suggestions for classes. To install this package type the following command in terminal:
npm install ––save @types/node
6. Install ts-node
The typescript automation tests use the imports from a few other packages/modules, This helps in module resolution and execute typescript code. To install this package type the following command:
npm install ––save ts-node
7. Install spec reporter
Installing Spec Reporter package provides us real-time test results on the console. To install this package type command:
npm install ––save jasmine-spec-reporter
Note: jasmine-spec-reporter package is optional, skip this step if it's not required, later you can install this package and configure your console reports.
8. Protractor HTML reporter (Optional)
This package helps to generate beautiful HTML result. This can be installed by typing the following command in terminal:
npm install ––save protractor-html-reporter-2
Note: protractor-html-reporter-2 package is optional, skip this step if it's not required, later you can install this package and configure your HTML Results.
After installation package.json have all the dependencies added in the dependencies section. Open your package.json file make sure all the dependencies added.
{
  "name": "end-to-end",
  "version": "1.0.0",
  "description": "End to End Tests for My Application",
  "main": "protractor.conf.js",
  "scripts": {
    "test": "protractor protractor.conf.js"
  },
  "author": "Ganesh Hegde",
  "license": "ISC",
  "dependencies": {
    "@types/jasmine": "^3.3.12",
    "@types/node": "^12.0.2",
    "jasmine": "^3.4.0",
    "jasmine-spec-reporter": "^4.2.1",
    "protractor": "^5.4.2",
    "protractor-html-reporter-2": "^1.0.4",
    "ts-node": "^8.2.0",
    "tslint": "^5.16.0",
    "typescript": "^3.4.5",
    "yargs": "^13.2.4"
  }
}
Note: No need to install these packages again and again. All the installed packaged added in the dependency list of pacakge.json. To install all the package which are in dependency, navigate to the folder where pacakge.json located and then type the command in terminal: npm install to install all the dependencies automatically.
Step - 7: Set up Protractor Typescript configuration in protractor.conf.js
There are a few configurations which are required to set up before we move to start using Protractor for Automation.
The very basic protractor.conf.js looks like below
exports.config = {
    framework: 'jasmine', //Type of Framework used
    directConnect:true,
    specs: ['spec.js'], //Name of the Specfile
  }
Note: If you don't have protractor.conf.js created, first you need to create one under the src directory mention the above details. Refer to the previous article to understand more about the configuration file.
1. Create onPrepare() function in protractor.conf.js
If you need to do global preparation for your tests you can put this into the config file i.e protractor.conf.js by creating on prepare function, let's create one.
exports.config = {
    framework: 'jasmine', //Type of Framework used
    directConnect:true,
    specs: ['spec.js'], //Name of the Specfile
    onPrepare() {
       //global test set-up goes here
    }
 }
2. Create onComplete() function in protractor.conf.js
If you need to do global tear down for your tests you can put this into the config file i.e protractor.conf.js by creating on complete function, let's create one.
exports.config = {
    framework: 'jasmine', //Type of Framework used
    directConnect:true,
    specs: ['spec.js'], //Name of the Specfile
    onPrepare() {
       //global test set-up goes here
    }
   onComplete() {
       //global test tear-down goes here
    }
 }
3. Set up the ts-node
Tests written in protractor typescript may fail if couldn't find required modules or imports are not resolved. ts-node resolves the package imports and handles the typescript execution smoothly. Let the ts-node take all these headaches, so configure ts-node in protractor.conf.js file
exports.config = {
        framework: 'jasmine', //Type of Framework used
        directConnect:true,
        specs: ['spec.js'], //Name of the Specfile
        onPrepare() {
              require('ts-node').register({
              project: require('path').join(__dirname, './tsconfig.json') // Relative path of tsconfig.json file
        	});
        }
}
Your protractor typescript automation framework with integrated Visual Studio Code is now ready, start writing tests. Happy testing!