The doorway to an automation tool opens up with a framework setup. This is a tedious process since you need to set up & organize source control, configurations, create utilities for on-screen actions, build verifications, set up logging and reporting, etc.
Setup is a lot easier with cloud-hosted testRigor - all of the complex work is already done for you. You only need to create a test suite, which is essentially a folder that is going to contain the entire collection of your test cases for a given environment. Just for reference, your testing web environment will be one test suite; production web environment will be another one. This way, you also have enhanced controls in terms of settings you can apply to all of the tests within the test suite at once. Since we are already introduced to testRigor and have accustomed ourselves to the various settings it offers, let's see how to create and work around the test suite in testRigor.
Table of contents
- What is the test suite in testRigor?
- How to create a test suite in testRigor?
- Settings offered by testRigor.
- Advanced settings to create a test suite in testRigor.
- Exploring Test Suite Dashboard.
What is a test suite in testRigor?
The concept of a test suite stands on a similar foundation in testRigor as it is in theory. We input certain information required for each test case (or majority) and avoid repetitive prompts. For instance, if you are working through an organization VPN, you would certainly want to fill out proxy information; otherwise, all the tests might fail. A good option to choose is to fill this information in the test suite rather than repeatedly filling it in each test. Since testRigor works on a different style of "intelligent testing", we can expect new options that are not available in conventional tools like Selenium. Once we have filled out the test suite information required to run each test case under it, we can proceed to create individual test cases.
How to create a test suite in testRigor?
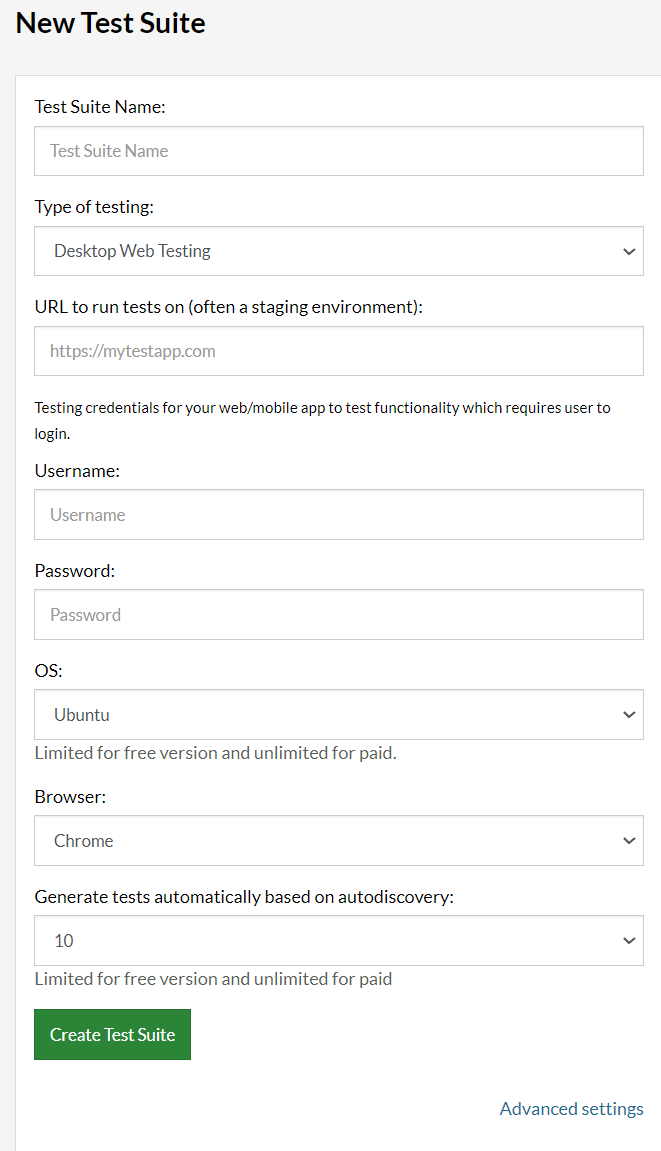
The Test Suite panel helps create a test suite in testRigor. If you have just signed up on the platform, it would be the first thing you will see:
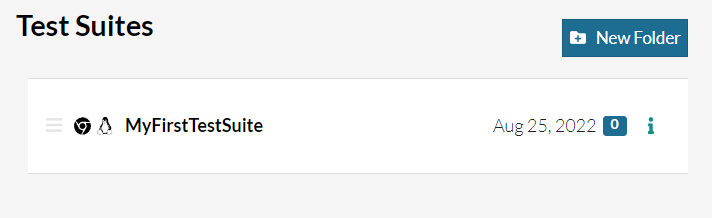
Else, you will see a list of your test suites on the left with the above screen on the right.
Since we are starting our test suite journey, we will focus on the new test panel. In the next section, we will discuss each option associated with it.
Settings offered by testRigor
Creating a new test suite contains the following options that we need to consider before starting with the test cases.
- Test Suite Name - This option defines the name of the test suite. It is advisable to keep it something that relates to your test cases and is logical. Naming random phrases such as "test suite 1" or "my first test suite" can create confusion later in the testing phase. A good naming example would be, for example, "iOS App Testing Env"
- Type of testing: This option provides the info to testRigor about the type of testing you would be doing. It offers three options:
- Desktop web testing.
- Mobile web testing.
- Native and Hybrid mobile.
These three types of testing define whether the application is a desktop-based web app, mobile web app, or native application.
- URL to run tests on: This option requires a URL (of the application) on which the test cases will be executed.
- Username: This option defines the username required (if there is one) to access account-related data on the application.
- Password: The second part of the login credentials is the password. This field will store and apply it on the web app during testing.
- Note*: you don't have to specify login credentials beforehand, however, it will make your life a lot easier. For example, when running tests, testRigor will automatically detect if you're already logged in, and the test won't fail even when containing this test step.
- OS: The operating system you wish to select for your test cases. It is important to run your tests on the different operating systems because the user could be using any of the available OS in the market.
- Browser: This option lets you select the browser on which you wish to run your tests.
- Generate tests automatically based on autodiscovery: This option lets testRigor scan the application to generate tests. This way you can cut short your time and create test cases without any work. This option lets you choose a number between 0 to 10000.
- Upload file: This setting lets you upload an APK or AAB file of your mobile app (iOS or Android)
- Additional run settings: Here you can specify labels to run tests with, as well as define a branch and even a commit
These are the general options available to create a test suite in testRigor. These are the choices that define primary settings for the test cases. In addition to it, if the tester has certain requirements, they can head on to advanced settings in the same panel to explore more options.
Advanced settings to create a test suite in testRigor
Some test suite configurations may need additional settings you need to set up. testRigor provides the following advanced settings in the create test suite panel.
Basic/Digest HTTP Authentication
This option is required when your tests will go through HTTP authentication during execution. If you put the details here, your tests will pass the server authentication security. The tester will find two options in this section:
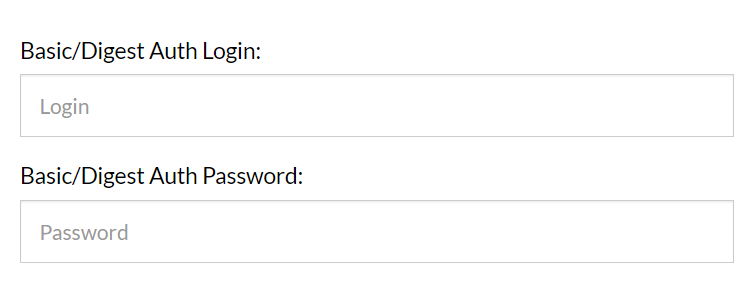
- Basic/Digest Auth Login - This field requires the username part of the credential.
- Basic/Digest Auth Password - This field requires the password part of the credential.
Proxy Settings
This field requires the details of the proxy server. If your infrastructure does not concern a proxy server, you can leave this setting. But, if your connection does, filling this option is mandatory. Otherwise, the tests won't be able to make a connection and will fail.
This setting asks for the proxy string, which is a combination of the IP address and the port the tests will use in the form of a.b.c.d: port.
Speed optimizations
Speed optimizations provide one of the most important parameters that are generally required to optimize our test runs. A few of the settings included in this section are as follows:
- Maximum wait timeouts, seconds: This parameter asks for the maximum time in seconds to wait before throwing a timeout for the test case. This is similar to Selenium Waits. You can explore this tutorial to learn more about waits in scripted testing.
- Maximum page load timeout, seconds: This parameter asks for the maximum time in seconds to wait for the page to load before throwing a page load timeout for the test case.
- Maximum file download time, seconds: This parameter asks for the maximum time to wait for a file to get downloaded before timeout.
Apart from these three common parameters, this section contains around twenty more options. It is recommended to head over to the platform and get a brief understanding of them. They are self-explanatory, however.
Take into account when re-testing
Another setting used for optimizations and time-saving is to set parameters as to what to test and what not to test when we are performing the re-testing. Since not all the things need to be repeated when we re-test, we can focus on important things only and hence save overall time. A few of the parameters available under this setting are as follows:
- Functionality Discovery Strategy: Let the platform know whether it should look out for new functionalities or ignore them.
- Links: What to do when there are newer links in the elements during re-test.
- When comparing screens, ignore elements: Elements to ignore.
This option contains a few more settings than these. However, they are self-explanatory.
Error reporting
This setting focuses on the part related to errors and in which situations the platform needs to report them to the tester. Some of the settings available in this section are as follows:
- Check for Javascript errors: This parameter let you decide whether we need to report Javascript-related errors or not. If we do, then should they be reported when occurring on the same domain, or all the domains are covered?
- Check that CSS files loaded successfully: This parameter tells the platform whether we need to report the unsuccessful loading of CSS files or not. If we do, should we consider all the domains or only the same domain?
- Check that image files loaded successfully: This parameter tells testRigor whether we need to report the unsuccessful loading of the image files or not. If we do, should we consider all the domains, or only the same domain?
Apart from these most popular options, this setting will also contain additional parameters. You can head to testRigor and brief yourselves as they are self-explanatory.
Integrations
Third-party integrations are necessary for today's time when testing has become a bit complex. With each software performing its unique role in the system, integrations help us divide the work and later unite their results into one report. The type of integrations a tester is using depends on the project, the organization's processes, and other such variables. Based on your needs, you can easily integrate testRigor with Jira, TestRail, many CI/CD tools, monitoring tools such as PagerDuty, etc.
In the integrations section, the tester may find a list of integrations that they can enable for their test suite. If the integration requires credentials, they need to apply them at this location.
Test Generation
This parameter gives you options to define settings related to test generation. The tester may find a lot of options in this section, out of which we are mentioning three to give you a brief idea.
- Recorded session cut-off timeout: This defines the time limit after which the recorded session cuts off.
- Maximum number of behavior-driven test cases: This option let you choose the maximum number of behavior-driven test cases allowed in the suite.
- Maximum number of steps in a behavior-driven test case: This option let you choose the maximum number of steps allowed in a single behavior-driven test case.
General
At last, we need to define some general settings related to our test suites. These contain processes such as how to open a tab in the window or what screen resolution the device needs to be set for testing.
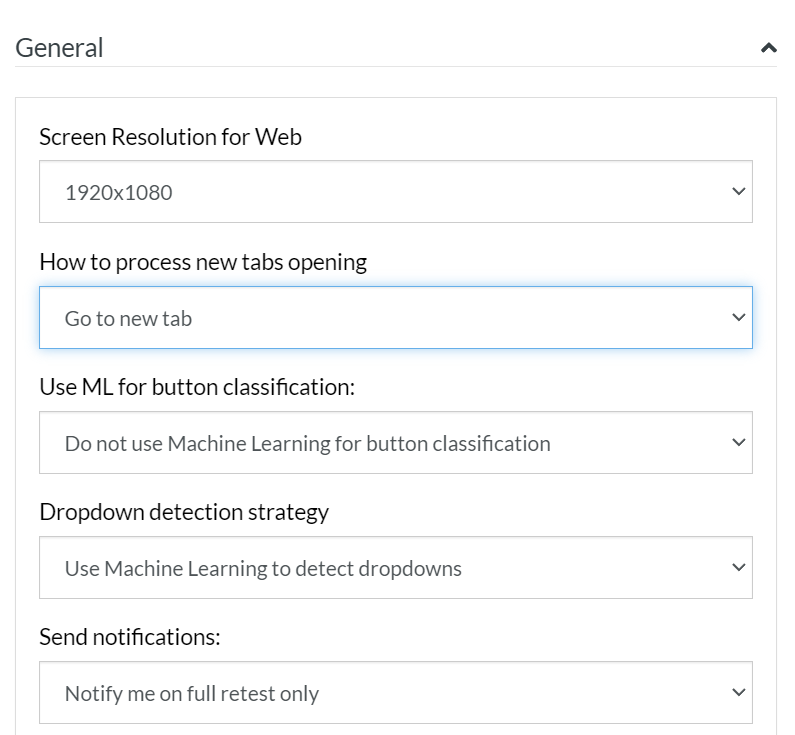
This section contains more settings than shown in the above image. However, to give a brief understanding, we will explain three of those below:
- Screen Resolution for Web: This option defines the resolution of the screen on which the URL is opened, and tests are executed.
- How to process new tabs opening: This option defines the process as to how the new tabs should open. Should they be open in a new tab or the same tab, or does the tester wants testRigor to do nothing at all?
- Send notifications: This option defines whether the tester wants to receive a notification or not. If they do, then at what point should the platform notify them?
For now, let's keep it simple and leave the advanced settings as they are. We will surely explore them in the later sections. Press Create Test Suite after filling in the basic test suite information as follows:

Exploring Test Suite Dashboard
Once we create a test suite, the page navigates to the test suite dashboard, where we will create test cases. We will initiate that in the next post onwards. But before wrapping this post, let's glance over at the various options we see on the dashboard. It will help us get familiar with the platform.
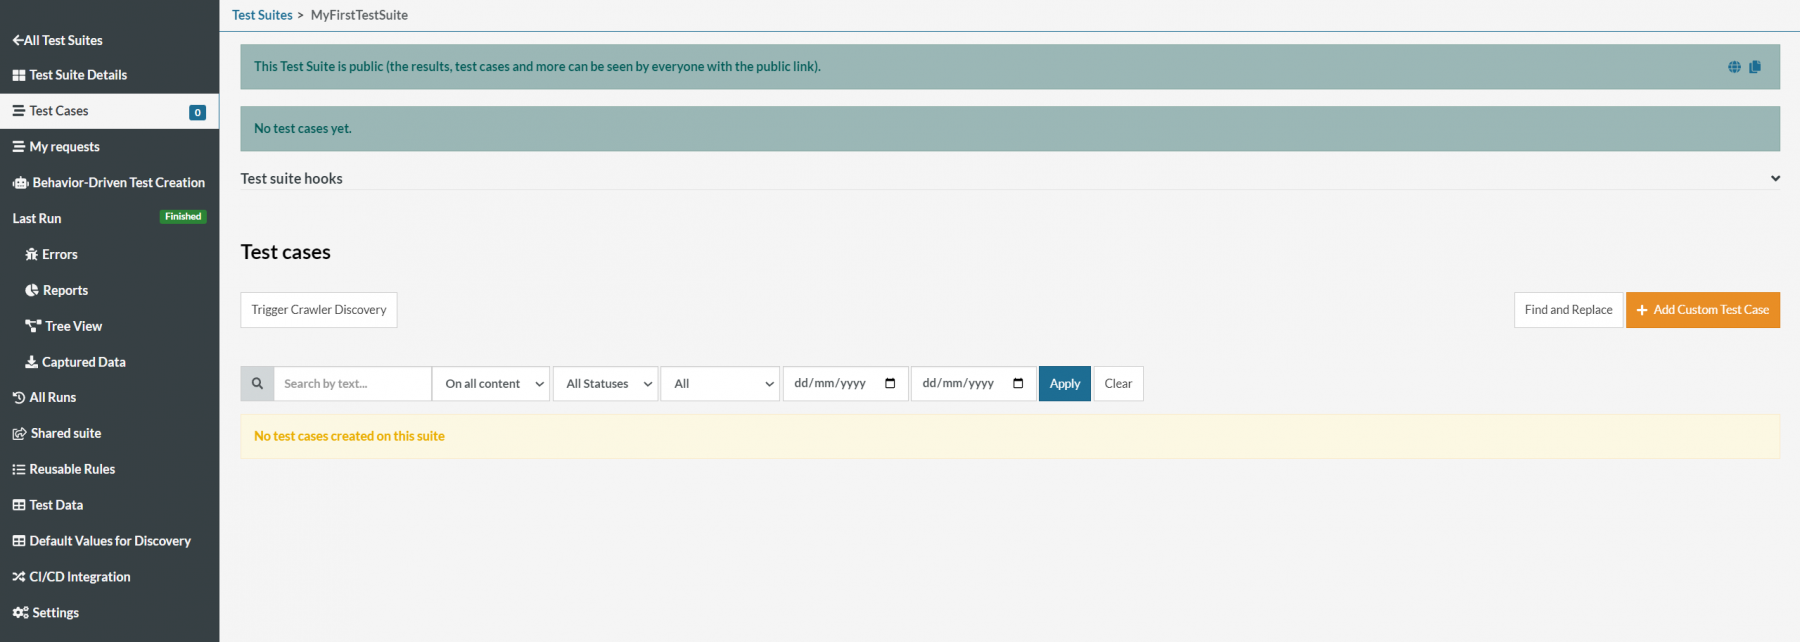
In the left panel, there are a few options to help you in the testing process in various ways. All these options have been briefed in the post titled testRigor navigation. However, we will cover them as we create test cases and execute them. It will help us understand their effect on the test cases and the overall execution.
What's next?
This post brings us to the end of introduction and theoretical knowledge toward testRigor. While practical implementation is what will make your basics stronger, a tester cannot efficiently apply these settings until they know what their foundations are. From the next post onwards, we will show you how to create a few test cases and put the knowledge learned in this post to use.