This is the second method to create a Maven project. But in this rather than creating a project outside eclipse and then inport in to eclipse, we will directly create a maven project in to eclipse.
Create a New Maven Project in Eclipse
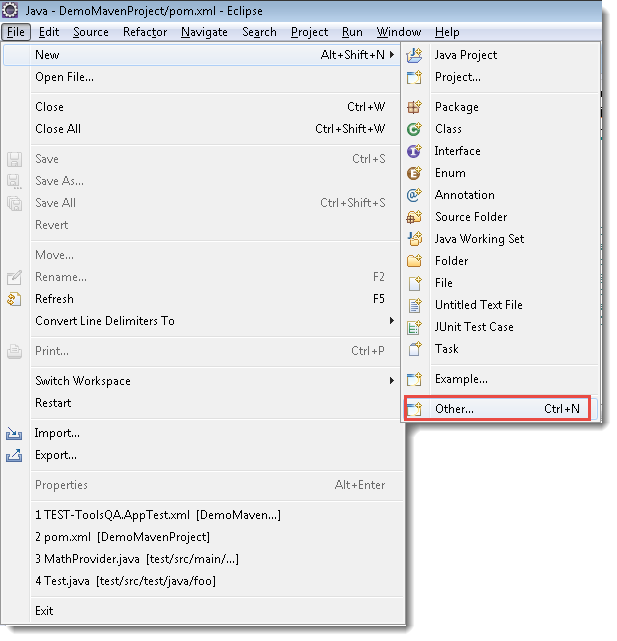
- Open your eclipse and Go to File > New > Others.
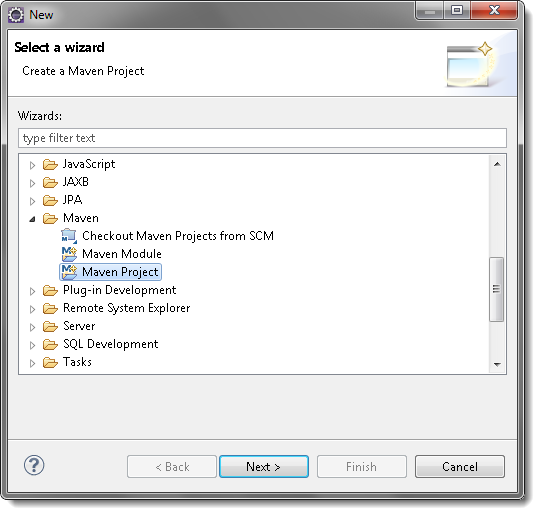
- Select Maven Project and click on Next.
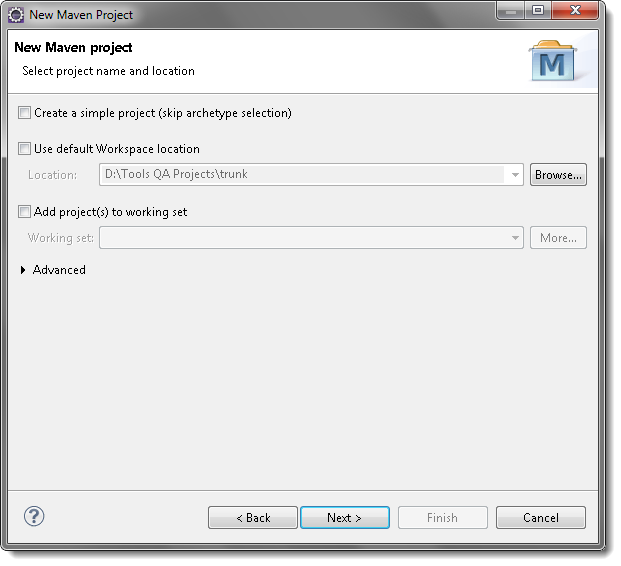
- Un-check the 'Use default Workspace location' and with the help of the Browse button choose your workspace where you would like to set up your Maven project.
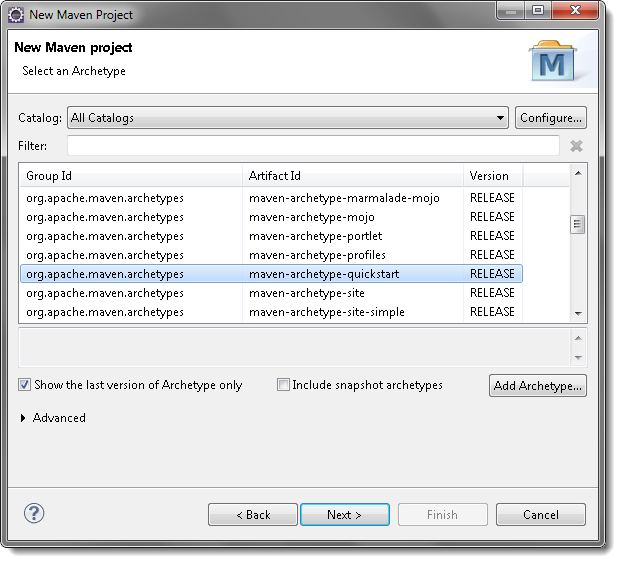
- Select the archetype, for now just select the 'maven-aechetype-quickstart' and click on Next.
- Specify the Group Id & Artifact Id and click on Finish.
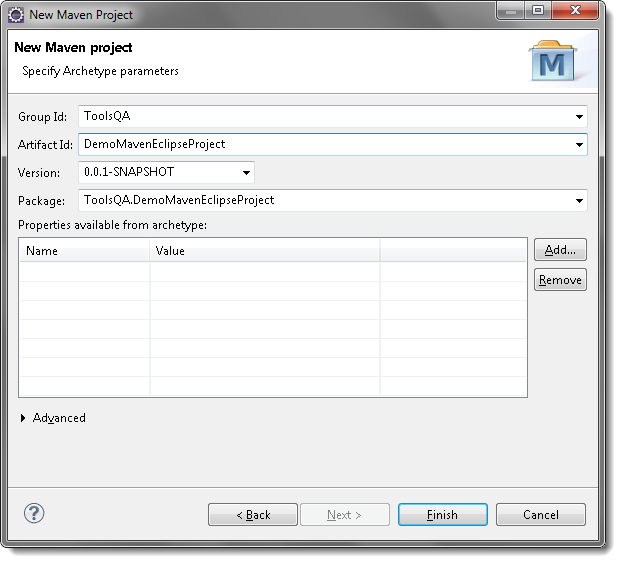
Note: Here the ‘artifactId‘ is your project name.
6) Go to the project location to see the newly created maven project. Now open the pom.xml file, which resides in the project folder. By default the POM is generated like this:
<project xmlns="https://maven.apache.org/POM/4.0.0" xmlns:xsi="https://www.w3.org/2001/XMLSchema-instance"
  xsi:schemaLocation="https://maven.apache.org/POM/4.0.0 http://maven.apache.org/xsd/maven-4.0.0.xsd">
  <modelVersion>4.0.0</modelVersion>

  <groupId>ToolsQA</groupId>
  <artifactId>DemoMavenEclipseProject</artifactId>
  <version>0.0.1-SNAPSHOT</version>
  <packaging>jar</packaging>

  <name>DemoMavenEclipseProject</name>
  <url>http://maven.apache.org</url>

  <properties>
    <project.build.sourceEncoding>UTF-8</project.build.sourceEncoding>
  </properties>

  <dependencies>
    <dependency>
      <groupId>junit</groupId>
      <artifactId>junit</artifactId>
      <version>3.8.1</version>
      <scope>test</scope>
    </dependency>
  </dependencies>
</project>
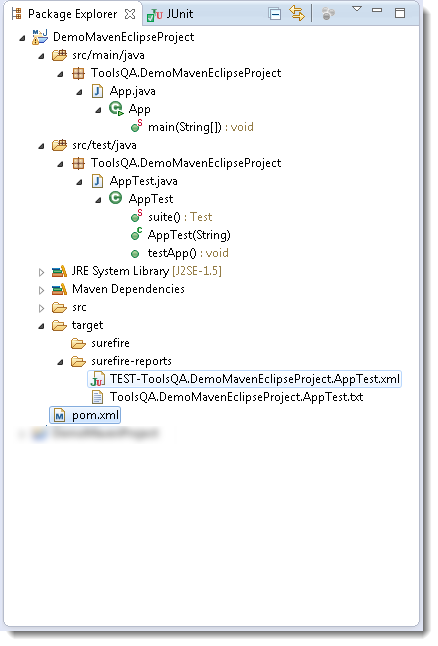
7) Look at the default folder structure of the Maven project.
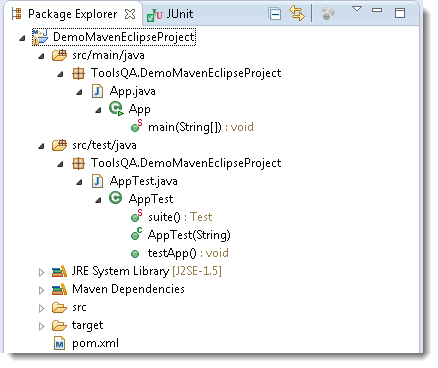
Note: Test cases reside under the src > test > java > PackageName will only be considered as a test by Maven, rest will be ignored if you put your test cases in some other folder.
- Modify XML with the latest Junit and save the XML.
    <dependency>
      <groupId>junit</groupId>
      <artifactId>junit</artifactId>
      <version>4.11</version>
      <scope>test</scope>
    </dependency>
Note: In later chapters, we will learn why do we add dependencies and from where we get artifactId & version.
Run your first Maven Test
- Right-click on the pom.xml and go to Run As > Maven test.
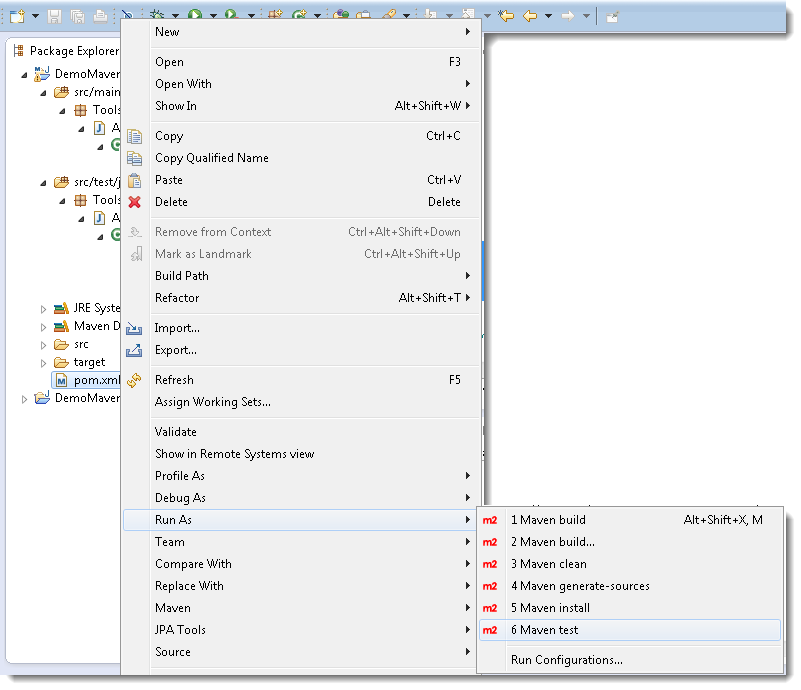
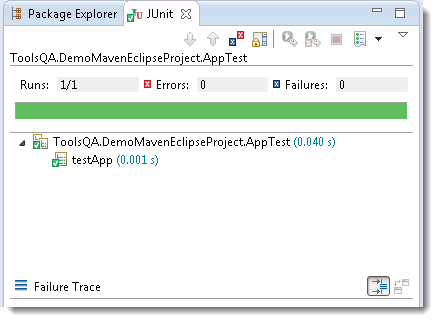
- In the console window of Eclipse, you would see the information like this:

- Go to ‘SureFire Reports‘ folder and open the XML file.
- It will display the result of the JUnit test.