In the last tutorial, we signed up and learned that CrossBrowserTesting has a short trial form to collect your information’s and then you are enrolled in one of their free trials. CrossBrowserTesting provides a familiar and easy to use dashboard through which we got introduced in know your CrossBrowserTesting dashboard post. Now that everything is set up, it is time to perform Live Testing On CrossBrowser and see the magic that this tool provides to developers and testers. In this tutorial we will cover:
- What is Live Testing in SmartBear CrossBrowserTesting?
- How to Perform Live Testing in CrossBrowserTesting?
What is Live Testing in SmartBear CrossBrowserTesting?
Live testing is one of the many testing methods provided by CrossBrowserTesting for their customers. Live testing allows the user to test the website on thousands of browsers (desktop/mobile) and analyze the website on those browsers and operating systems. CrossBrowserTesting’s Live testing experience gives the freedom to the user to interact with the website in real-time through their cloud infrastructure. The user will feel as if they are viewing the website on their own systems without actually having to download the browser on a specific machine. Without any complications, this all happens with just a single click.
To perform live testing on CrossBrowserTesting, a user needs to enter the website on which they want to perform the cross-browser testing. Along with it, the user needs to select the configuration on which they want their website to run on. After configuring all the details, a single click will run the website with the given specs on a CrossBrowserTesting platform. A user can also perform the cross-browser testing on their websites that have not yet been published with the help of local connection feature. This will be discussed when required. For now, we will stick onto the published websites.
How to perform Live Testing?
Live Testing on CrossBrowserTesting is a step by step process and we can divide the complete testing process into three sections:
- Setup for Live Testing
- Execution and Analysis of the Tests
- Results and Summary of Live Testing
Setup For Live Testing
To perform live testing on CrossBrowserTesting platform, just login into your account.
By default, the landing page or the home page after logging in will be the live testing page. Go on and enter the website that you want to test into the address bar.
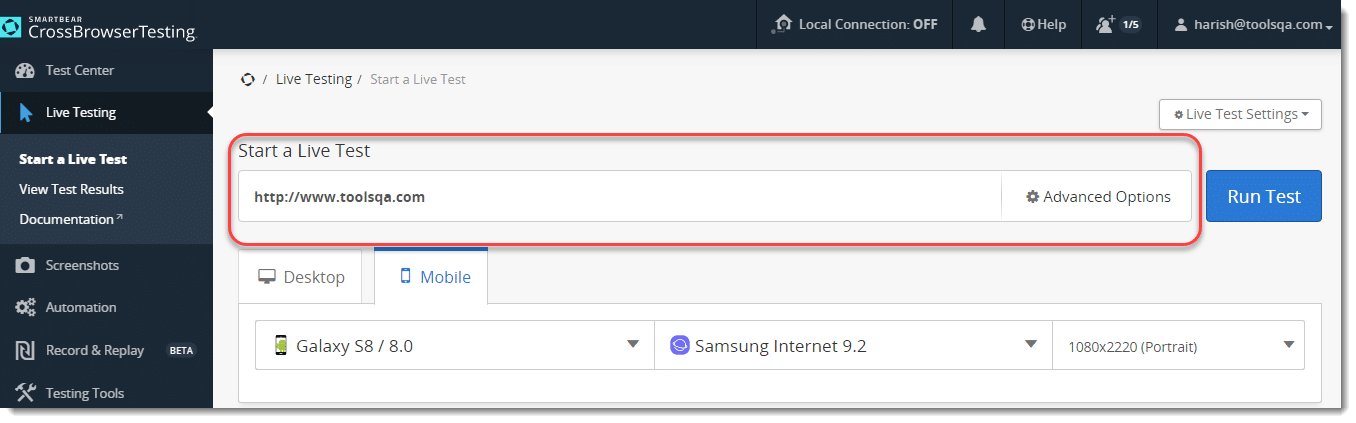
- After this, the user needs to select the operating system and browser (with version) on which the wants to test the website. Select the OS (with version) and browser (with version) according to your choice.

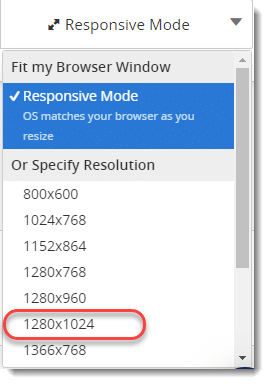
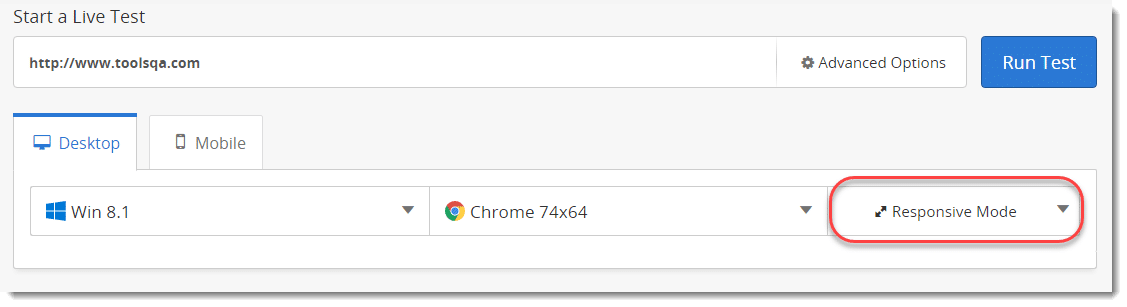
The third option in the same panel asks for the resolution of the screen on which you want to perform the testing. By default, the value would be Responsive Mode (as shown). Responsiveness is the ability of the website to adjust itself according to the size of the screen on which it is being seen. If you change the browser display size, the website should adjust itself accordingly.
It is a very important feature for a website developer since there are hundreds of devices that come with different screen sizes. With the increase in the audience surfing the internet through mobile devices, rendering your website perfectly onto the mobile browsers have become extremely important. CrossBrowserTesting understands this and has provided the user with an option to perform live testing through responsive mode.
- We will see how that works but before it, let's select the Responsive Mode dropdown and select a desired resolution of the screen.
Execution and Analysis of the Test
Once we have completed the setup, we will run the test and analyze the test screen.
- After setting up, press Run Test located beside the address bar.

Note: Please ignore the Advanced Options part, for now, this will be discussed in the next tutorial.
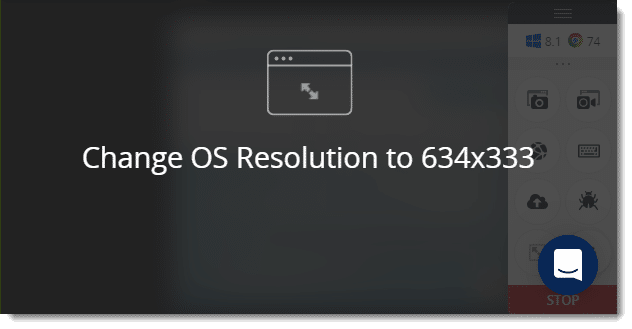
- The CrossBrowserTesting device will initialize with the selected specifications.
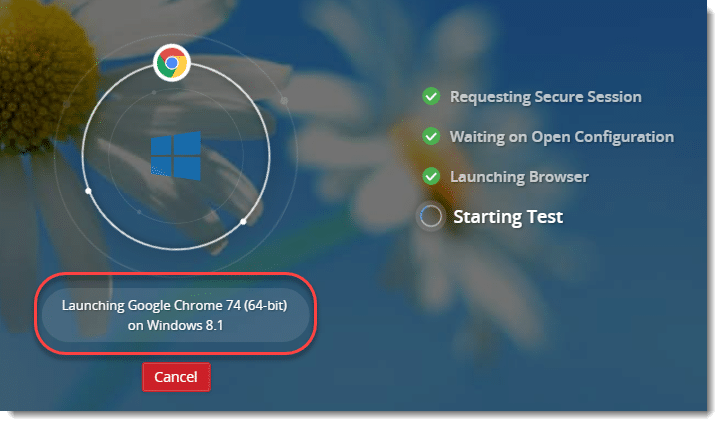
- After this step, you can view the website on the device on which you wanted it to be seen.
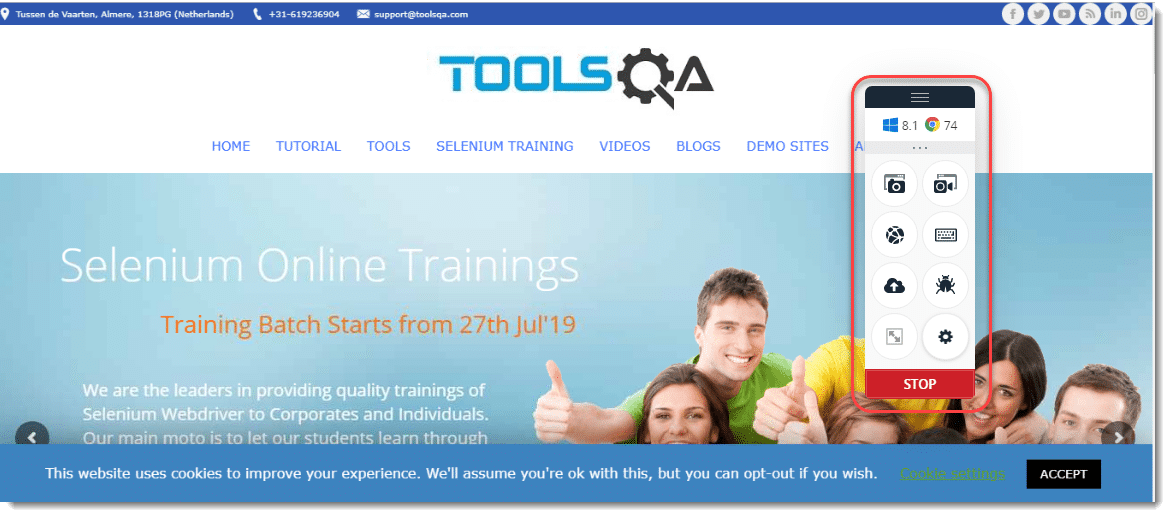
In this section, you can also scroll and navigate through the website as you would do while running the website on your system. This is the advantage of live testing. It gives you the feel of browsing the website on your desired specifications without actually having that browser installed on the machine. You will also see the tool panel alongside the website, that will be discussed in the next tutorial.
Live testing can be done for thirty minutes only on a free plan. After the time is expired, the live testing section will stop. But, if you have bought the subscription of CrossBrowserTesting, you can enjoy unlimited live testing minutes.
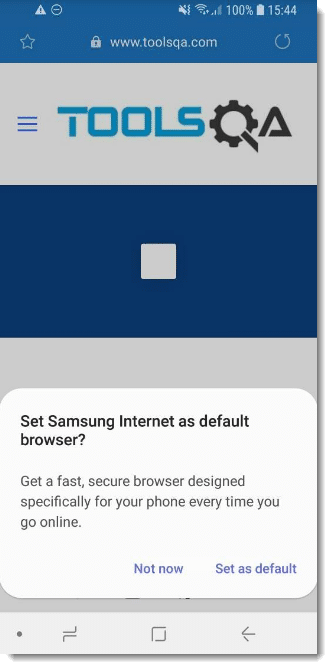
A user can also test their website on Mobile browsers by selecting the mobile option on the live testing page.

The rest of the options are understandable. The user can run the test and see the selected mobile and browser version on the screen. They can go ahead and test his website onto the mobile browser.
Test Live on Response Mode
Alright, let us go back to the live testing page and perform the same steps but choosing the responsive mode option as Responsive Mode. This mode will help you see and test the website's responsiveness with an amazing feature that activates in this mode.
- Press Run Test again to run the test in the responsive mode.
In the start, the website will look similar to your screen size because it has adjusted to your browser screen size. Change the browser size of your system through adjustment arrows (resizing the overall area) by hovering on the edge of the browser. As soon as you do that, CrossBrowserTesting will automatically adjust the website with the screen size (responsiveness).
If your website is not rendered properly when the browser screen size is reduced, it indicated that the website you are testing is not responsive. So, you do not need many devices of different screens.
Isn't it amazing how CrossBrowserTesting works to provide a full-package cross-browser testing tool to the user?
Results and Summary
At the end of the live testing page, a summarised collection of options can be seen to view the stats of your performance at a single place.

By default, it will show the recent tests performed by the user. It will also show the device, browser (with version) and resolution used for testing for each test. There are three options along with the recent tests namely:
- See Usage Details
- See All Tests
- Leave Feedback
See Usage Details
This option will show you the usage history in great details. The details will include the date on which the test was performed, URL on which test was performed, Operating System and browser used for testing, start and end time of test along with the total minutes the test was performed. This option is very useful when the user wants to have a look at his history and conclude his testing patterns.

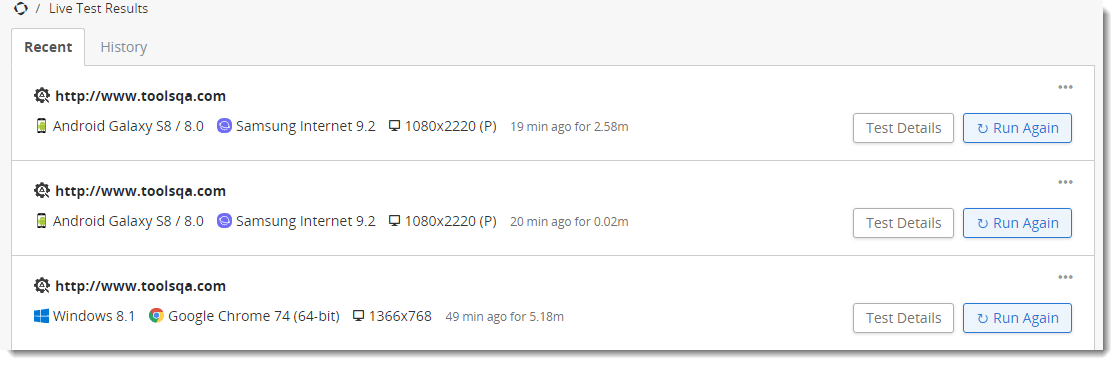
See All Tests
This option provides the user with the recent live tests and the history of the user's tests. The user can check the test details for any test and run the test again with the same specification without filling any parameter again with just a single click.
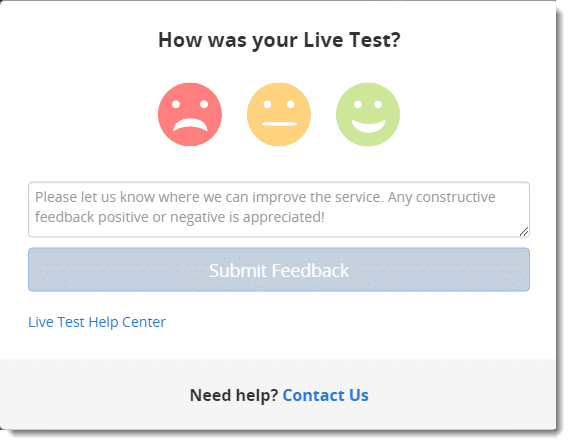
Leave Feedback
As the name suggests, this options is provided to leave the feedback about the tools and your experience using the tool. This helps CrossBrowserTesting improve and provide a greater and richer experience to its users.
So, this was our first step on using the CrossBrowserTesting tool. While there is so much to learn ahead, the reader should not forget that live testing is a very important part of cross-browser testing in general. You should be well versed in live testing feature to help yourself to test the website under test in the most efficient and optimum way.