Till now, you got familiar with the term Cross-Browser Testing and the CrossBrowserTesting and the CrossBrowserTesting tool by SmartBear. Cross-Browser testing helps you achieve a bigger target through your website and improve the overall behavior of your website on different browsers, versions and operating systems.
Obviously, this is not a human job. So, we take help of online tools such as CrossBrowserTesting. This tool helps us analyze our website on literally thousands of browsers and platforms with minimum efforts. Now that we have known our tool to a good extent, it is of no use until we try our hands on it. This tutorial is designed for the same. In this post, we will go through:
- How to Sign Up on CrossBrowserTesting
- Getting Familiar with CrossBrowserTesting Dashboard
Signing Up on CrossBrowserTesting
We will start our journey on this excellent tool by signing up on it. To sign up, first visit their website CrossBrowserTesting.
Go to Login.

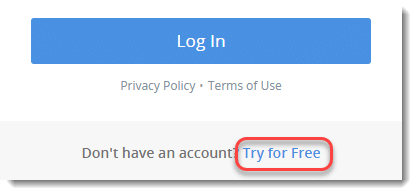
You will be redirected to the Login Page. Since we do not have an account, press Try for Free to try the free trial of the software.
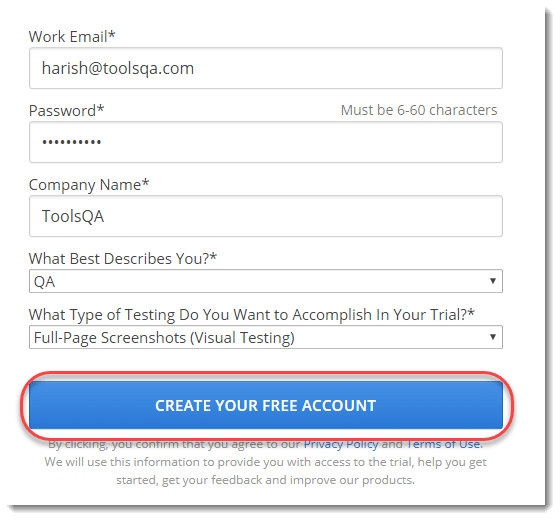
Once you press the button, a new screen will appear asking for your details. Fill up the details and press Create Your Free Account.
To verify your identity, CrossBrowserTesting will ask for the code that the user will receive on his email. Enter the code and press Confirm.
Once everything is done, your account will be successfully created which will be hinted by the dashboard that you will on the next screen.
CrossBrowserTesting Dashboard
After you log in, the first screen that you see will be the CrossBrowserTesting dashboard. By default, the landing page is the Live Testing page. CrossBrowserTesting Dashboard contains three sections:
- Header Section
- Accessibility Menu
- Main Testing Section
Let's see the meaning of these sections one by one.
Header Section in CrossBrowserTesting Dashboard
Header section on the CrossBrowserTesting dashboard is located on the top of the page.

The header section contains a few options for navigating to popular pages faster and quickly change the settings according to the user. These options include:
Local Connection: This option gives you the flexibility to test your website locally. Testing your website locally means that the website is still in development or if developed, has not yet been published on the internet or live. The local connection allows the user to test their website against thousands of browsers and avoiding the firewall of the network/system.
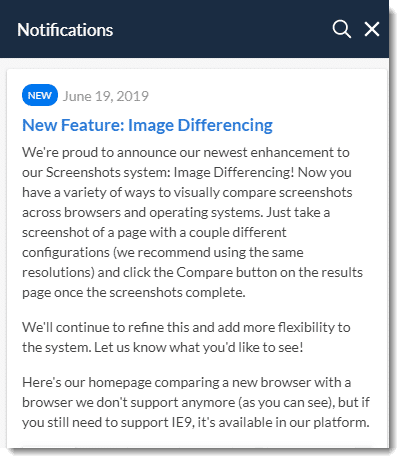
Notification Center: The notification center which is popularly denoted as the bell icon, contains the recent notifications for the user. These notifications include the new updates from CrossBrowserTesting.
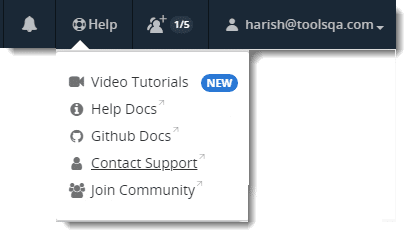
Help: Through the help option in the header section, you can explore the various documentation and tutorials provided by CrossBrowserTesting that can help you answer most of your queries. If unresolved, you can also reach out to the CrossBrowserTesting support and ask them directly.
The next option tells us the number of member in our team. The members of a single team can perform testing simultaneously on the same account and website. This gives a common platform to test the website quickly and efficiently. Currently, there is only one member, myself. We can add up to 5 team members in a team on the free trial plan. If you have subscribed to the paid plan, you can add even more members then. We can also go ahead and change a few settings on our account by clicking our email id and even upgrade our account.
Accessibility Menu in CrossBrowserTesting
The menu that is located on the left column of the dashboard is the accessibility menu. This menu will contain the options for the fast switching between different types of tests that you perform. Although these tests will be explained in detail in the upcoming posts, you can navigate through the screenshot testing, live testing, etc and familiarize yourself with it.
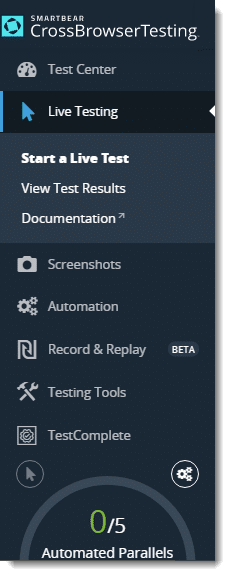
You can also see an automated parallels meter at the bottom of the menu. This meter tells you how many automated tests are running in parallel. Do not worry about the term automated tests, these will be discussed in the post of automated tests where some tests will also be performed. Since we have the free basic plan subscribed, we can run a maximum of 5 tests in parallel.
Main Testing Section
The middle section is called the testing section. As the name suggests, this part of the page is where the user performs the tests. As the default landing page, a live testing page will open up whenever you log in to your account.
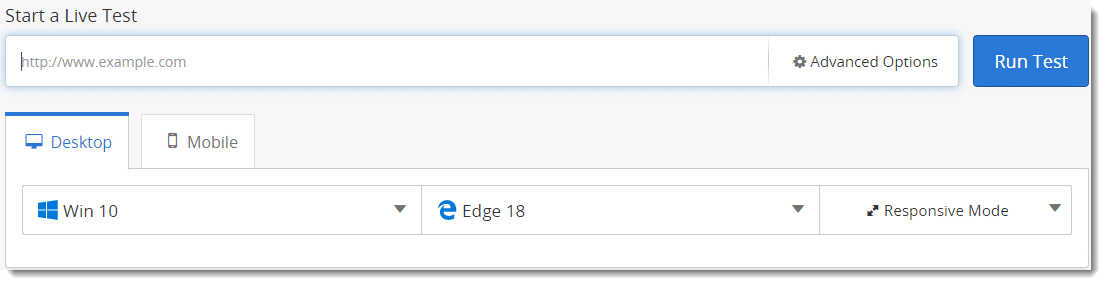
Although there are many buttons and fields on this page, these will be discussed in the next tutorial in detail. At the bottom of this section, for the convenience of the users, this page will also contain some instructions on how to perform the live testing and get familiar with the tool. Along with it, your recent tests and usage details will also appear on this page. Now that we have signed up and ready to go, we will move on to the next tutorial about Live Testing on CrossBrowserTesting.